Hello everyone, my name is Maddie Li. I’m excited to share the work I created for the ZBrush Spring 2025 release using ZBrush for iPad! It’s been an honor to be part of the beta testing team and contribute to this exciting milestone.

This is an original design I created, with a focus on achieving the best possible results while testing ZBrush for iPad.
I gave careful thought to how the tools could be applied effectively, and ultimately chose to create armor pieces, as they offered a great opportunity to explore the software’s modeling capabilities.
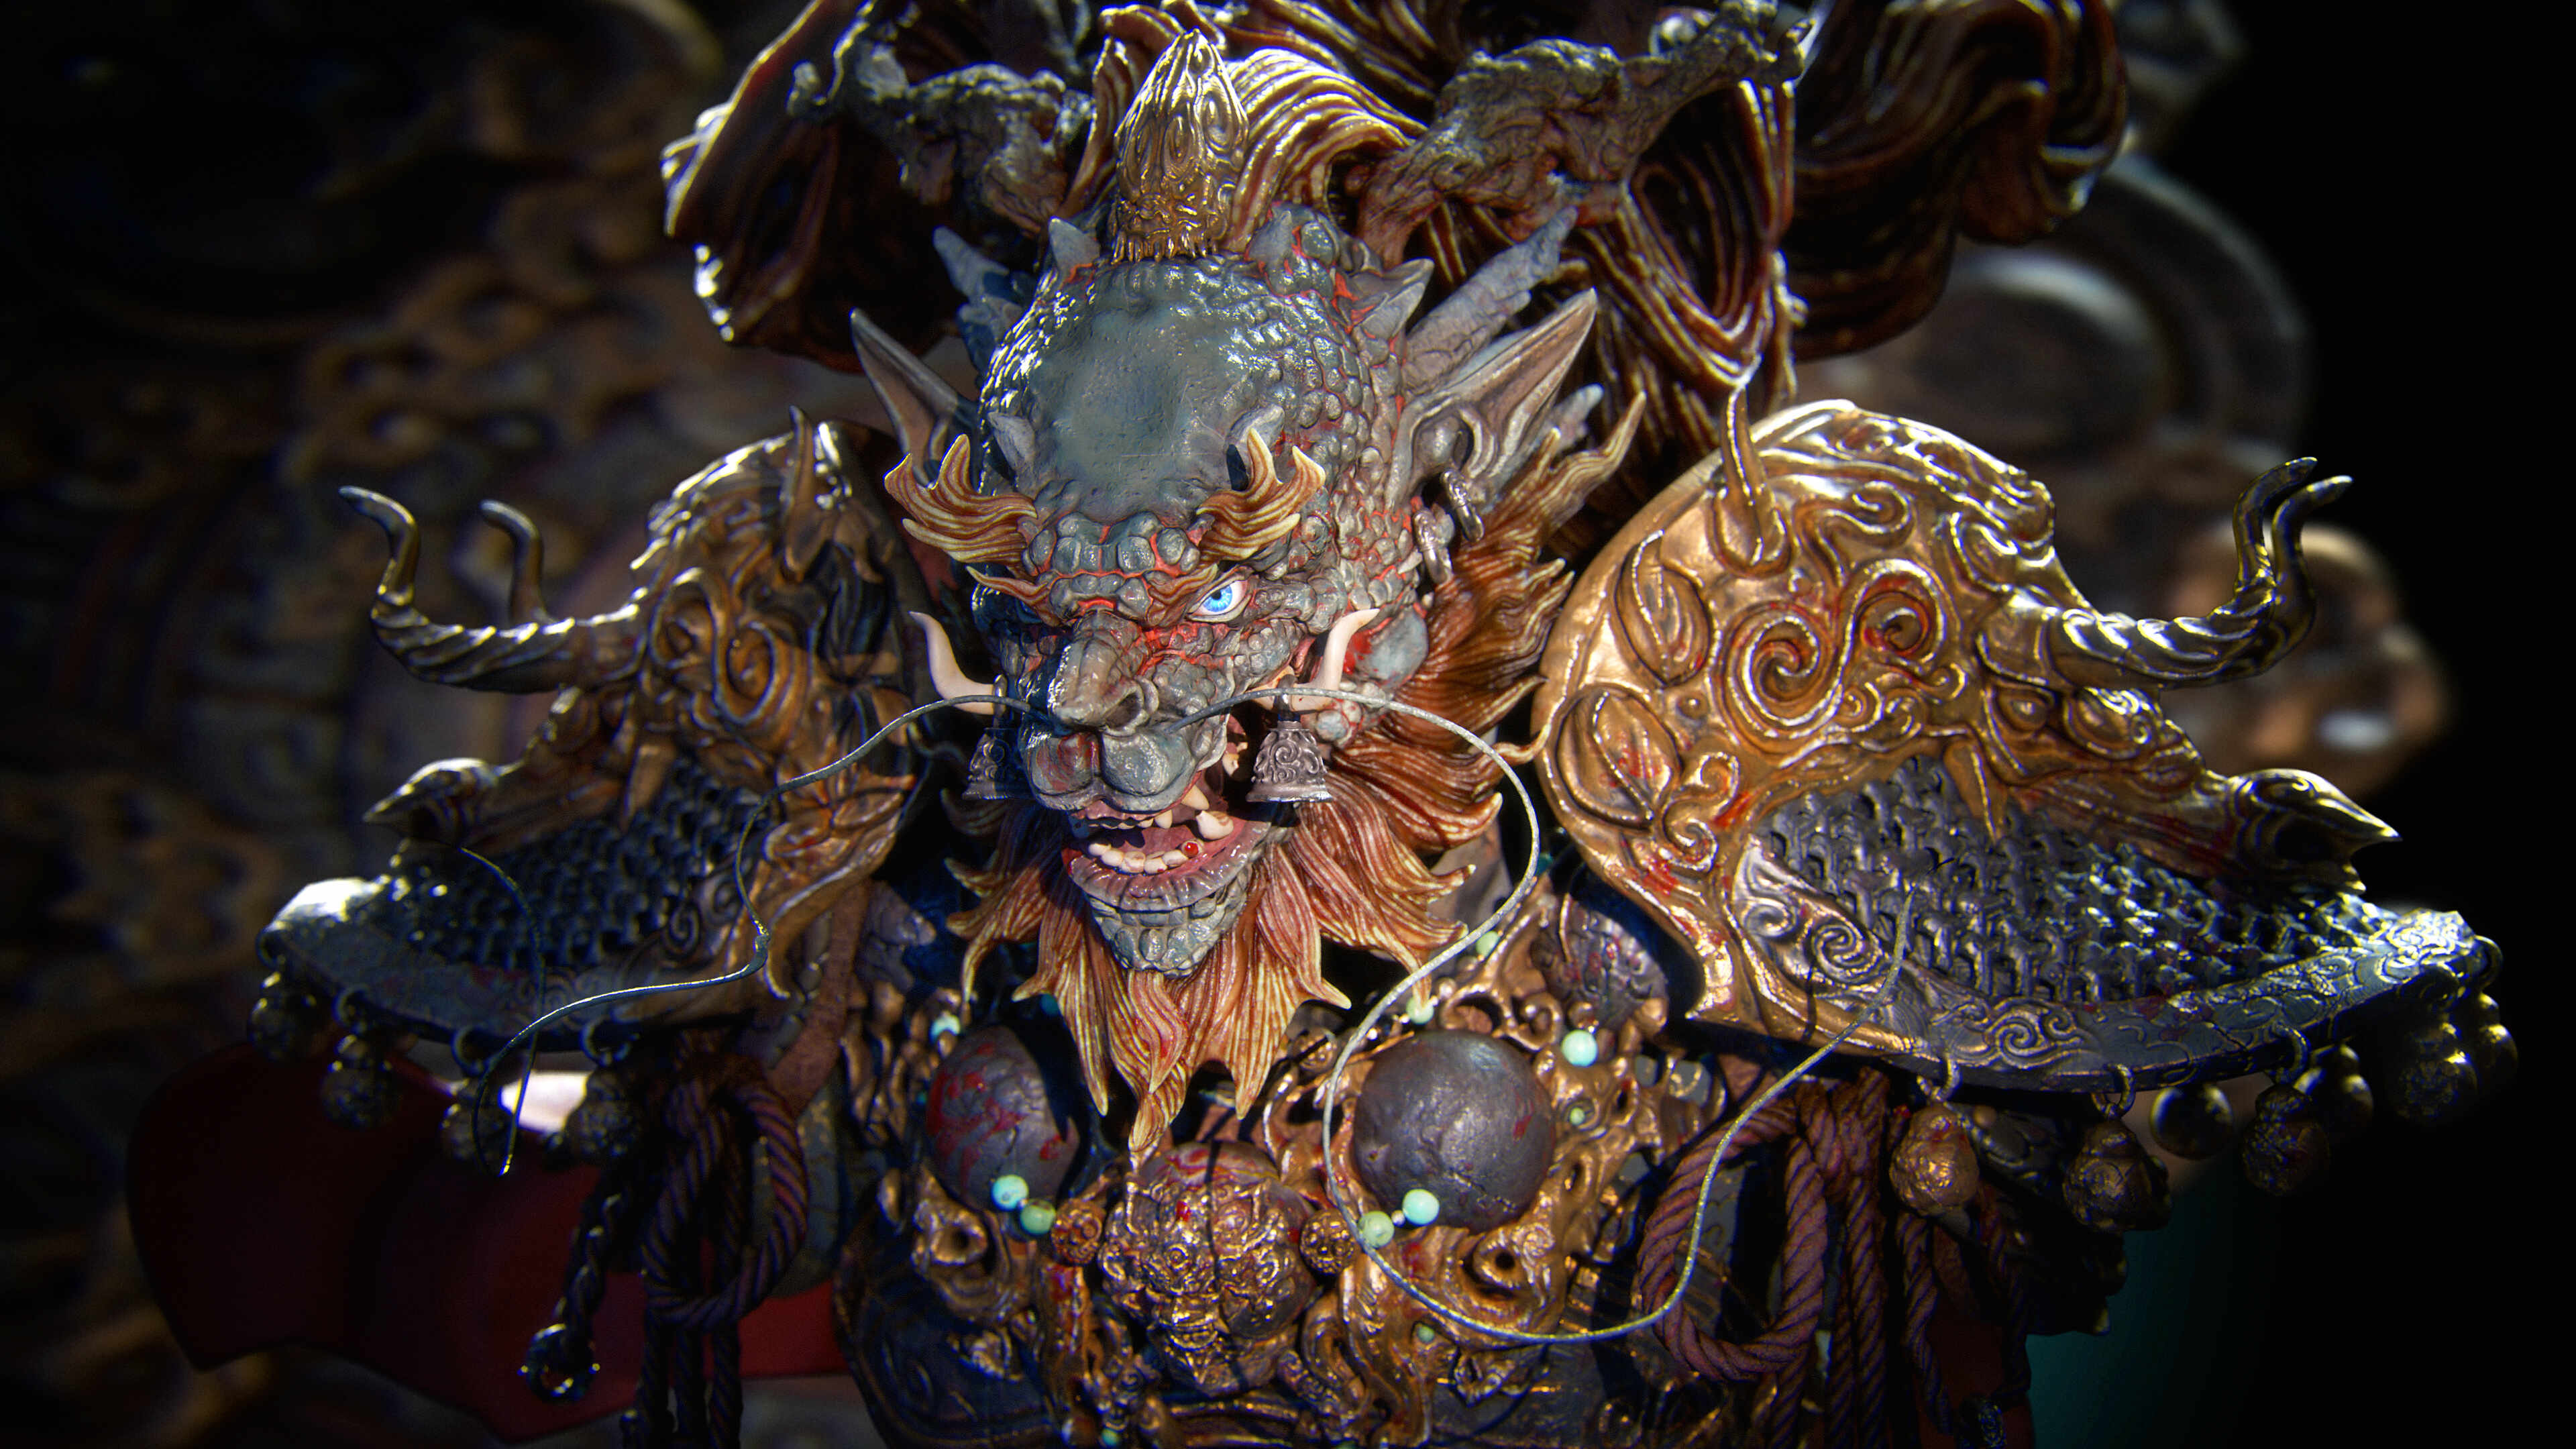
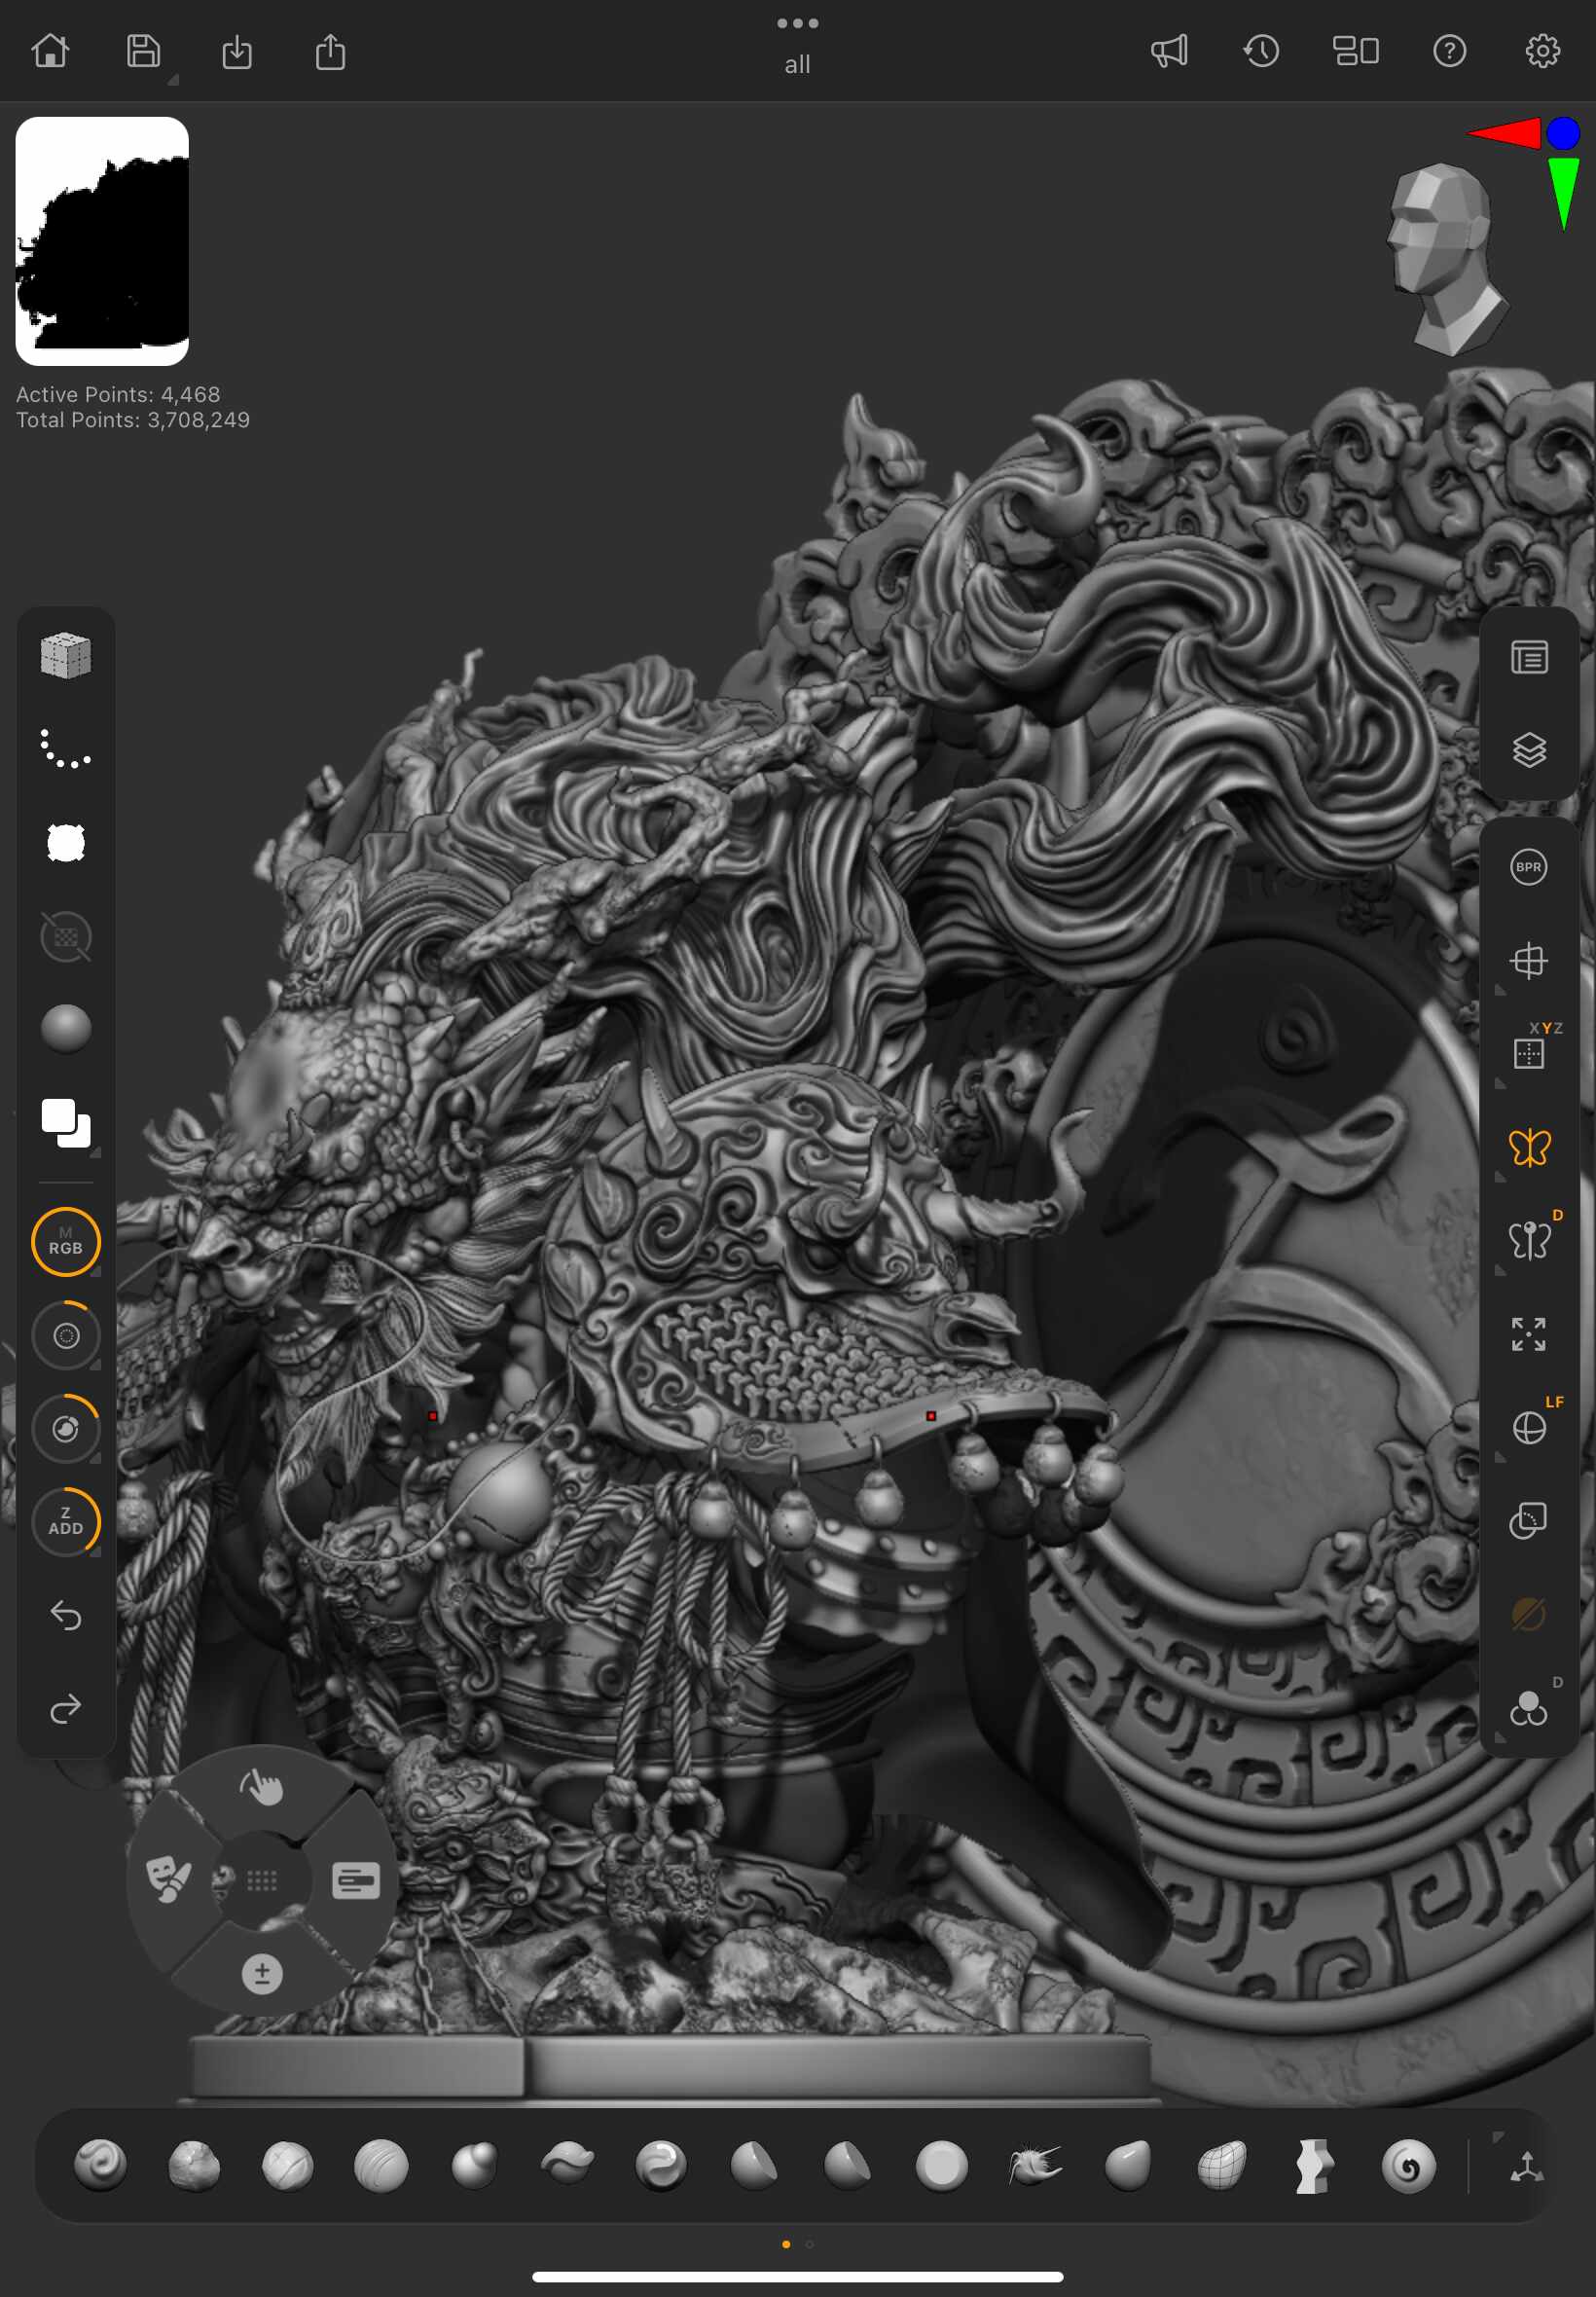
For this dragon model, I used Dynamesh to sculpt the body and ZModeler for the armor—entirely within the iPad version of ZBrush.
I completed both the blockout and high-poly modeling stages using the iPad M5 (256GB and 1TB models). I’m genuinely impressed by how intuitive and powerful ZModeler feels on the iPad, making complex modeling workflows surprisingly fluid.

As part of the release, I’ll also be sharing a breakdown of how I created key elements of the dragon model directly in ZBrush for iPad.
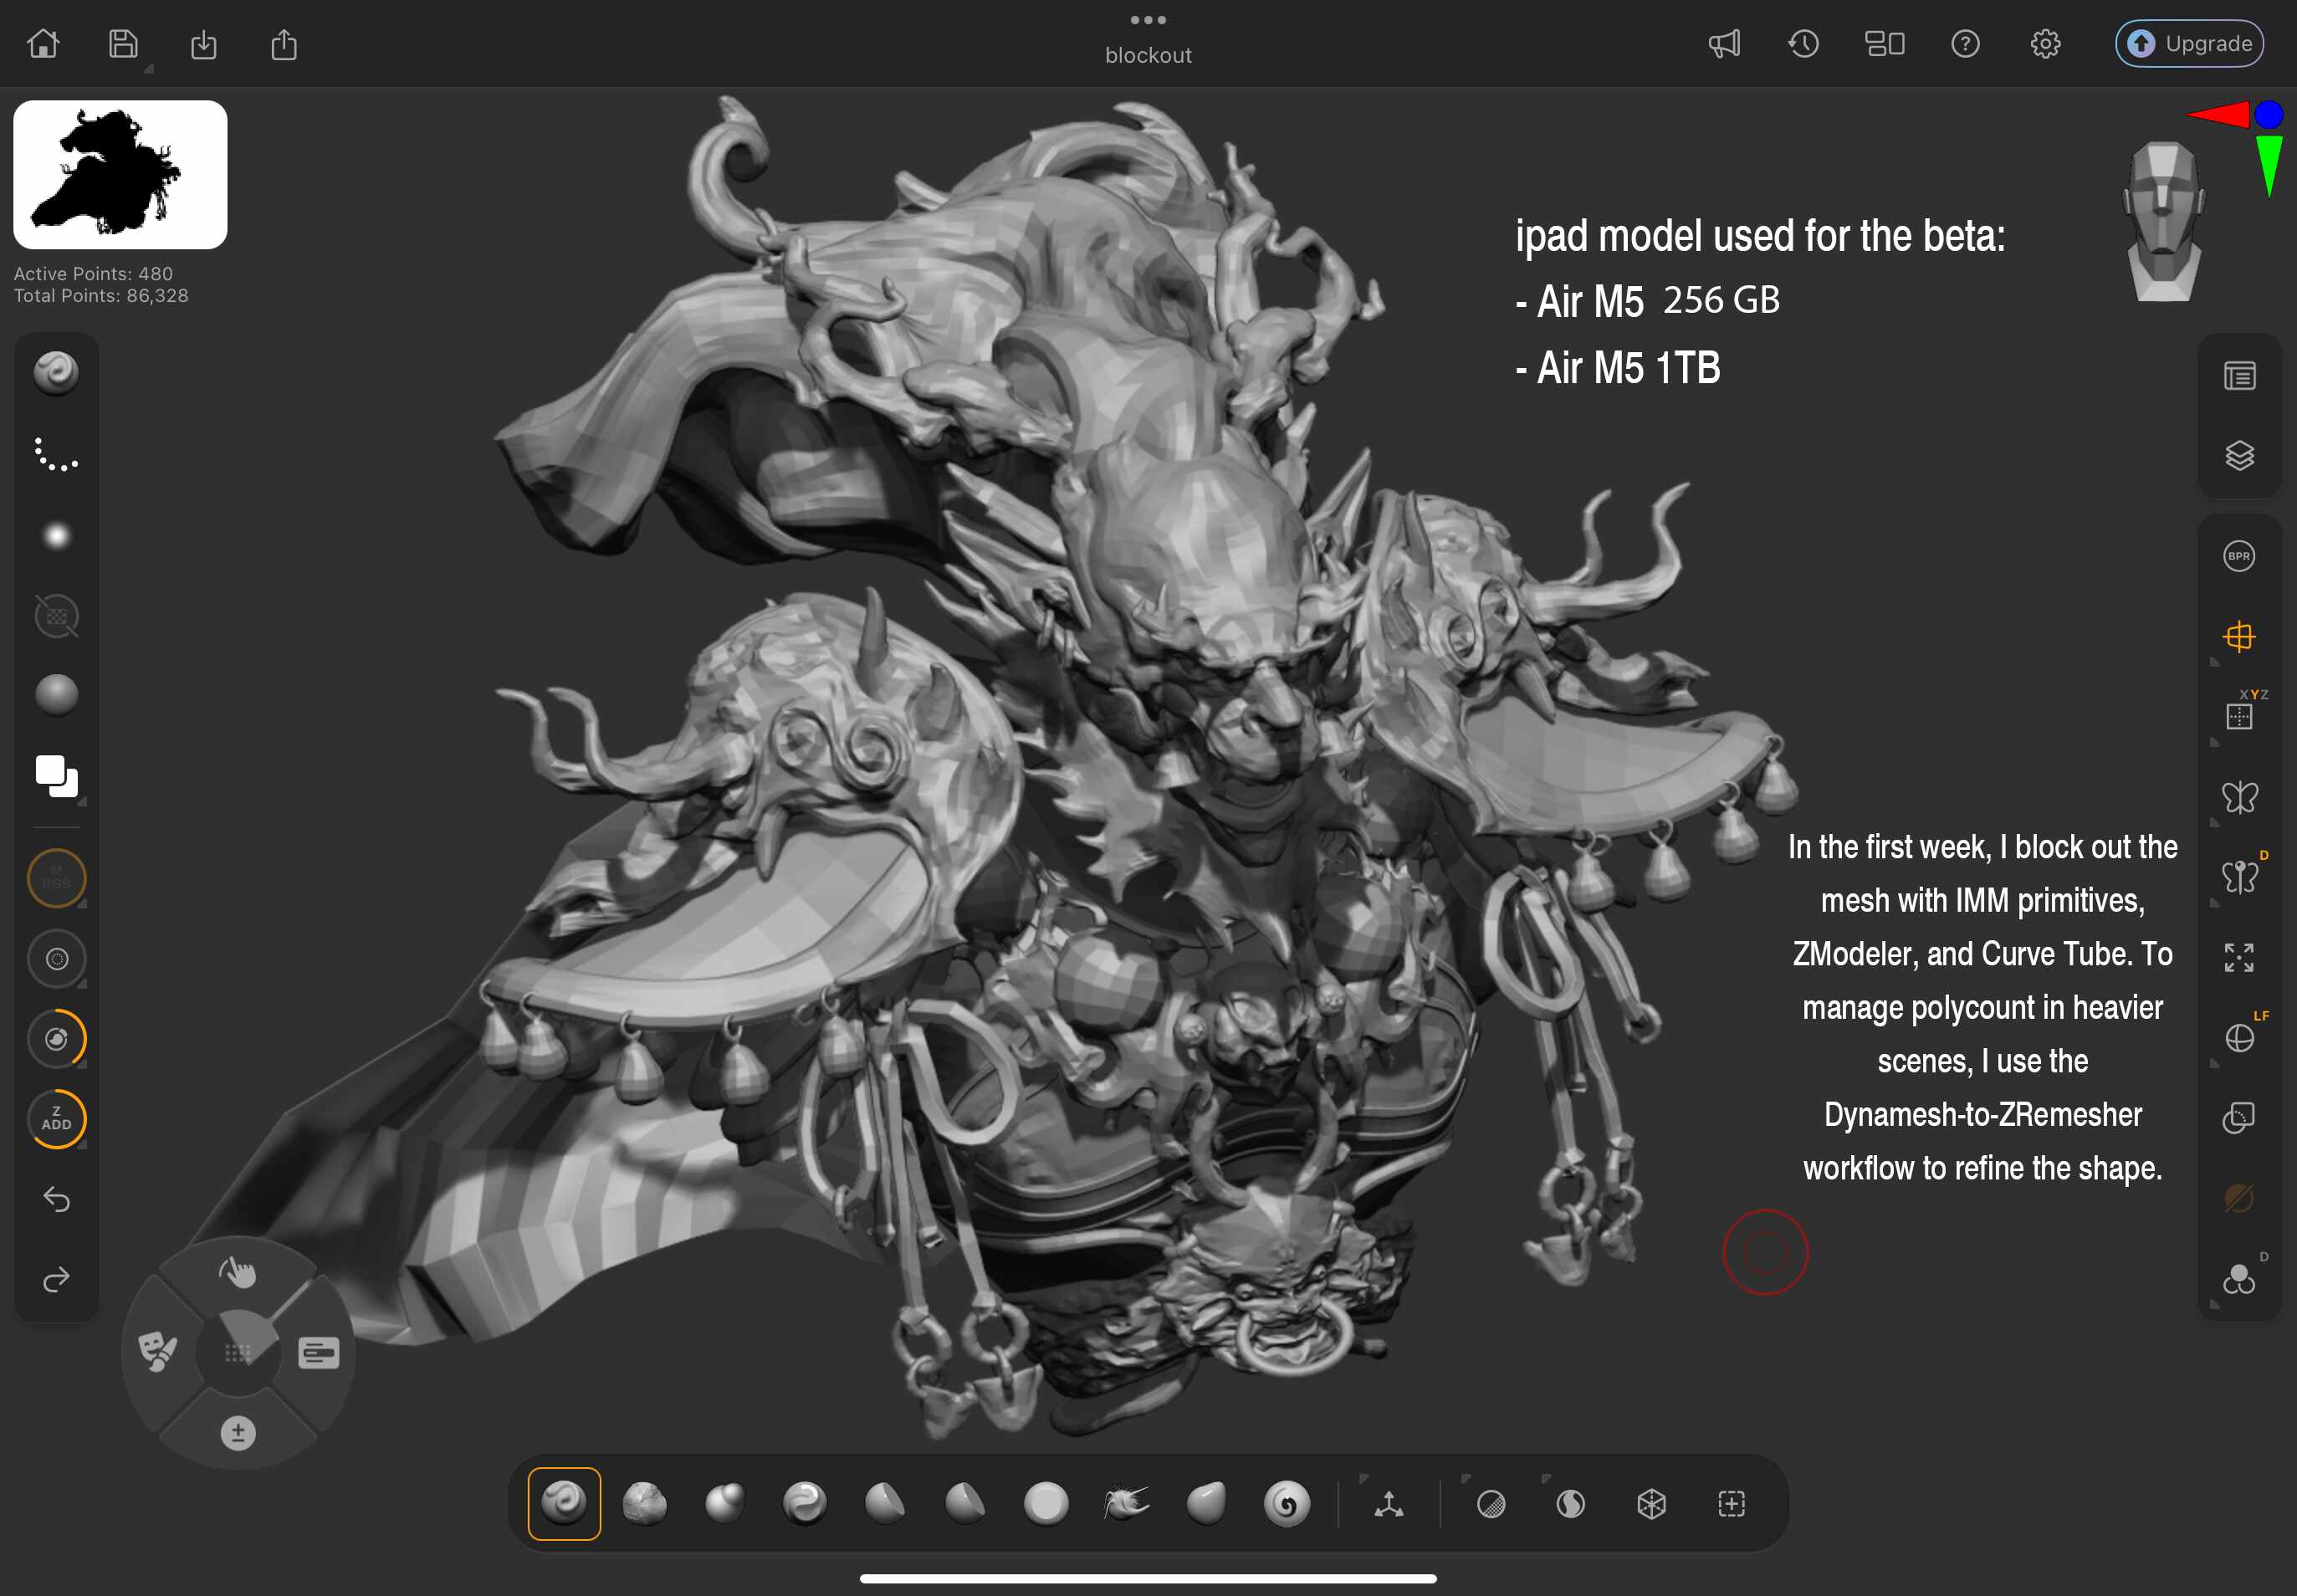
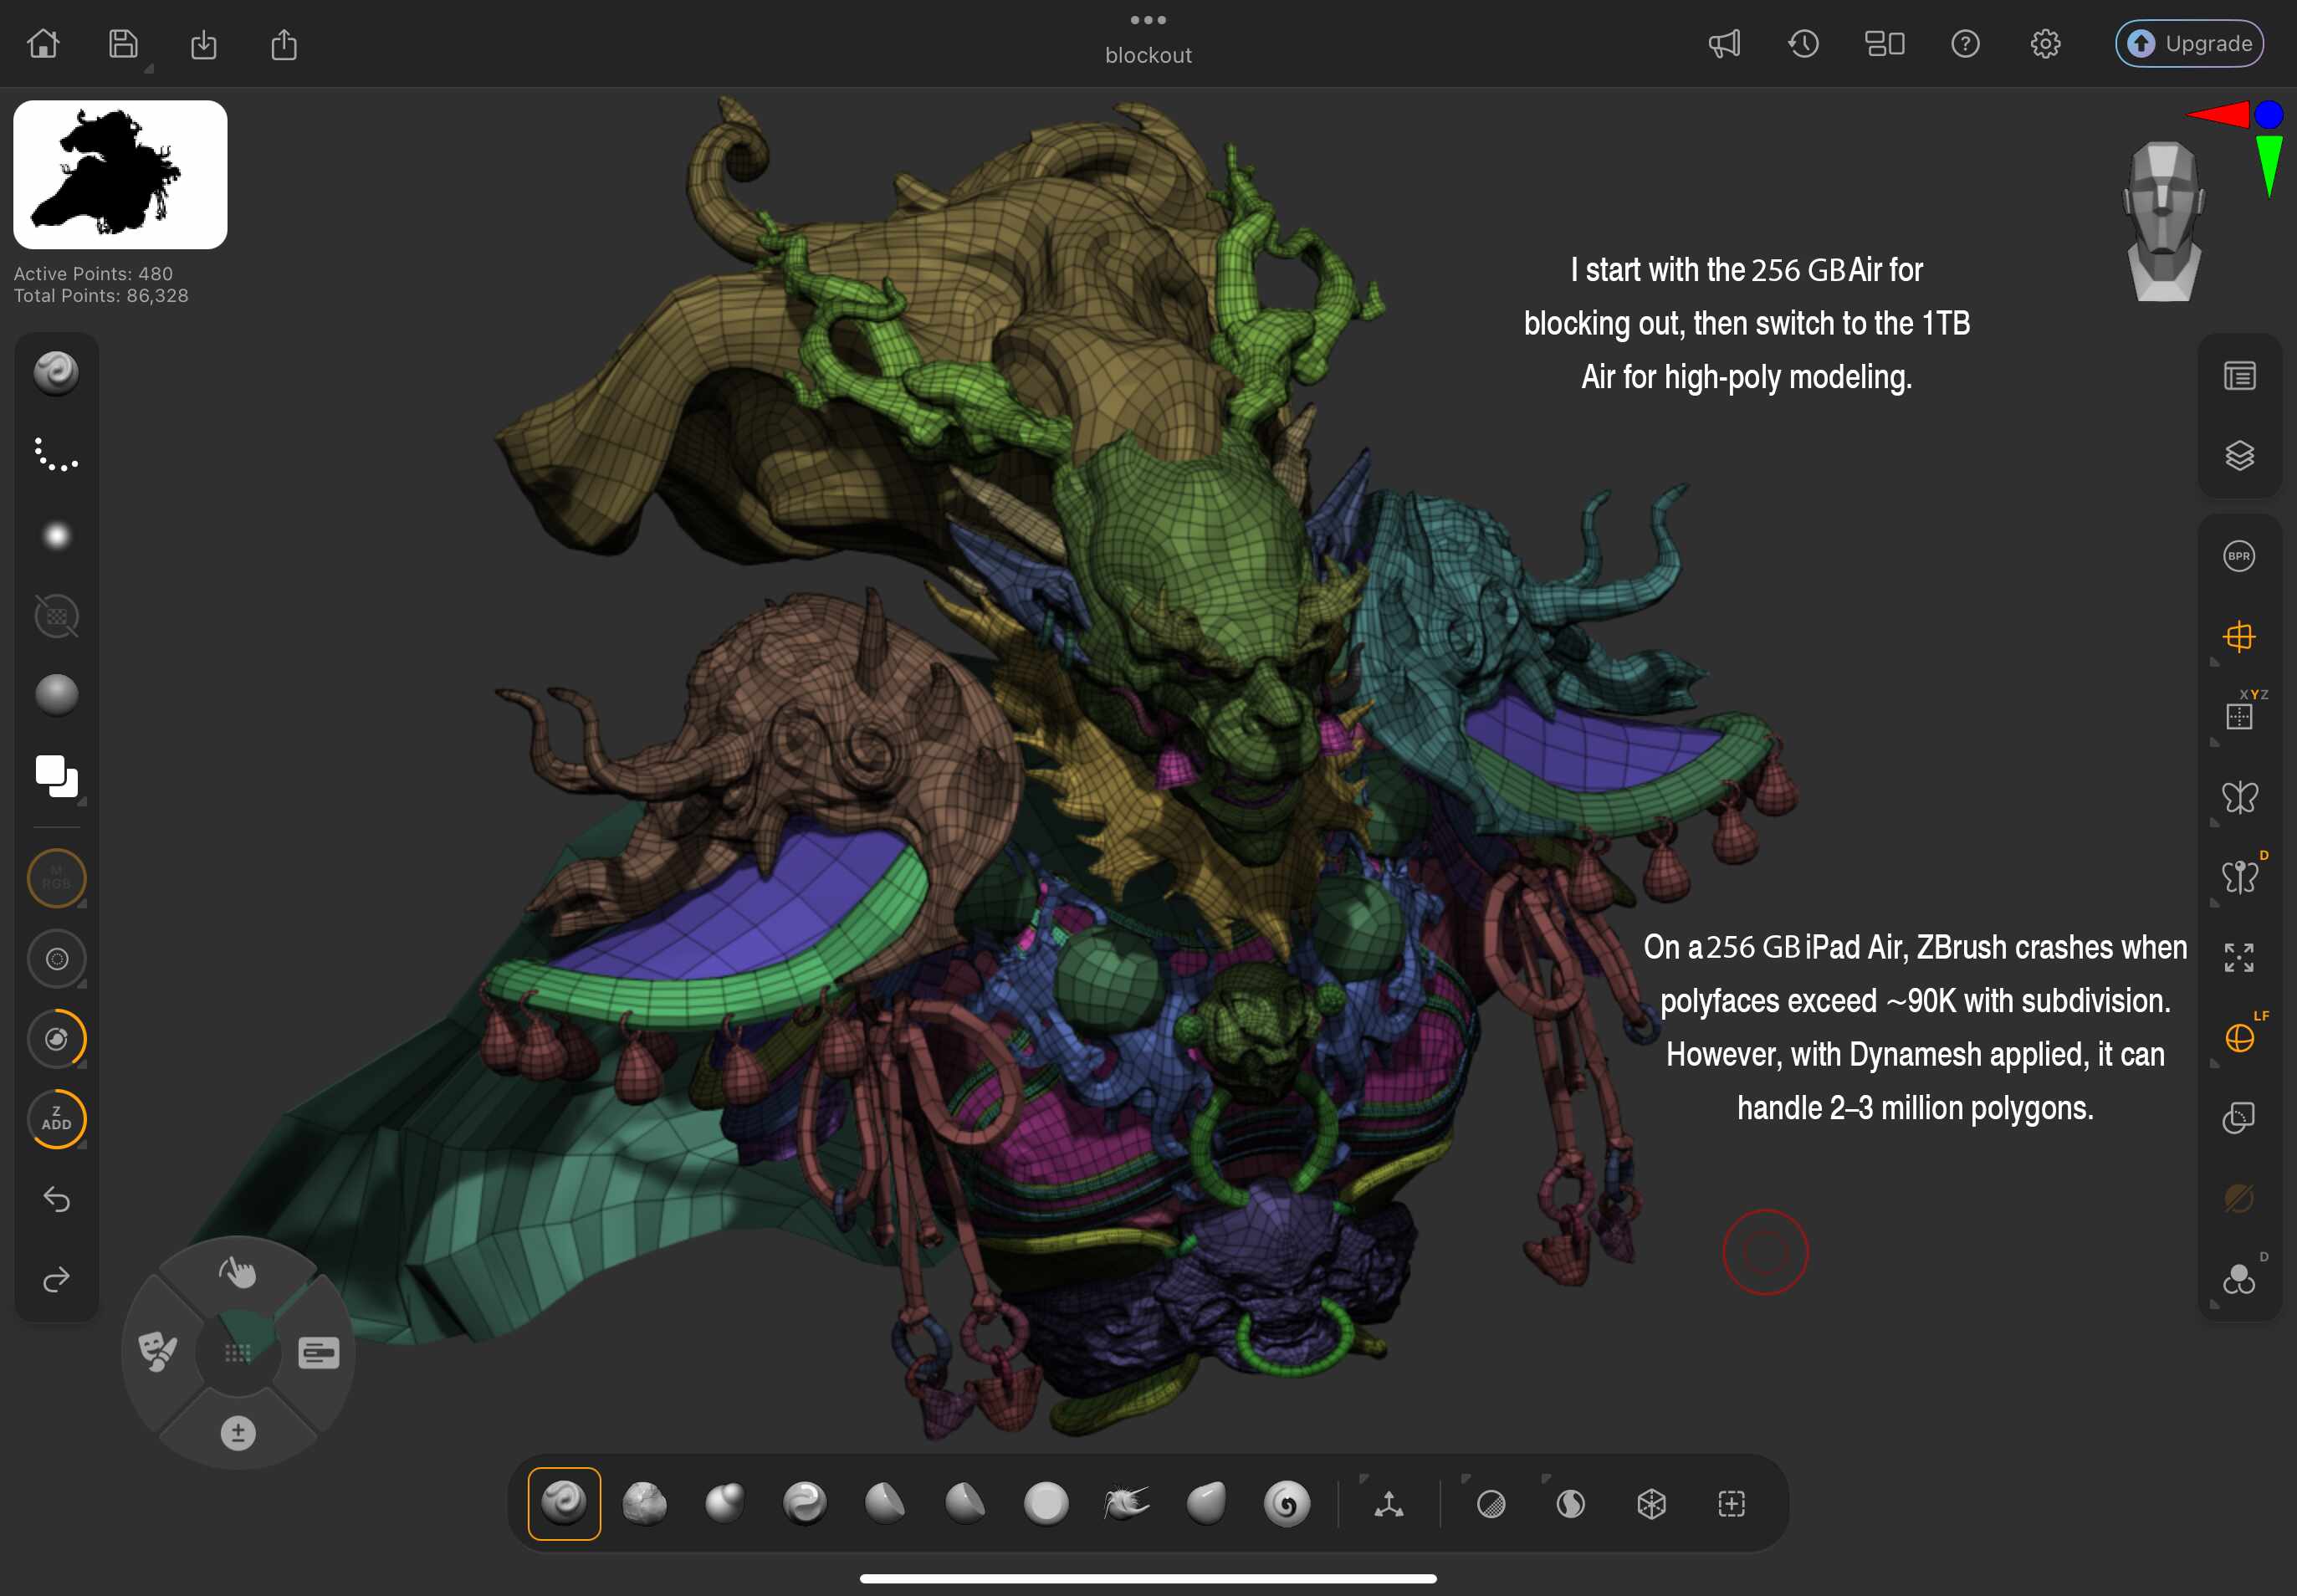
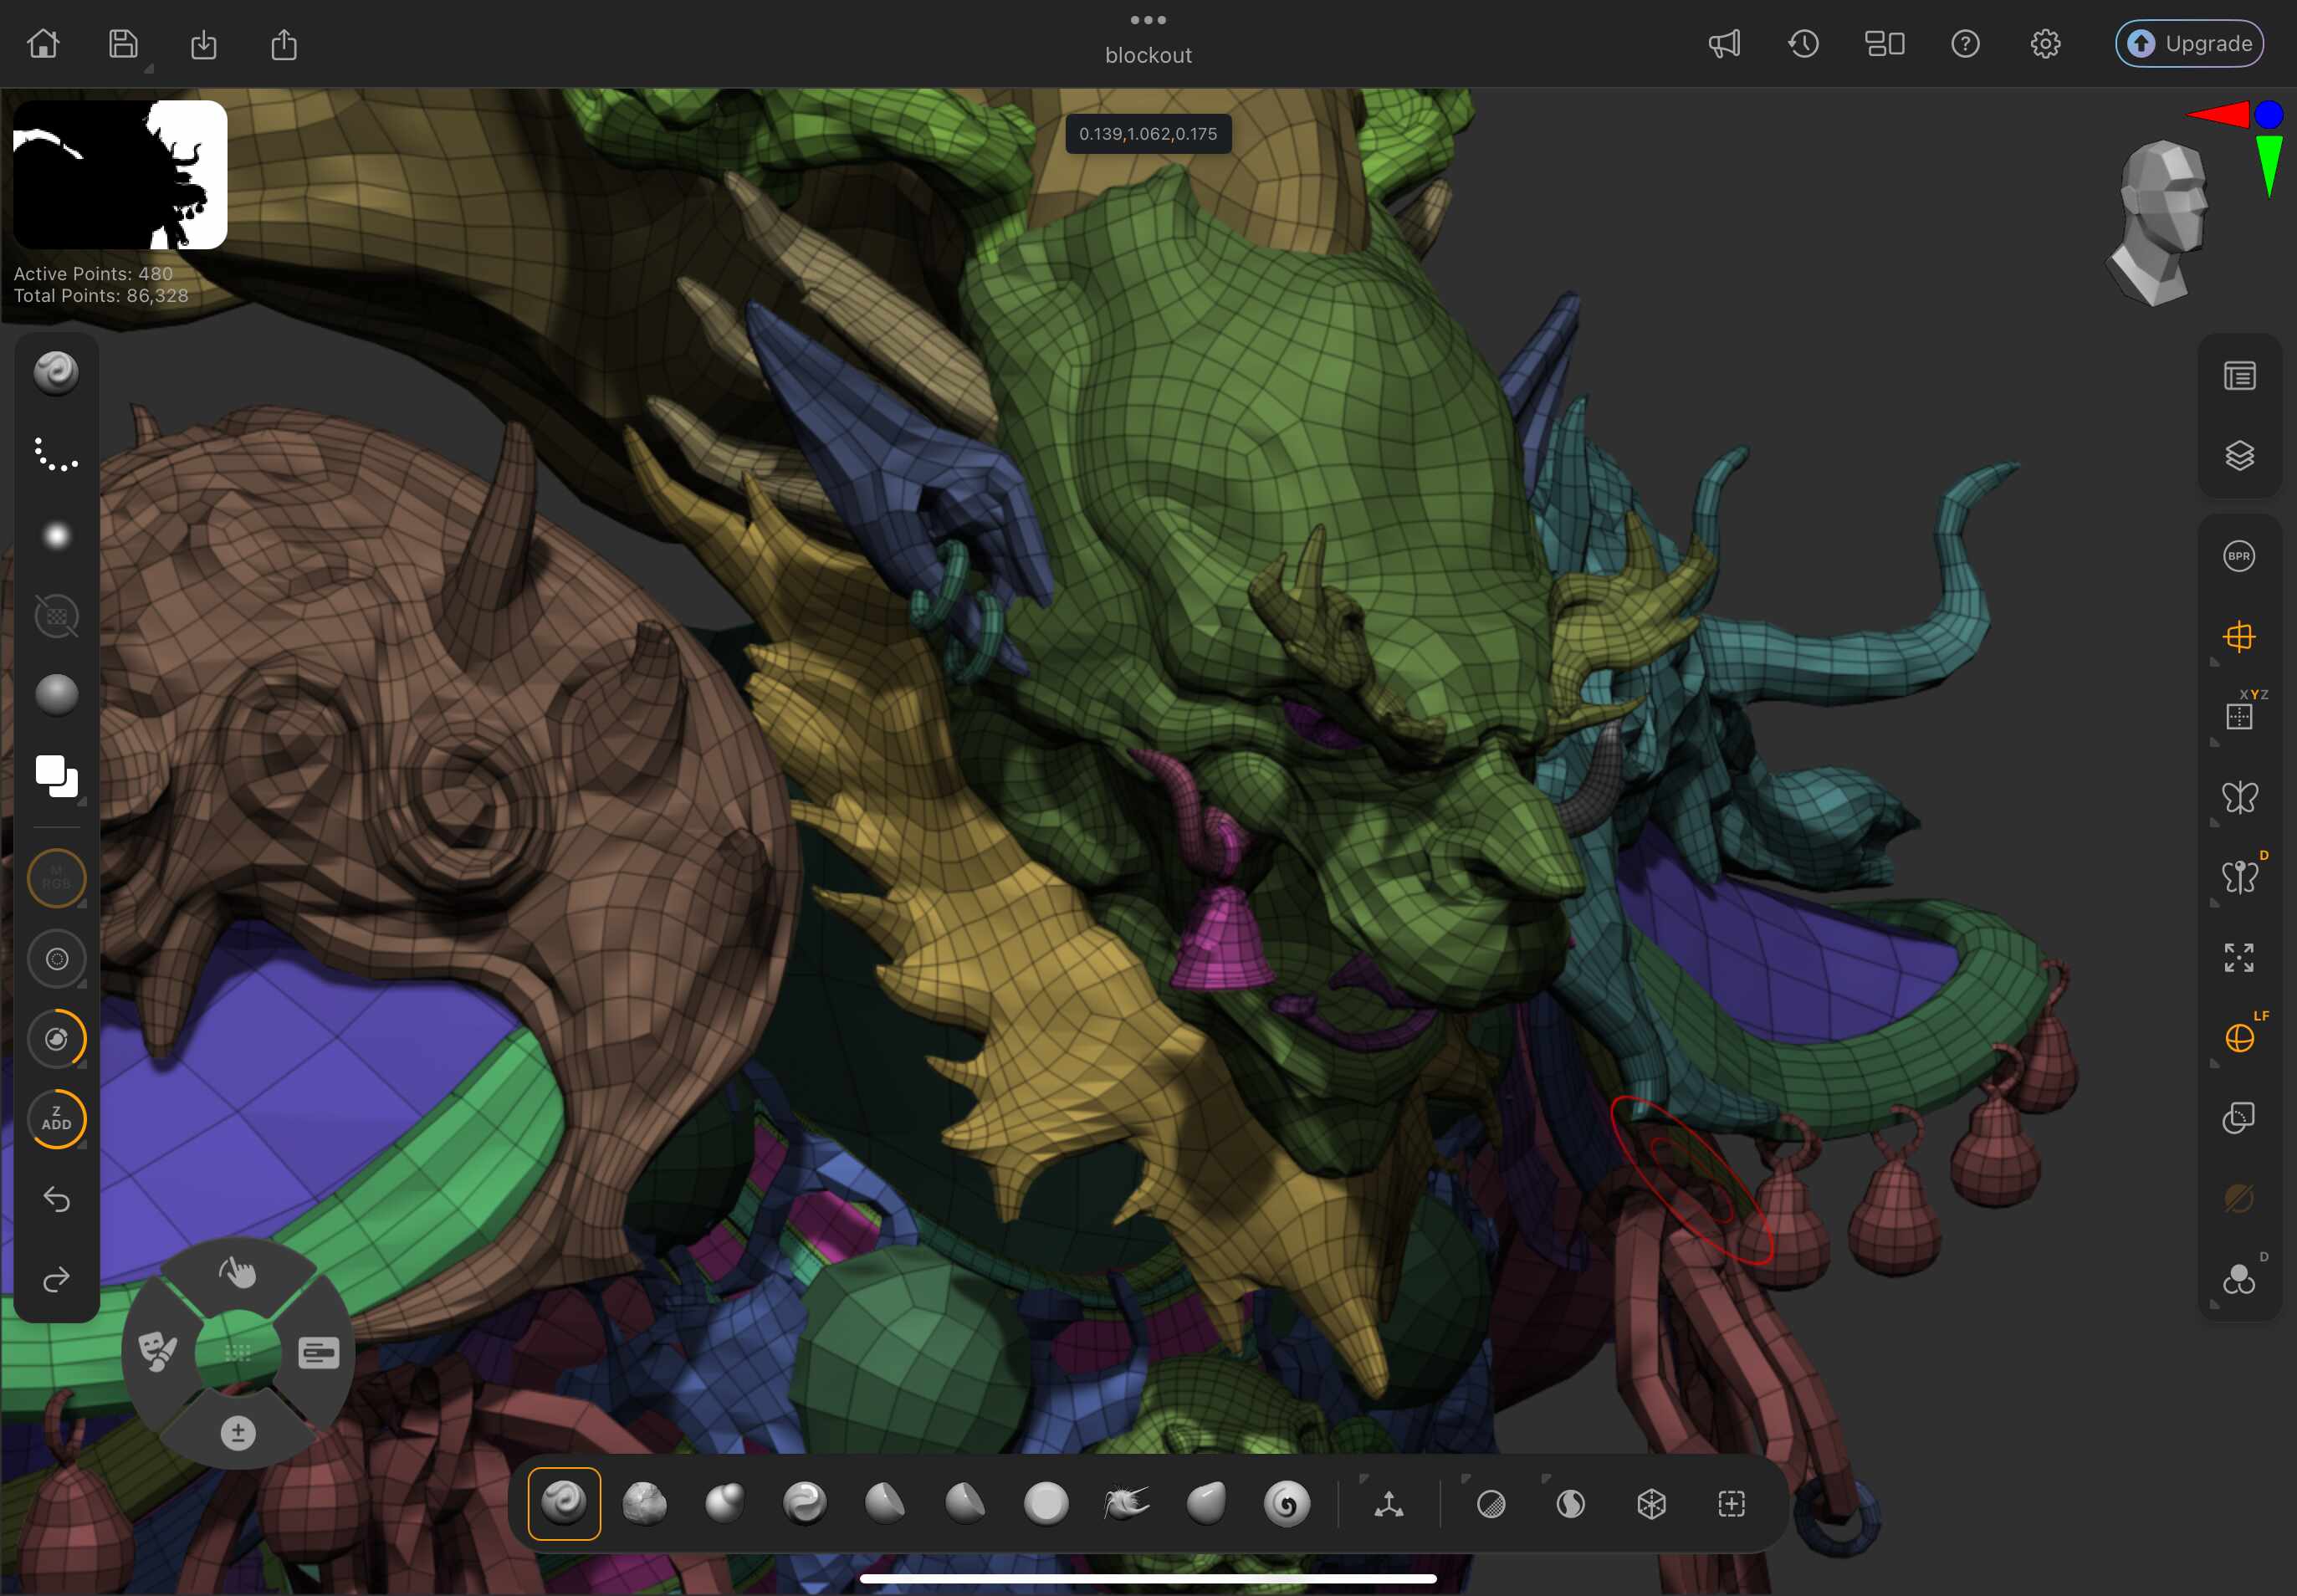
Upon gaining access to the beta version, I began by blocking out the base model on the iPad Air M5 (256GB), which I found ideal for staying focused on the overall form without getting caught up in details too early.
It also allowed me to maintain better control over the polygon count at this stage.

During the second week of beta testing, I reached a stage where I could begin exploring ZModeler and integrating it into my workflow on the iPad.
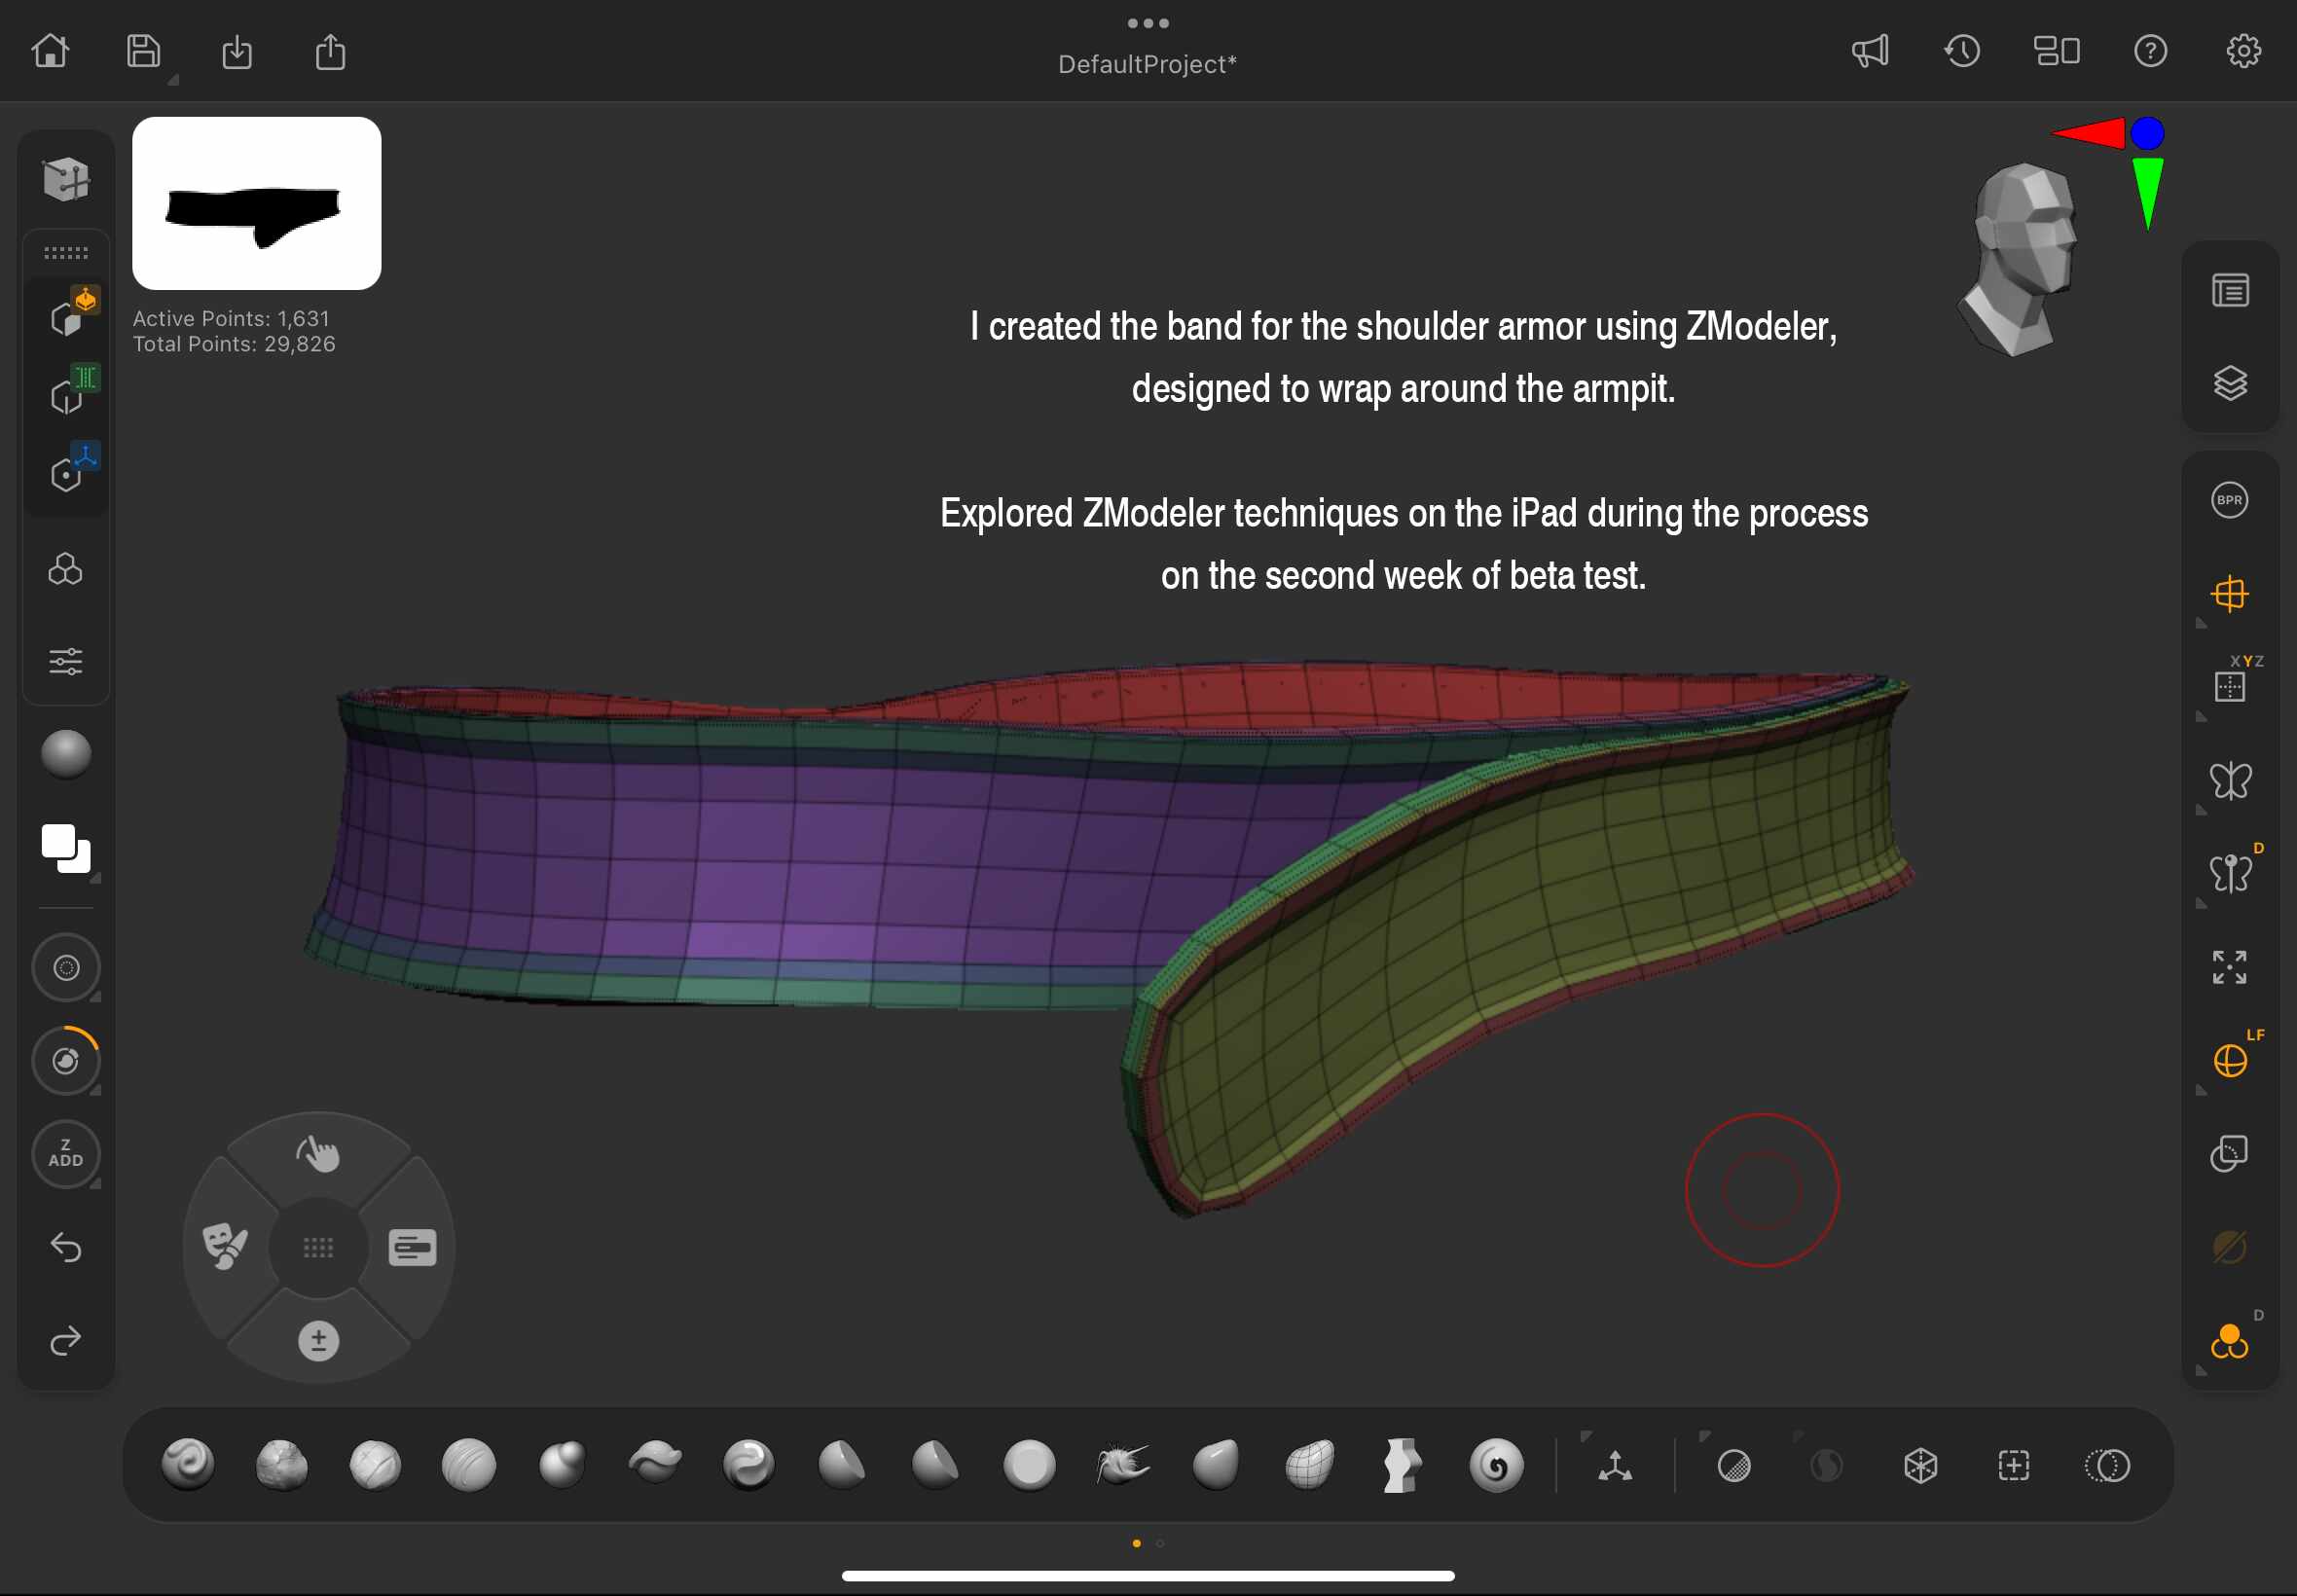
I prioritized the areas where it would be most effective—such as the armor and ground plates—and began developing those components first.

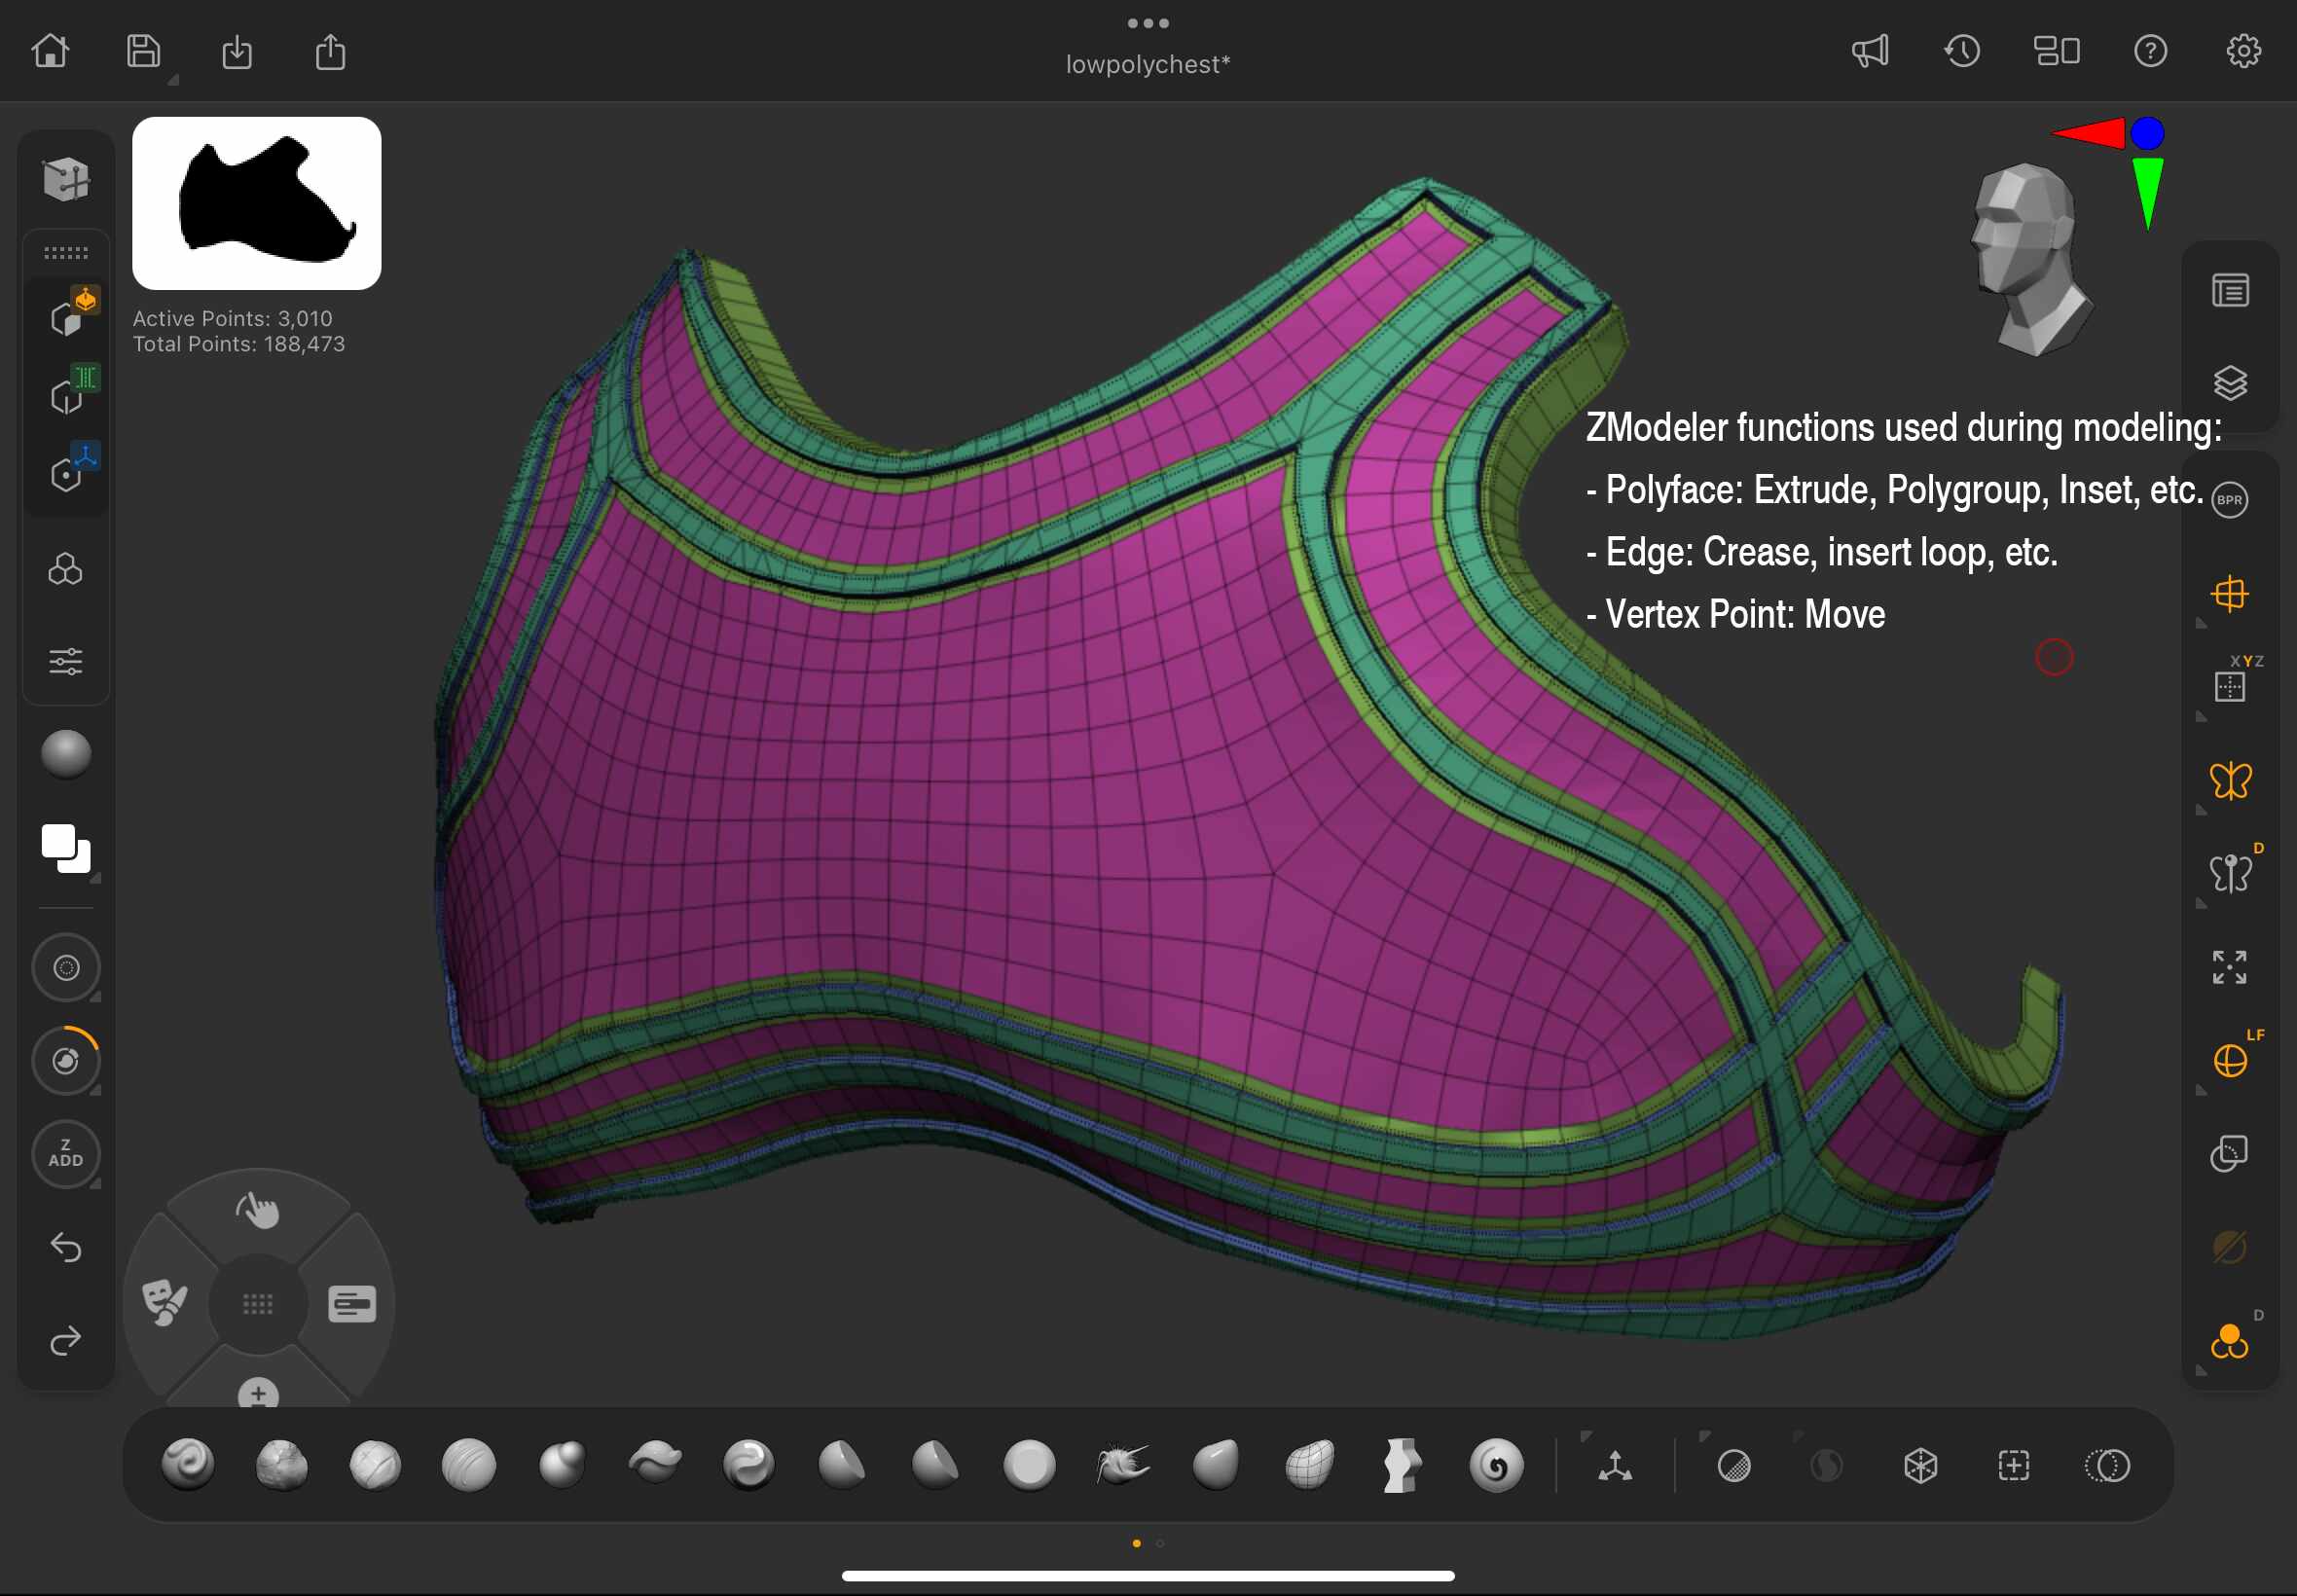
I found myself frequently using EdgeLoop, which is conveniently integrated into ZBrush for iPad.
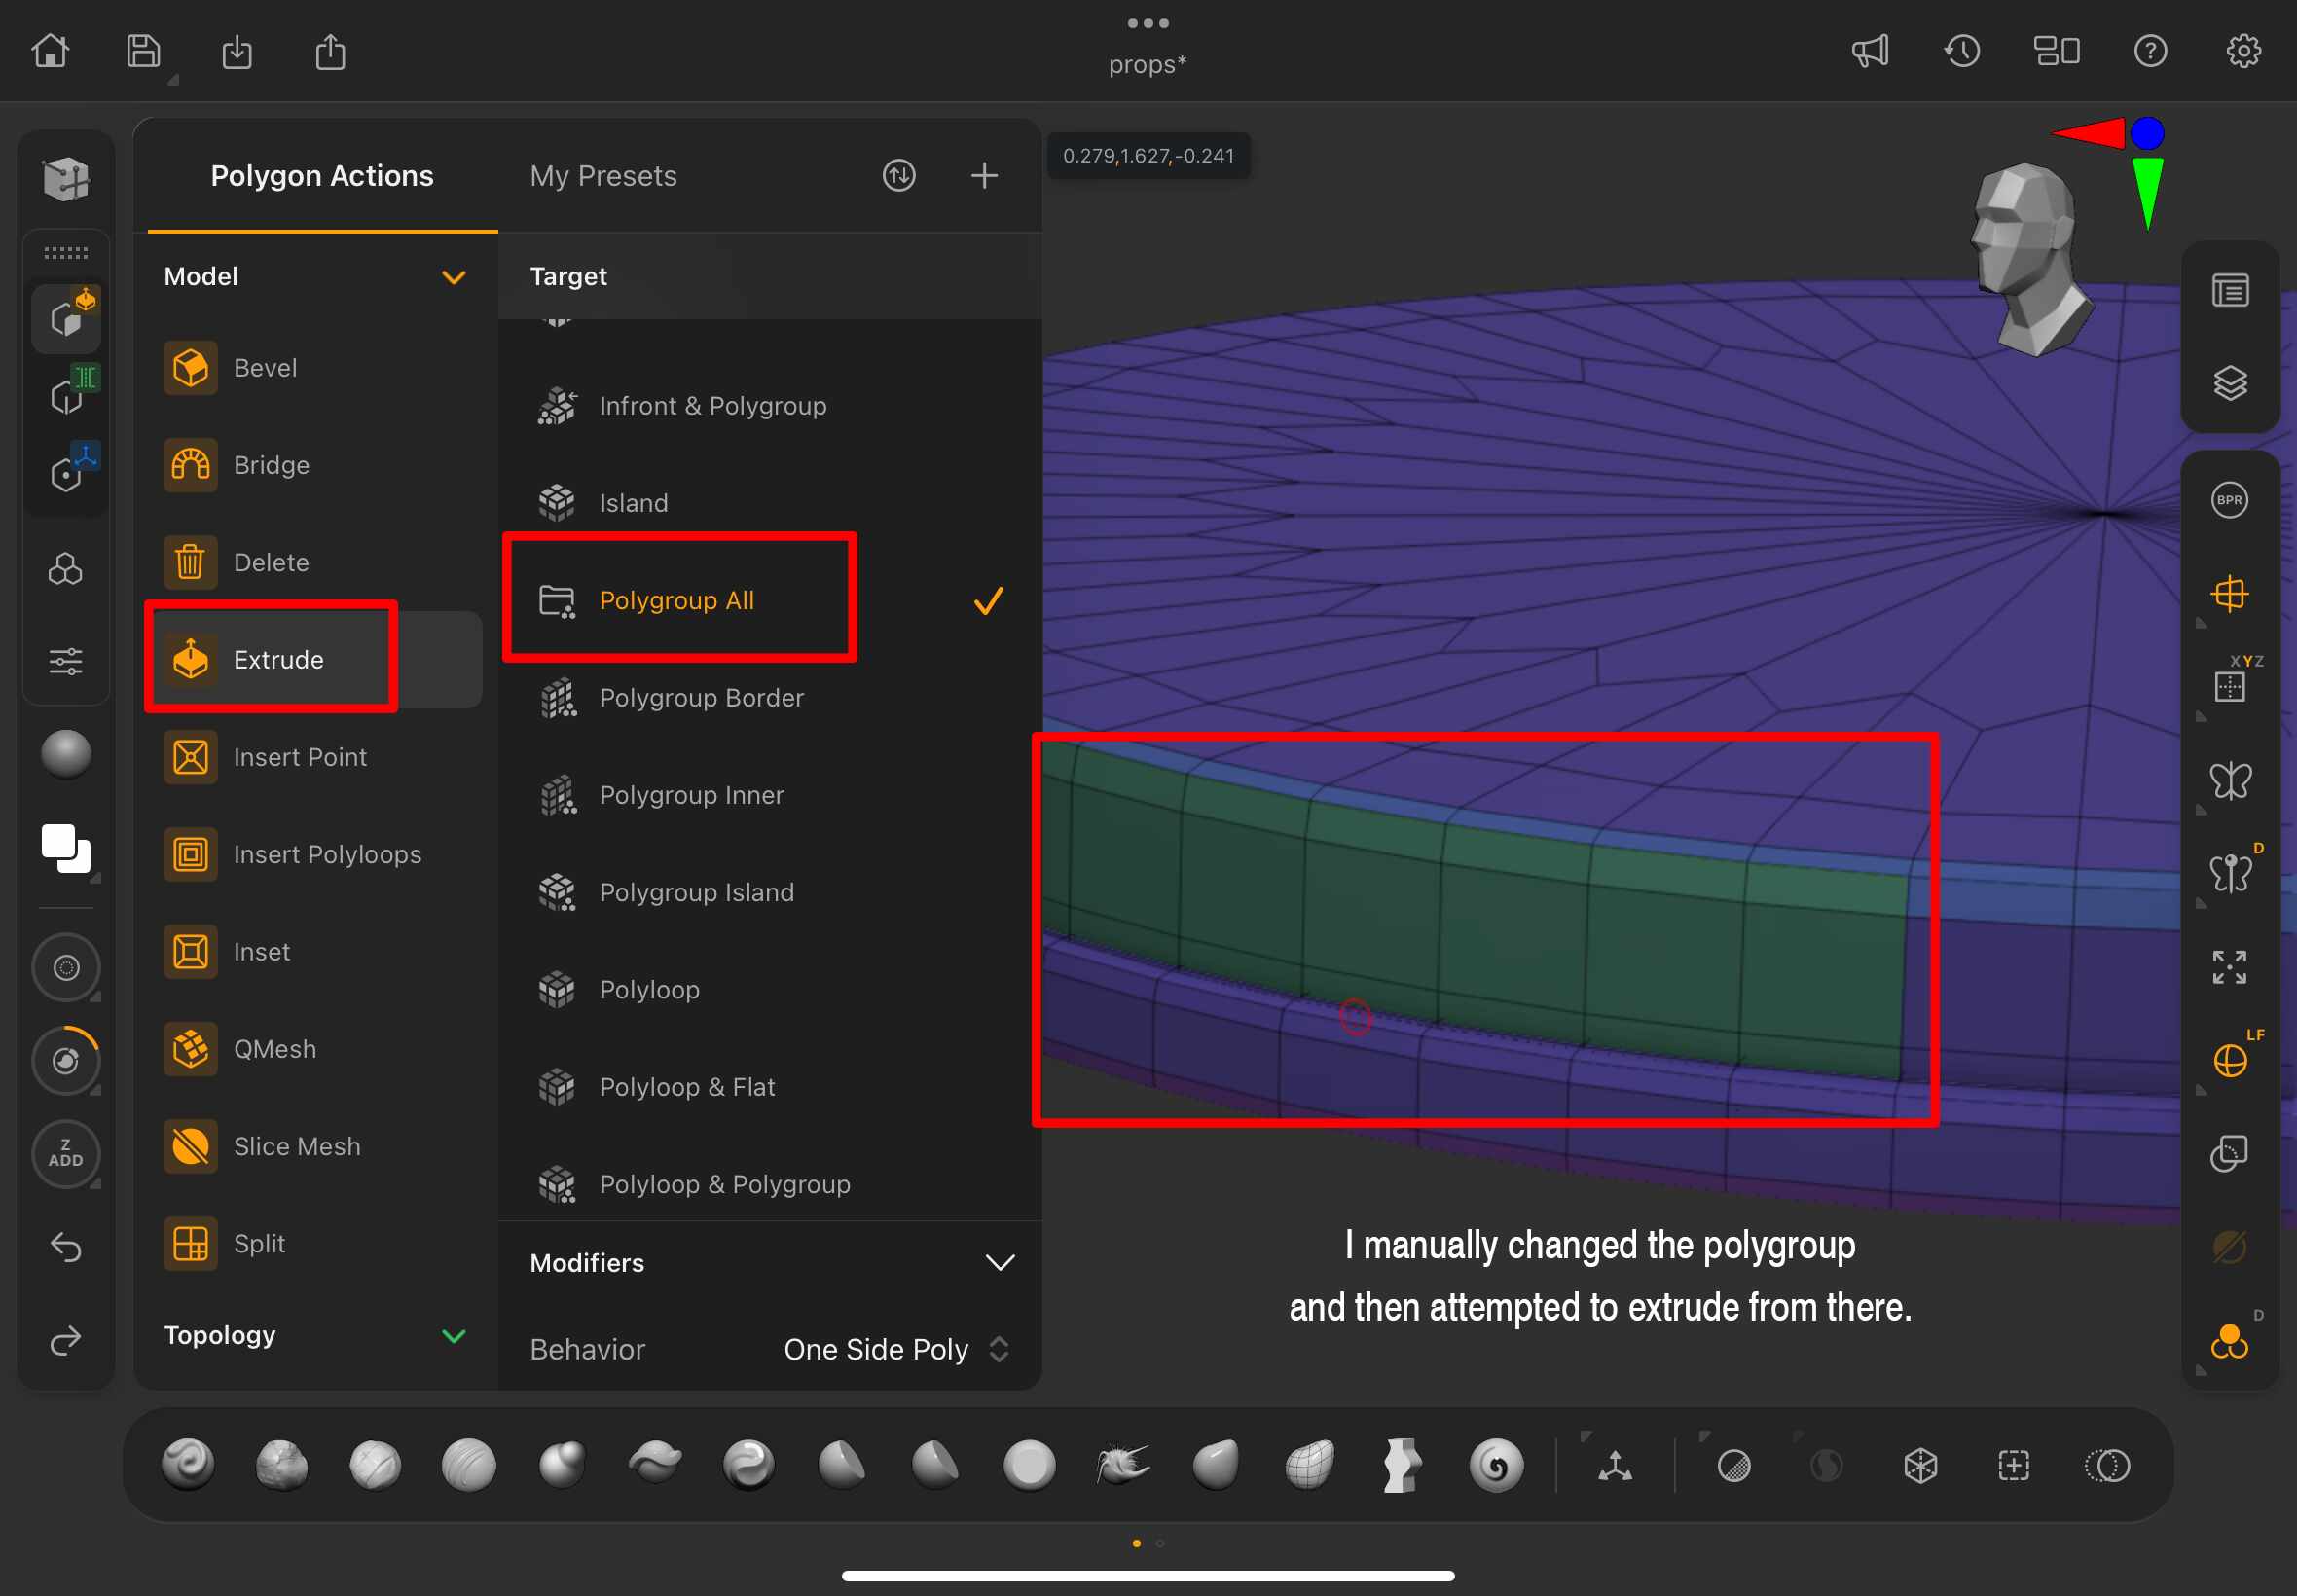
This feature provided a high level of control over the modeling process. My workflow began with assigning Polygroups and using loop selection to isolate specific areas for extrusion.
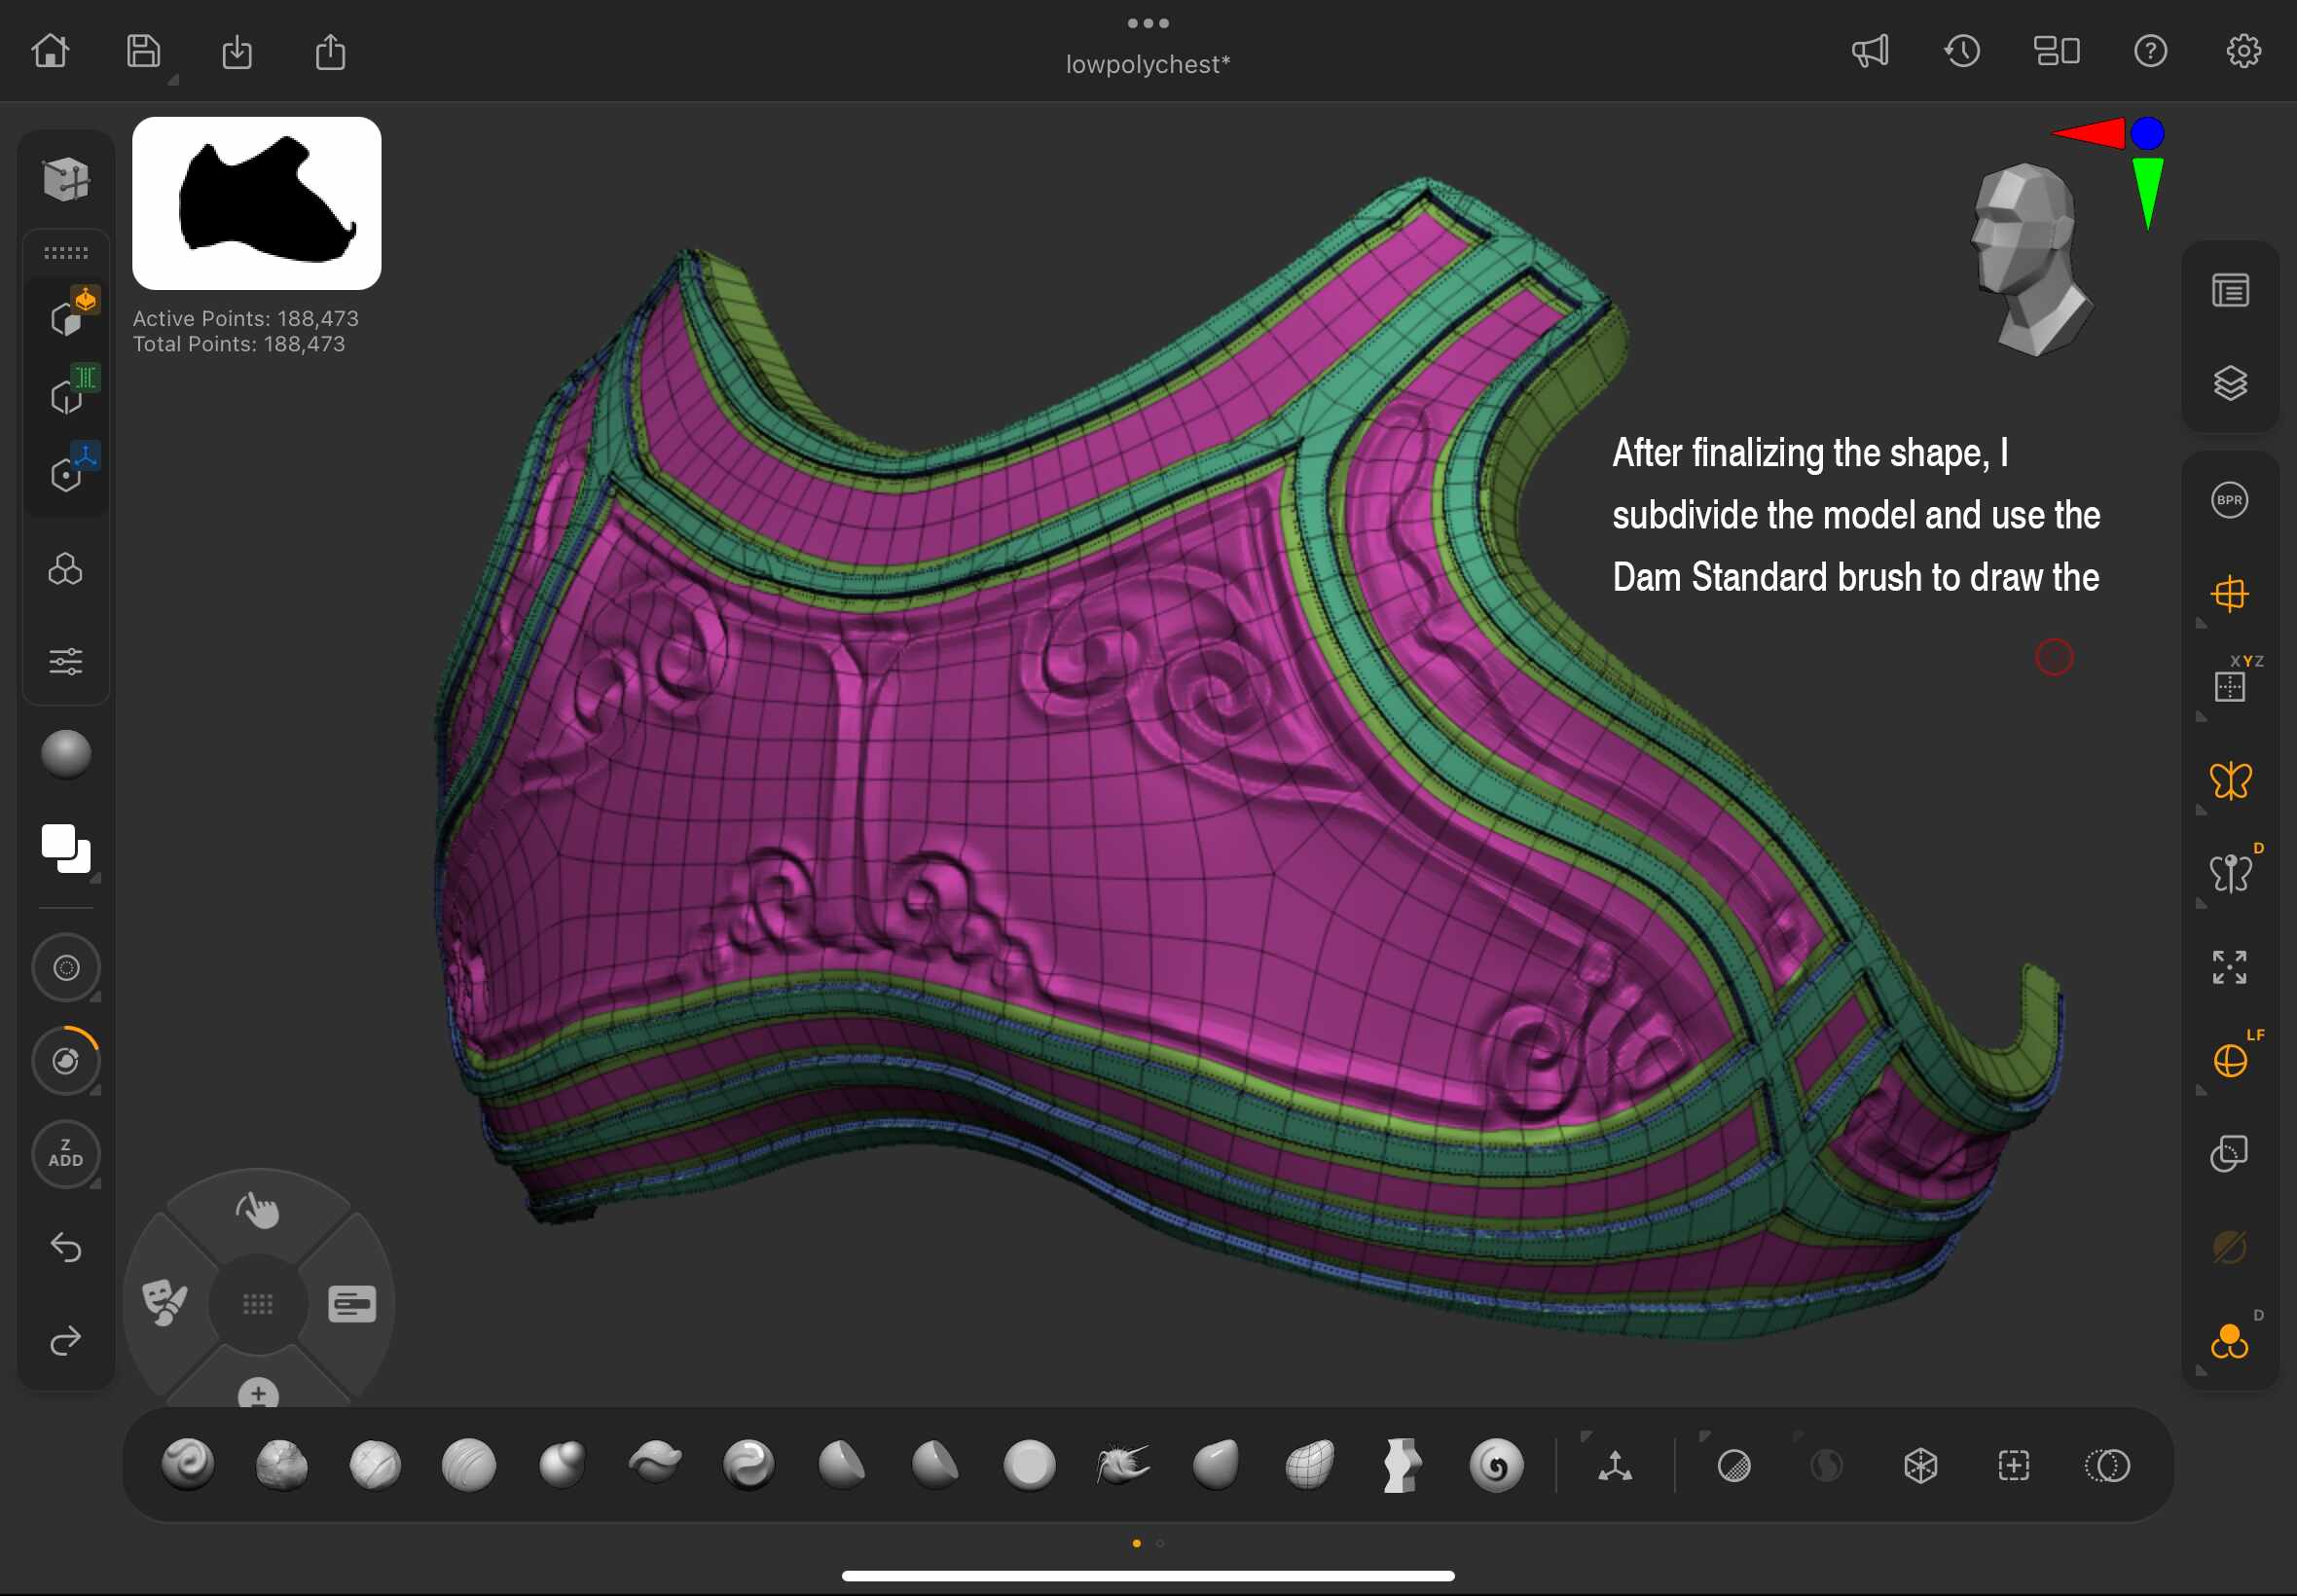
Organizing Polygroups early on proved especially helpful, as it significantly streamlined the remeshing process later in production.
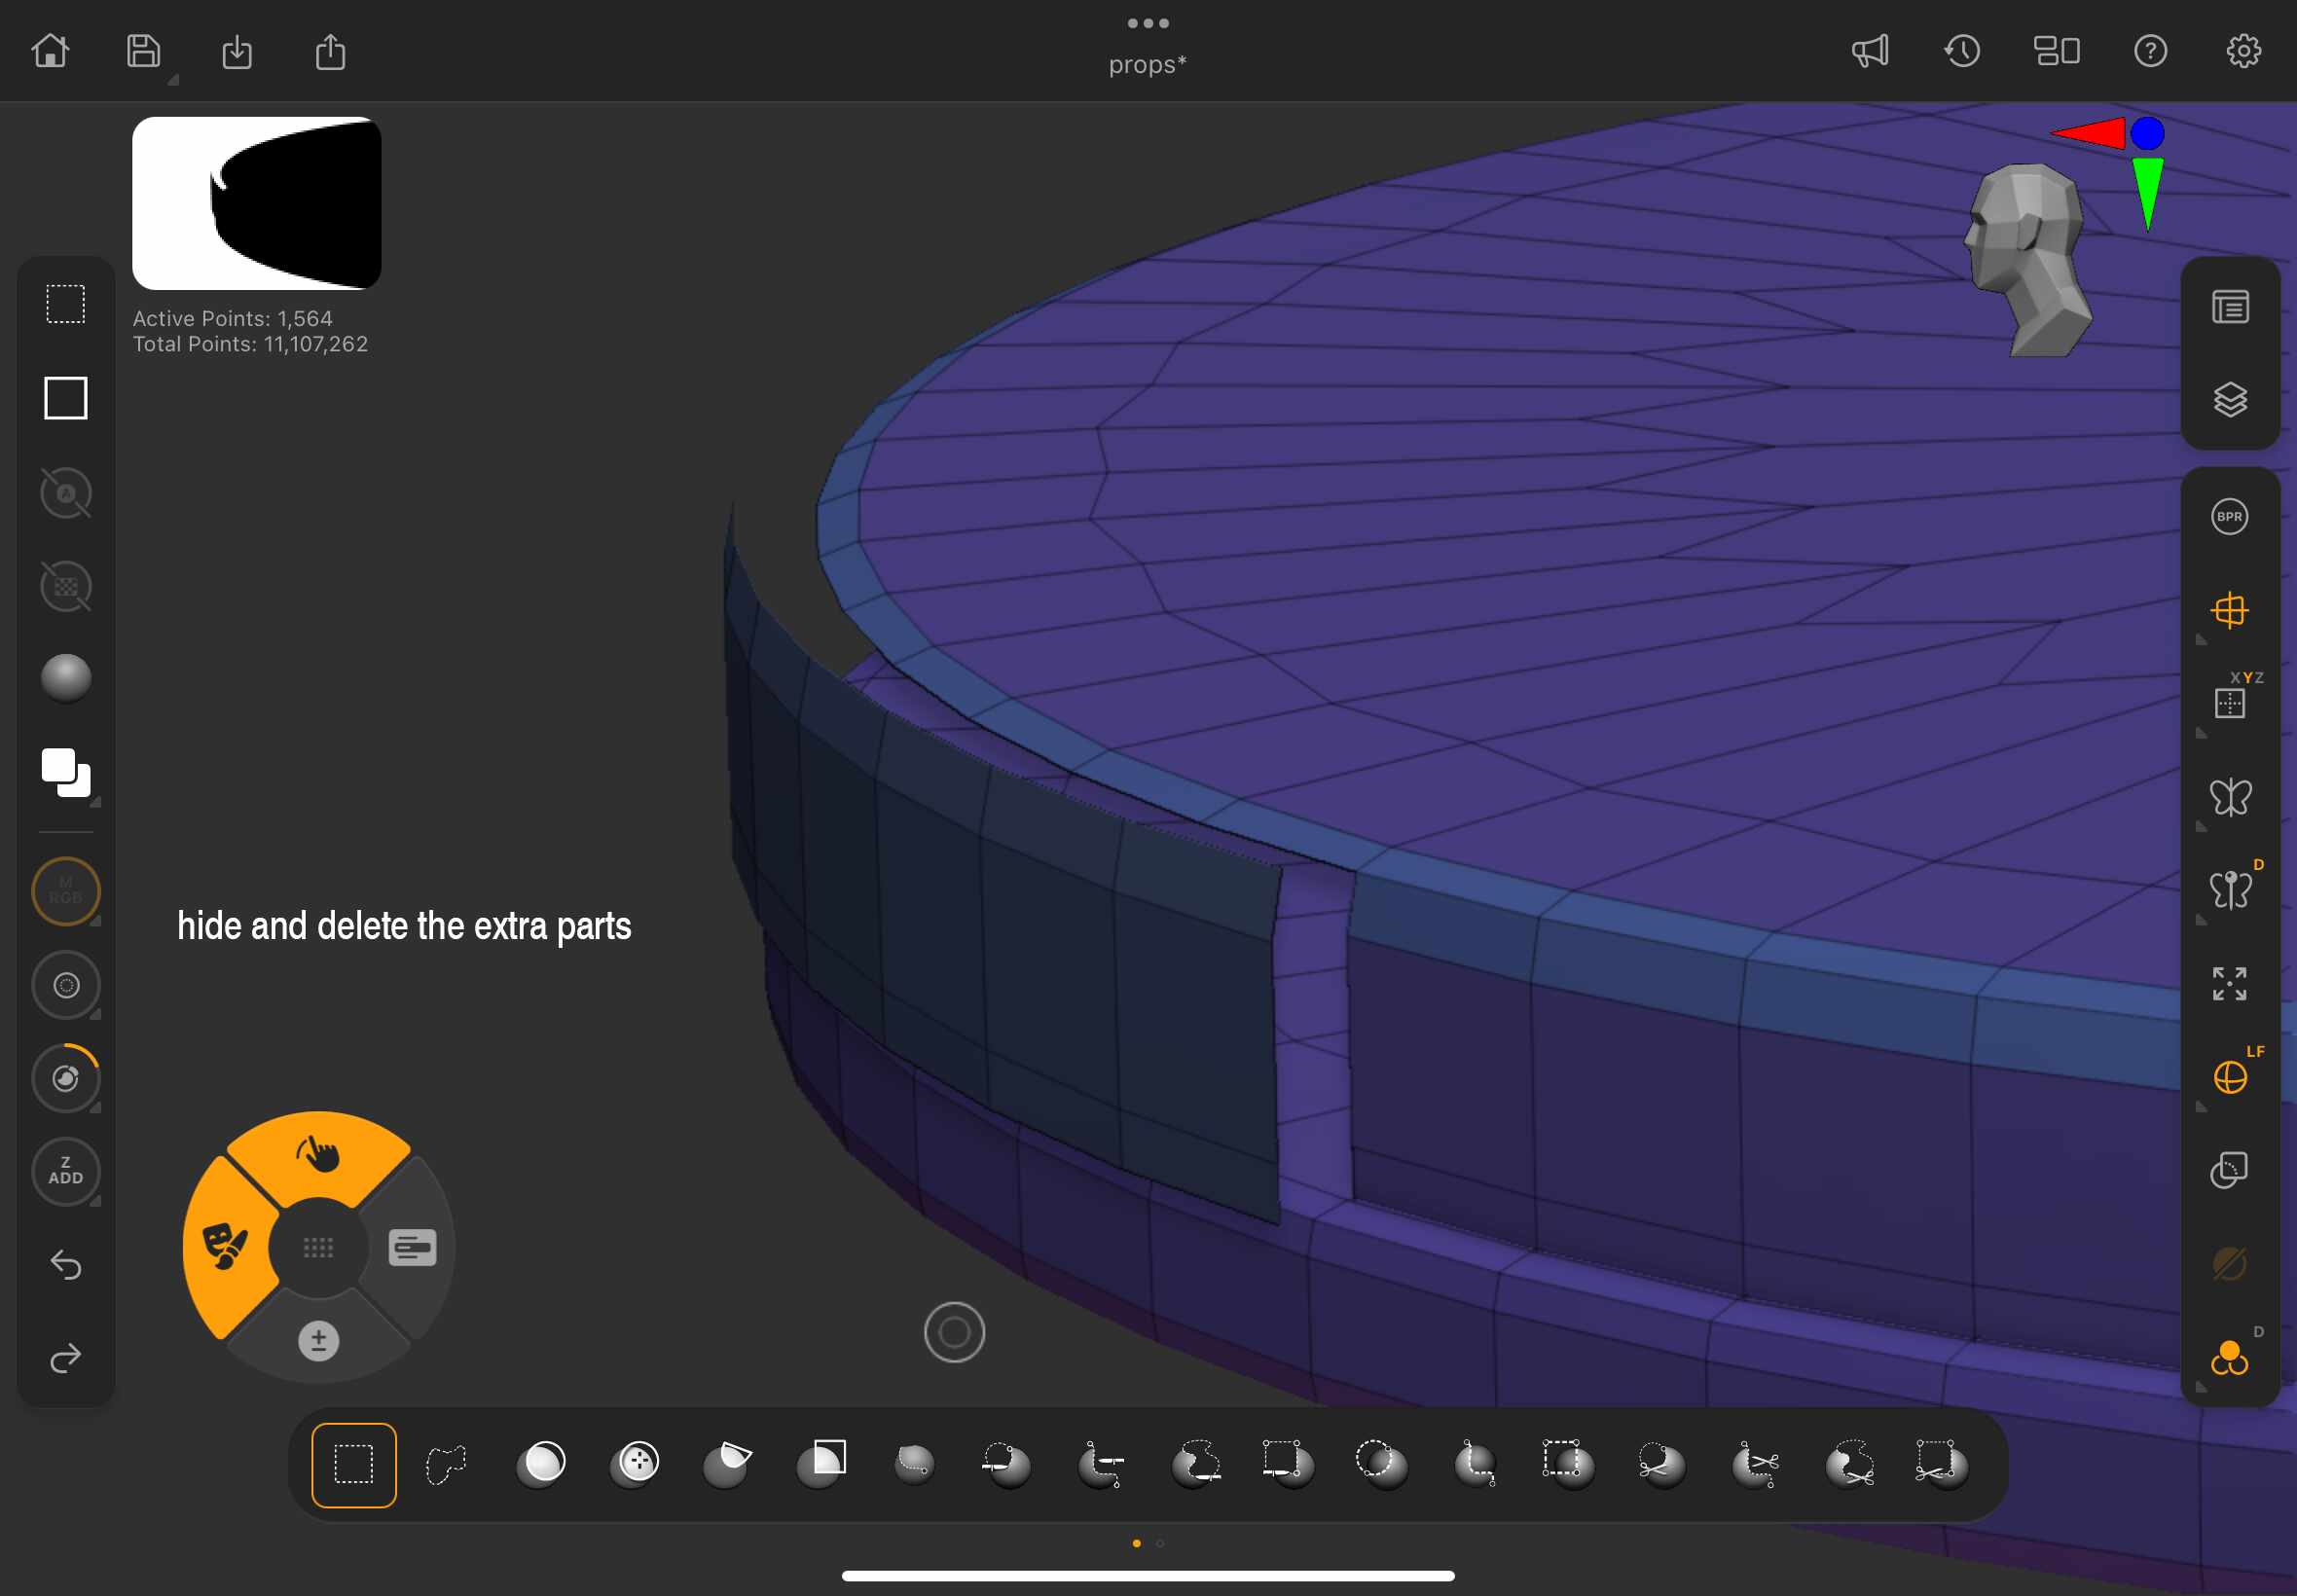
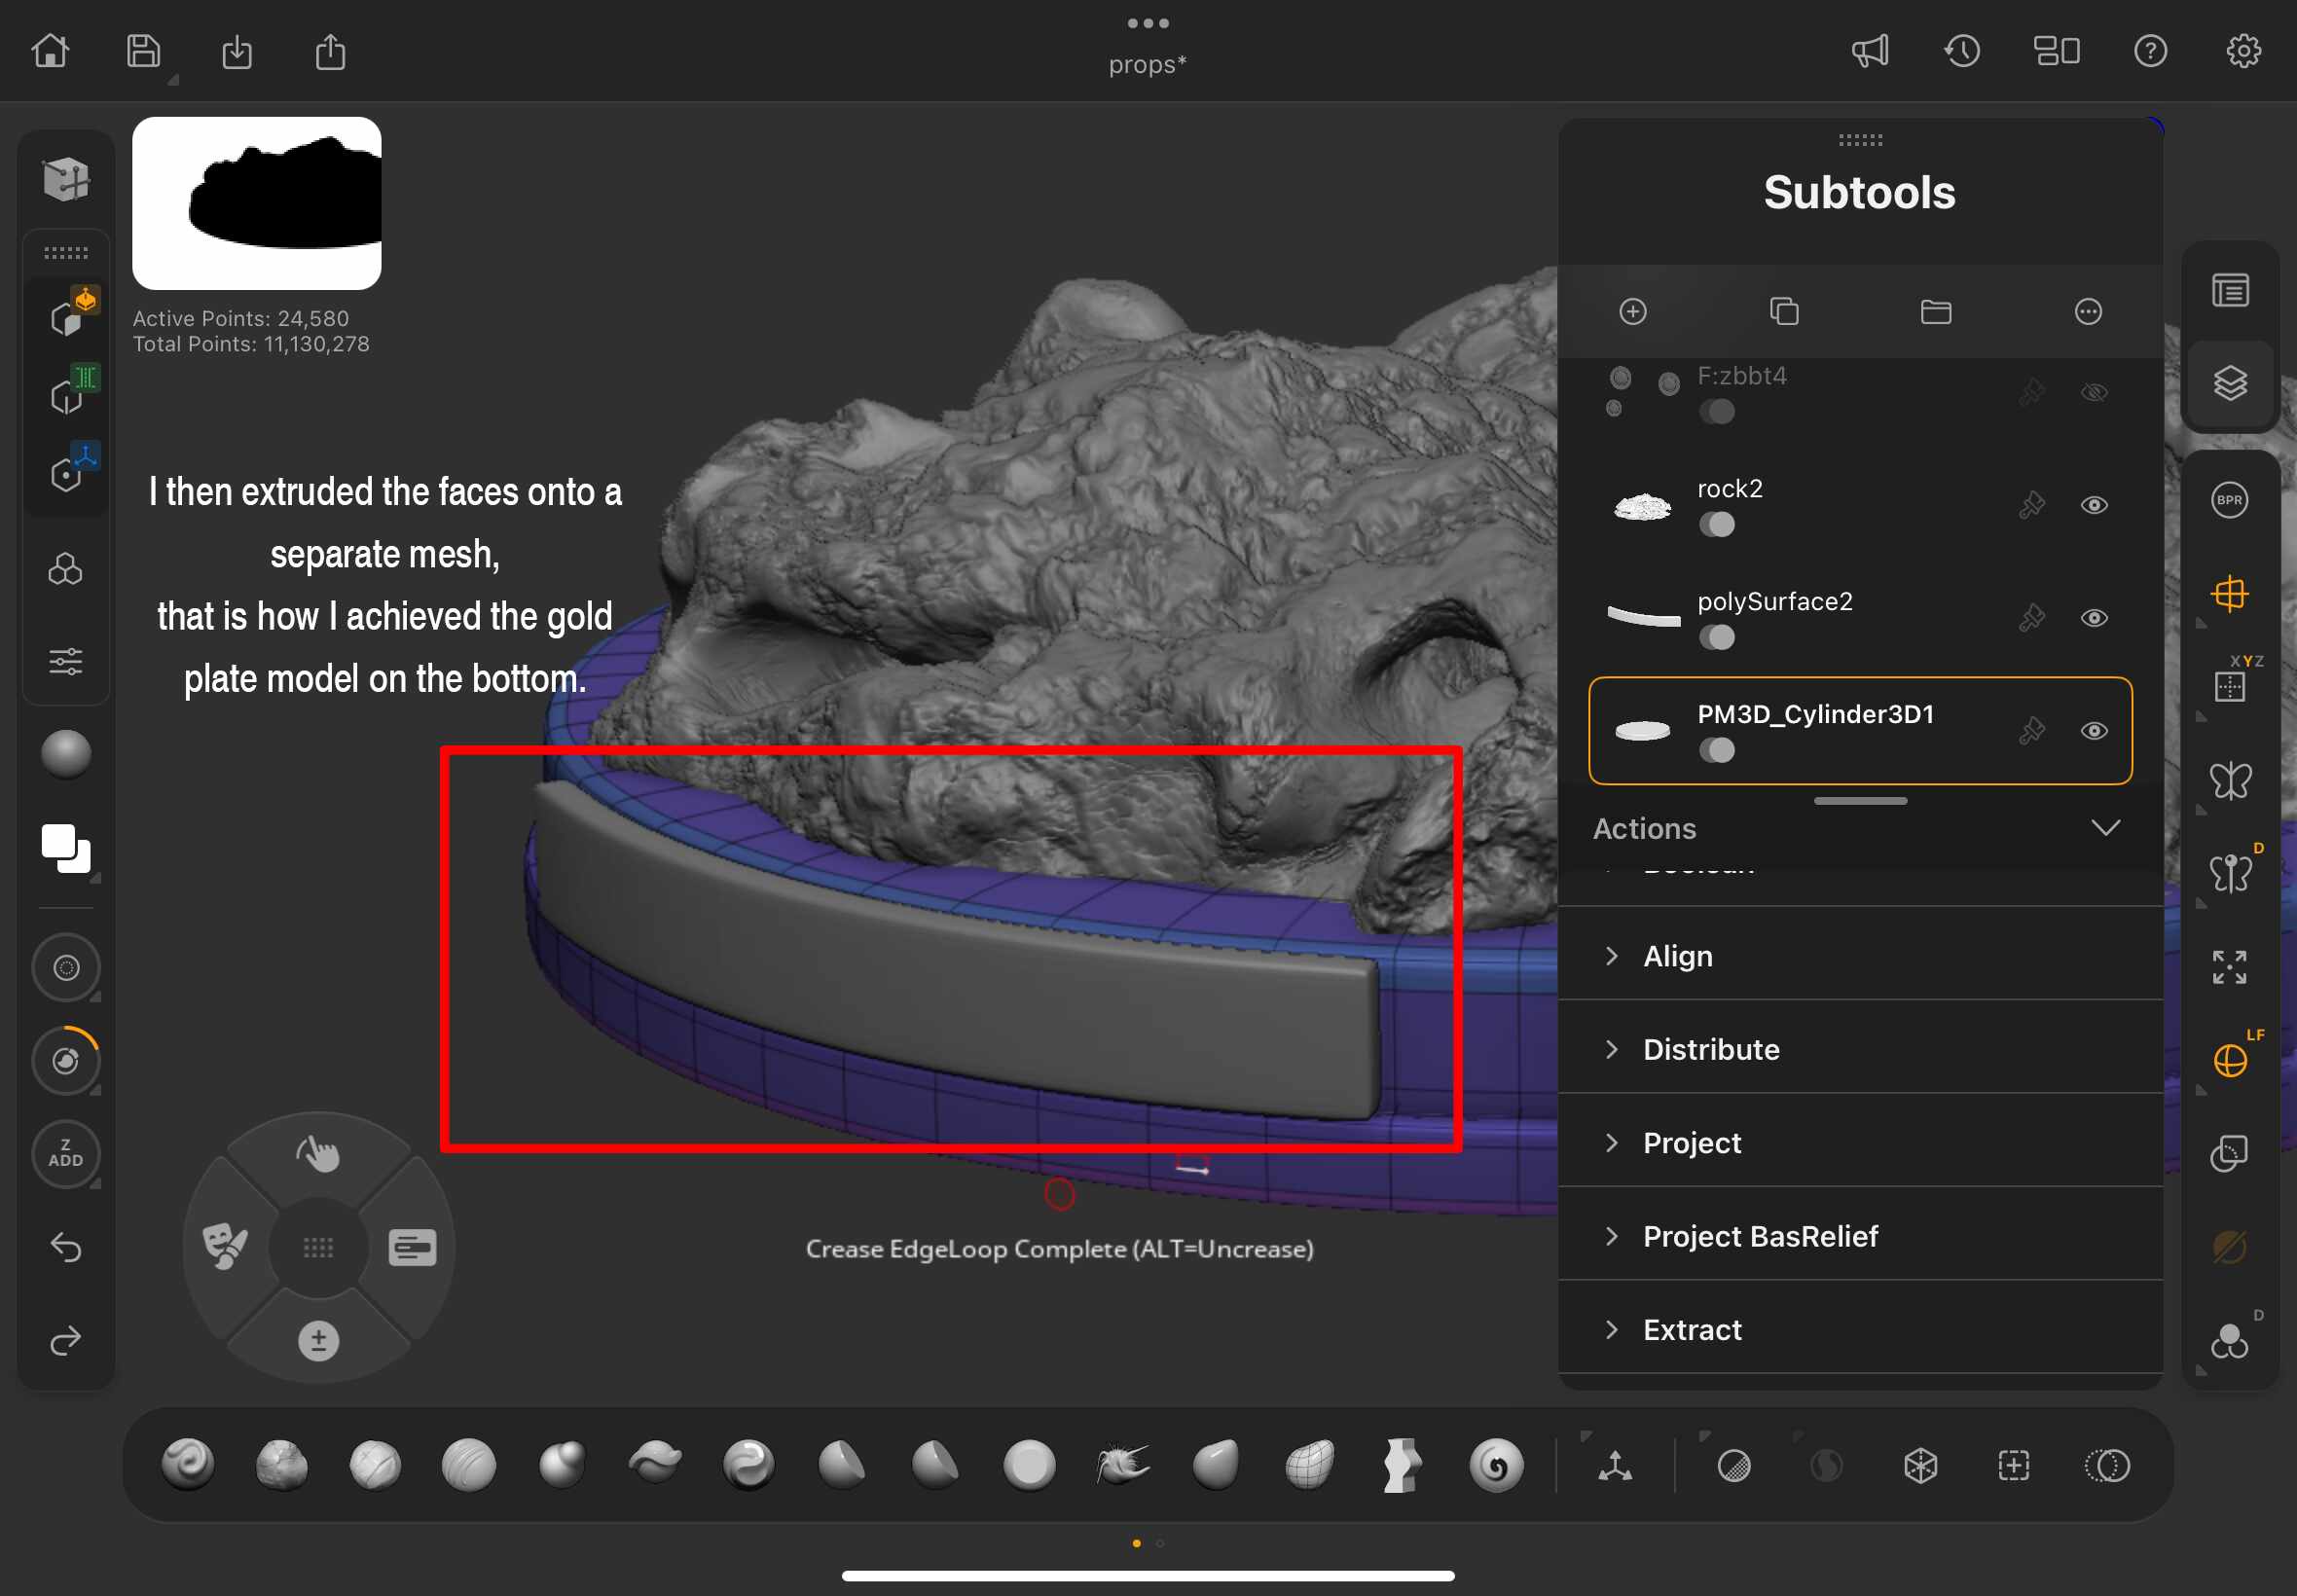
While modeling the ground plate, I planned to add a second layer of gold metal for engraved text.
To make sure it followed the same curve as the base, I tested the Extract tool in ZModeler. It worked well for creating a new surface that matched the shape of the original plate.
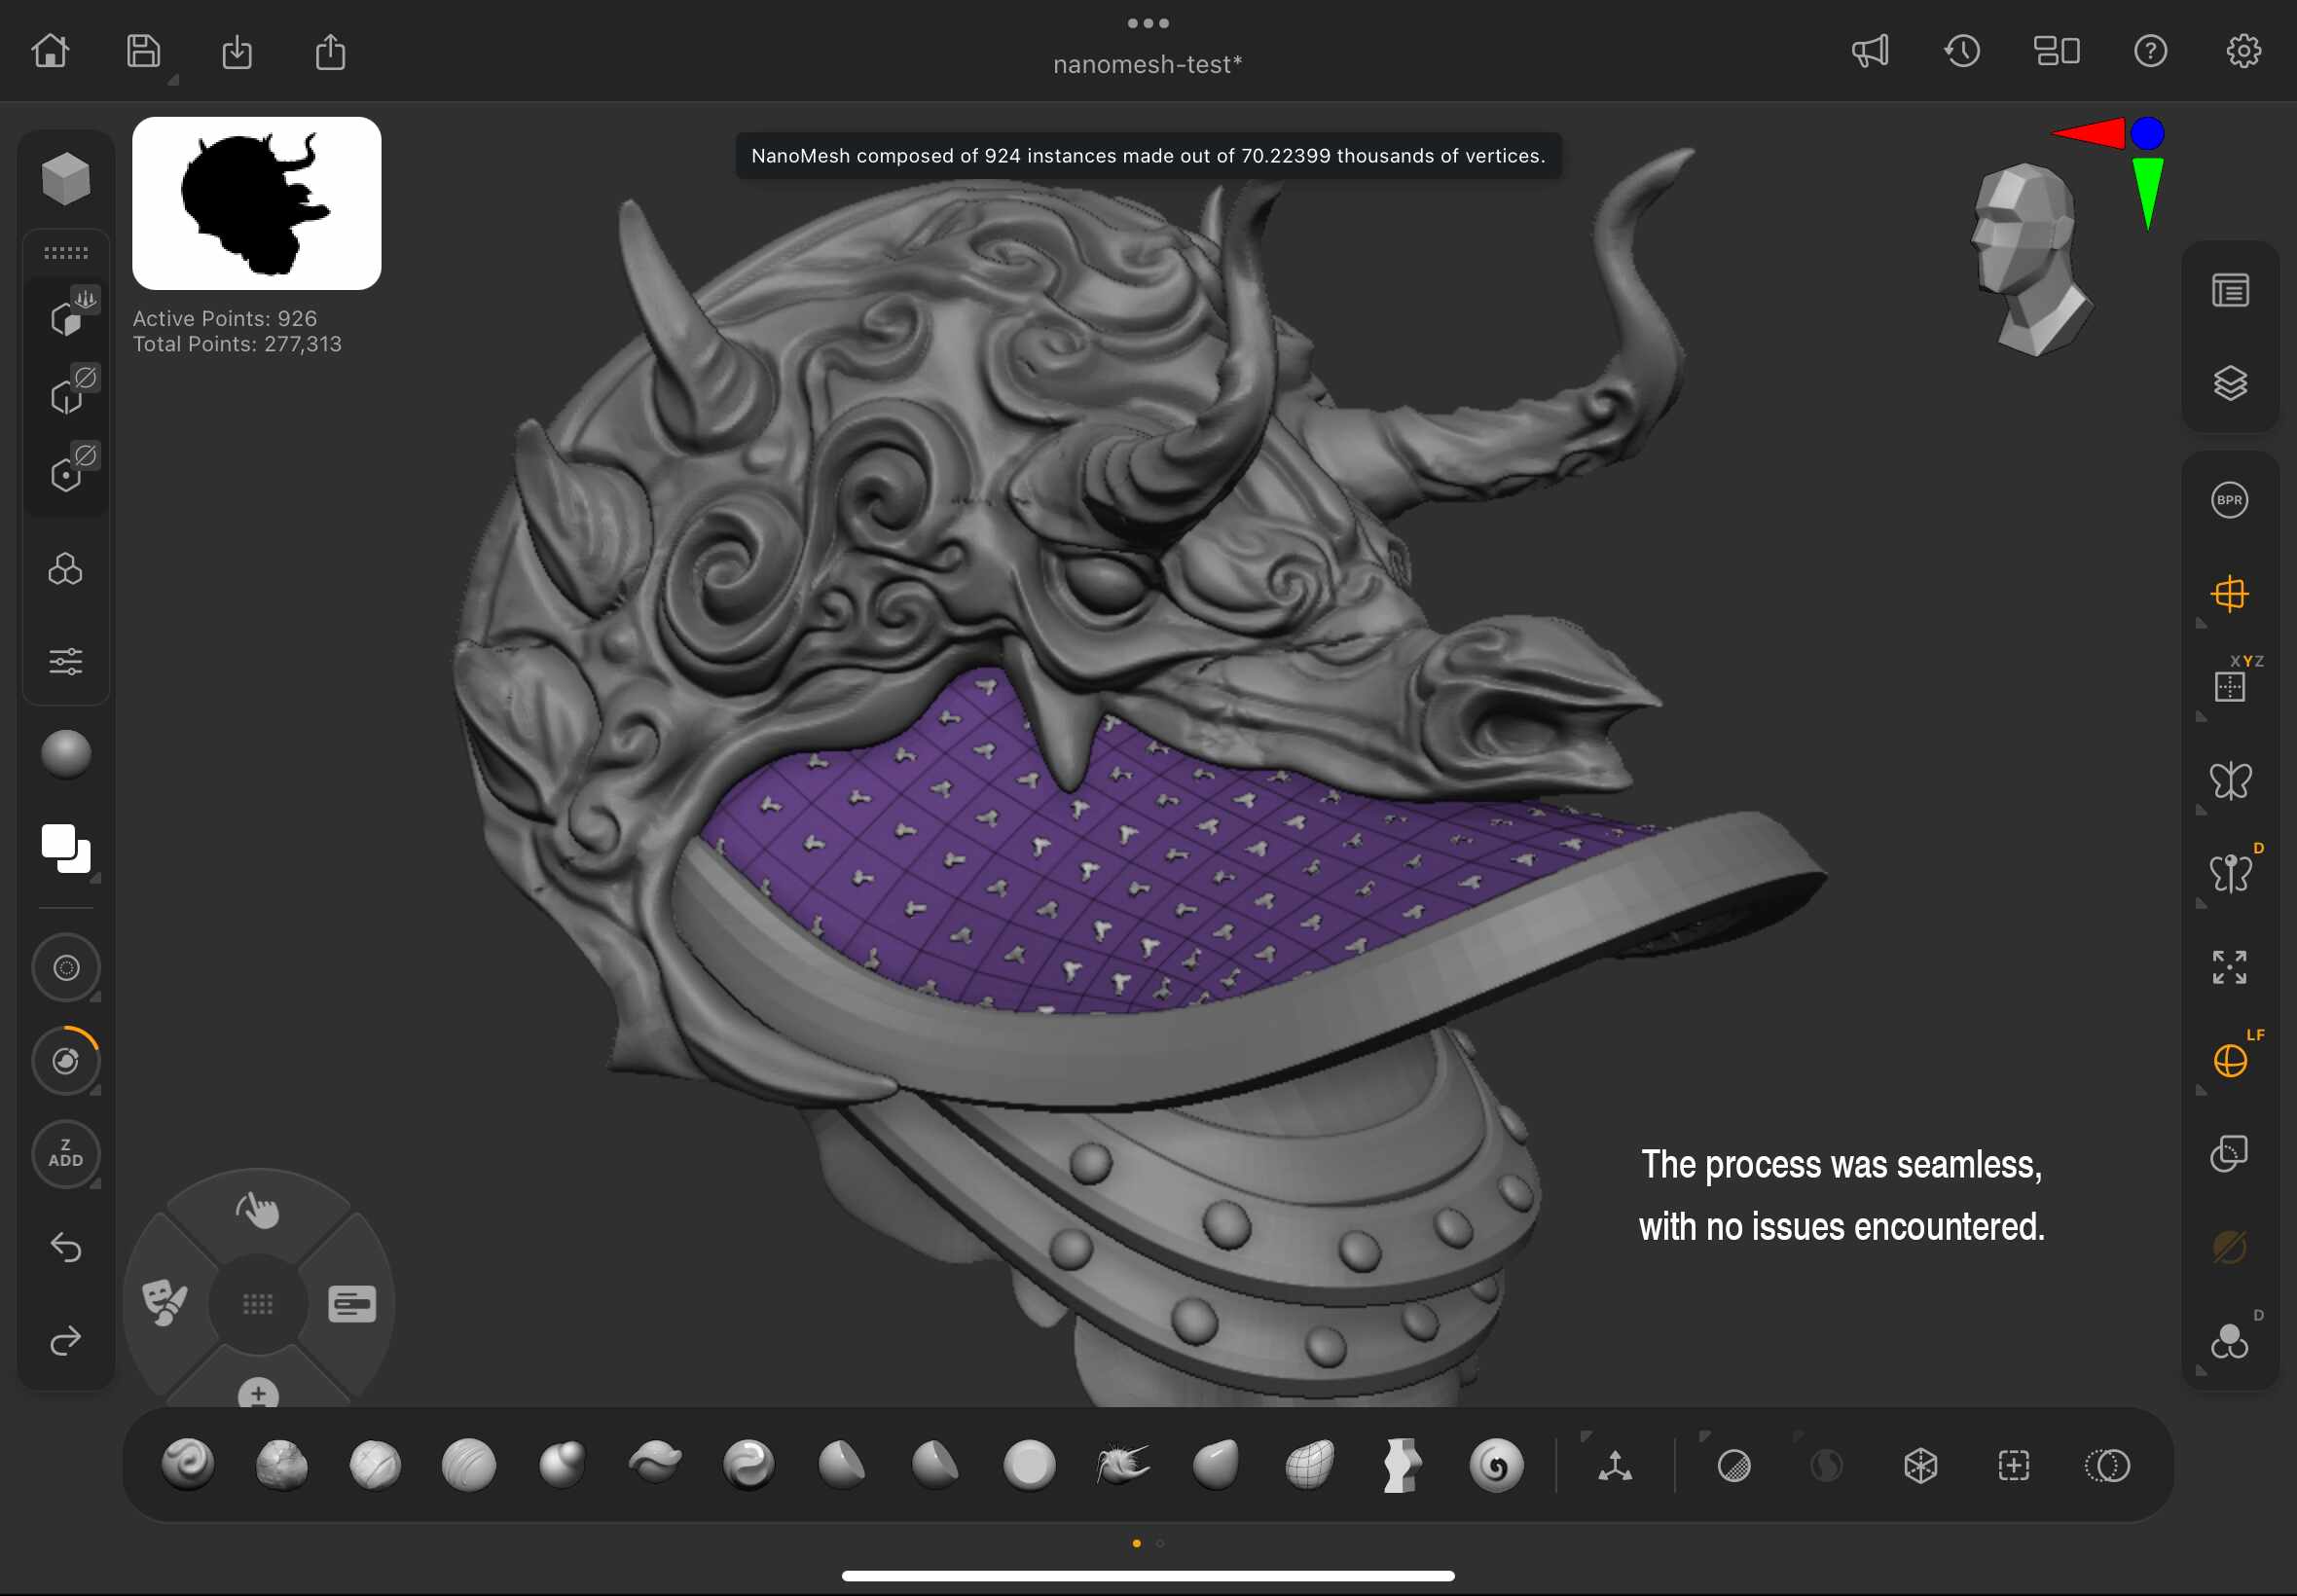
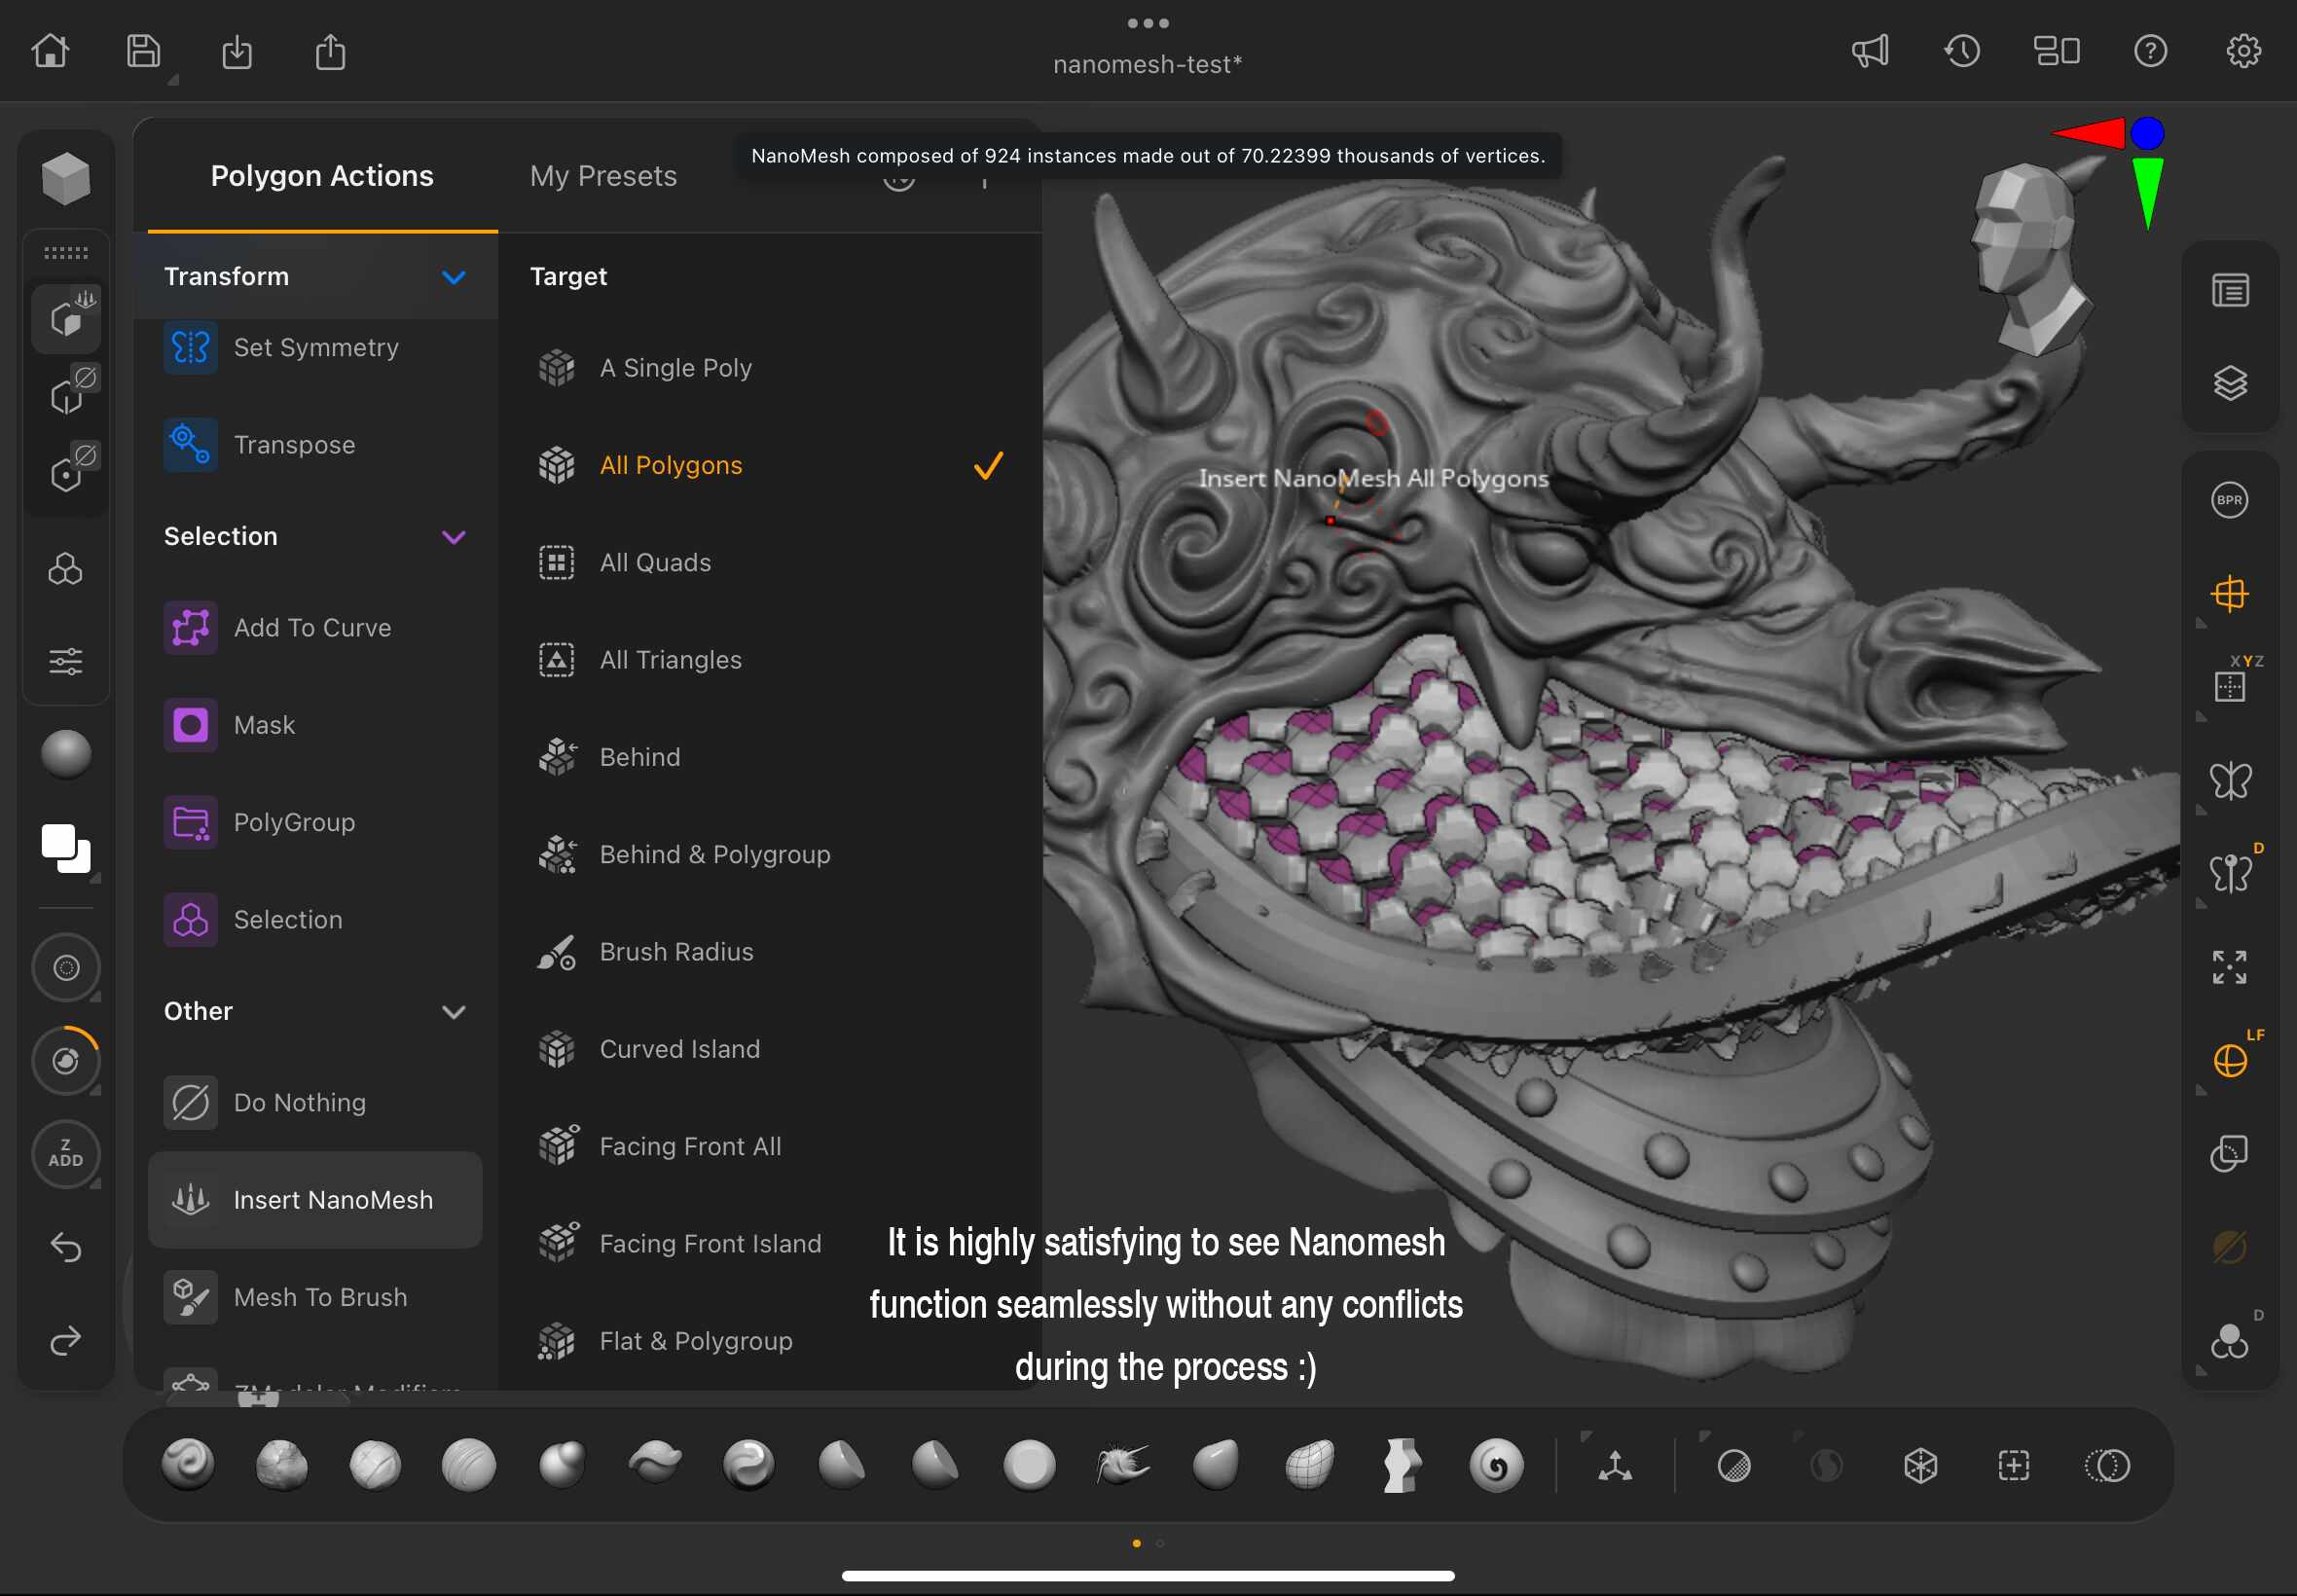
Now for one of the most exciting parts. Through the testing period, I received an updated version of NanoMesh, which turned out to be exactly what I needed for detailing the shoulder armor plate.
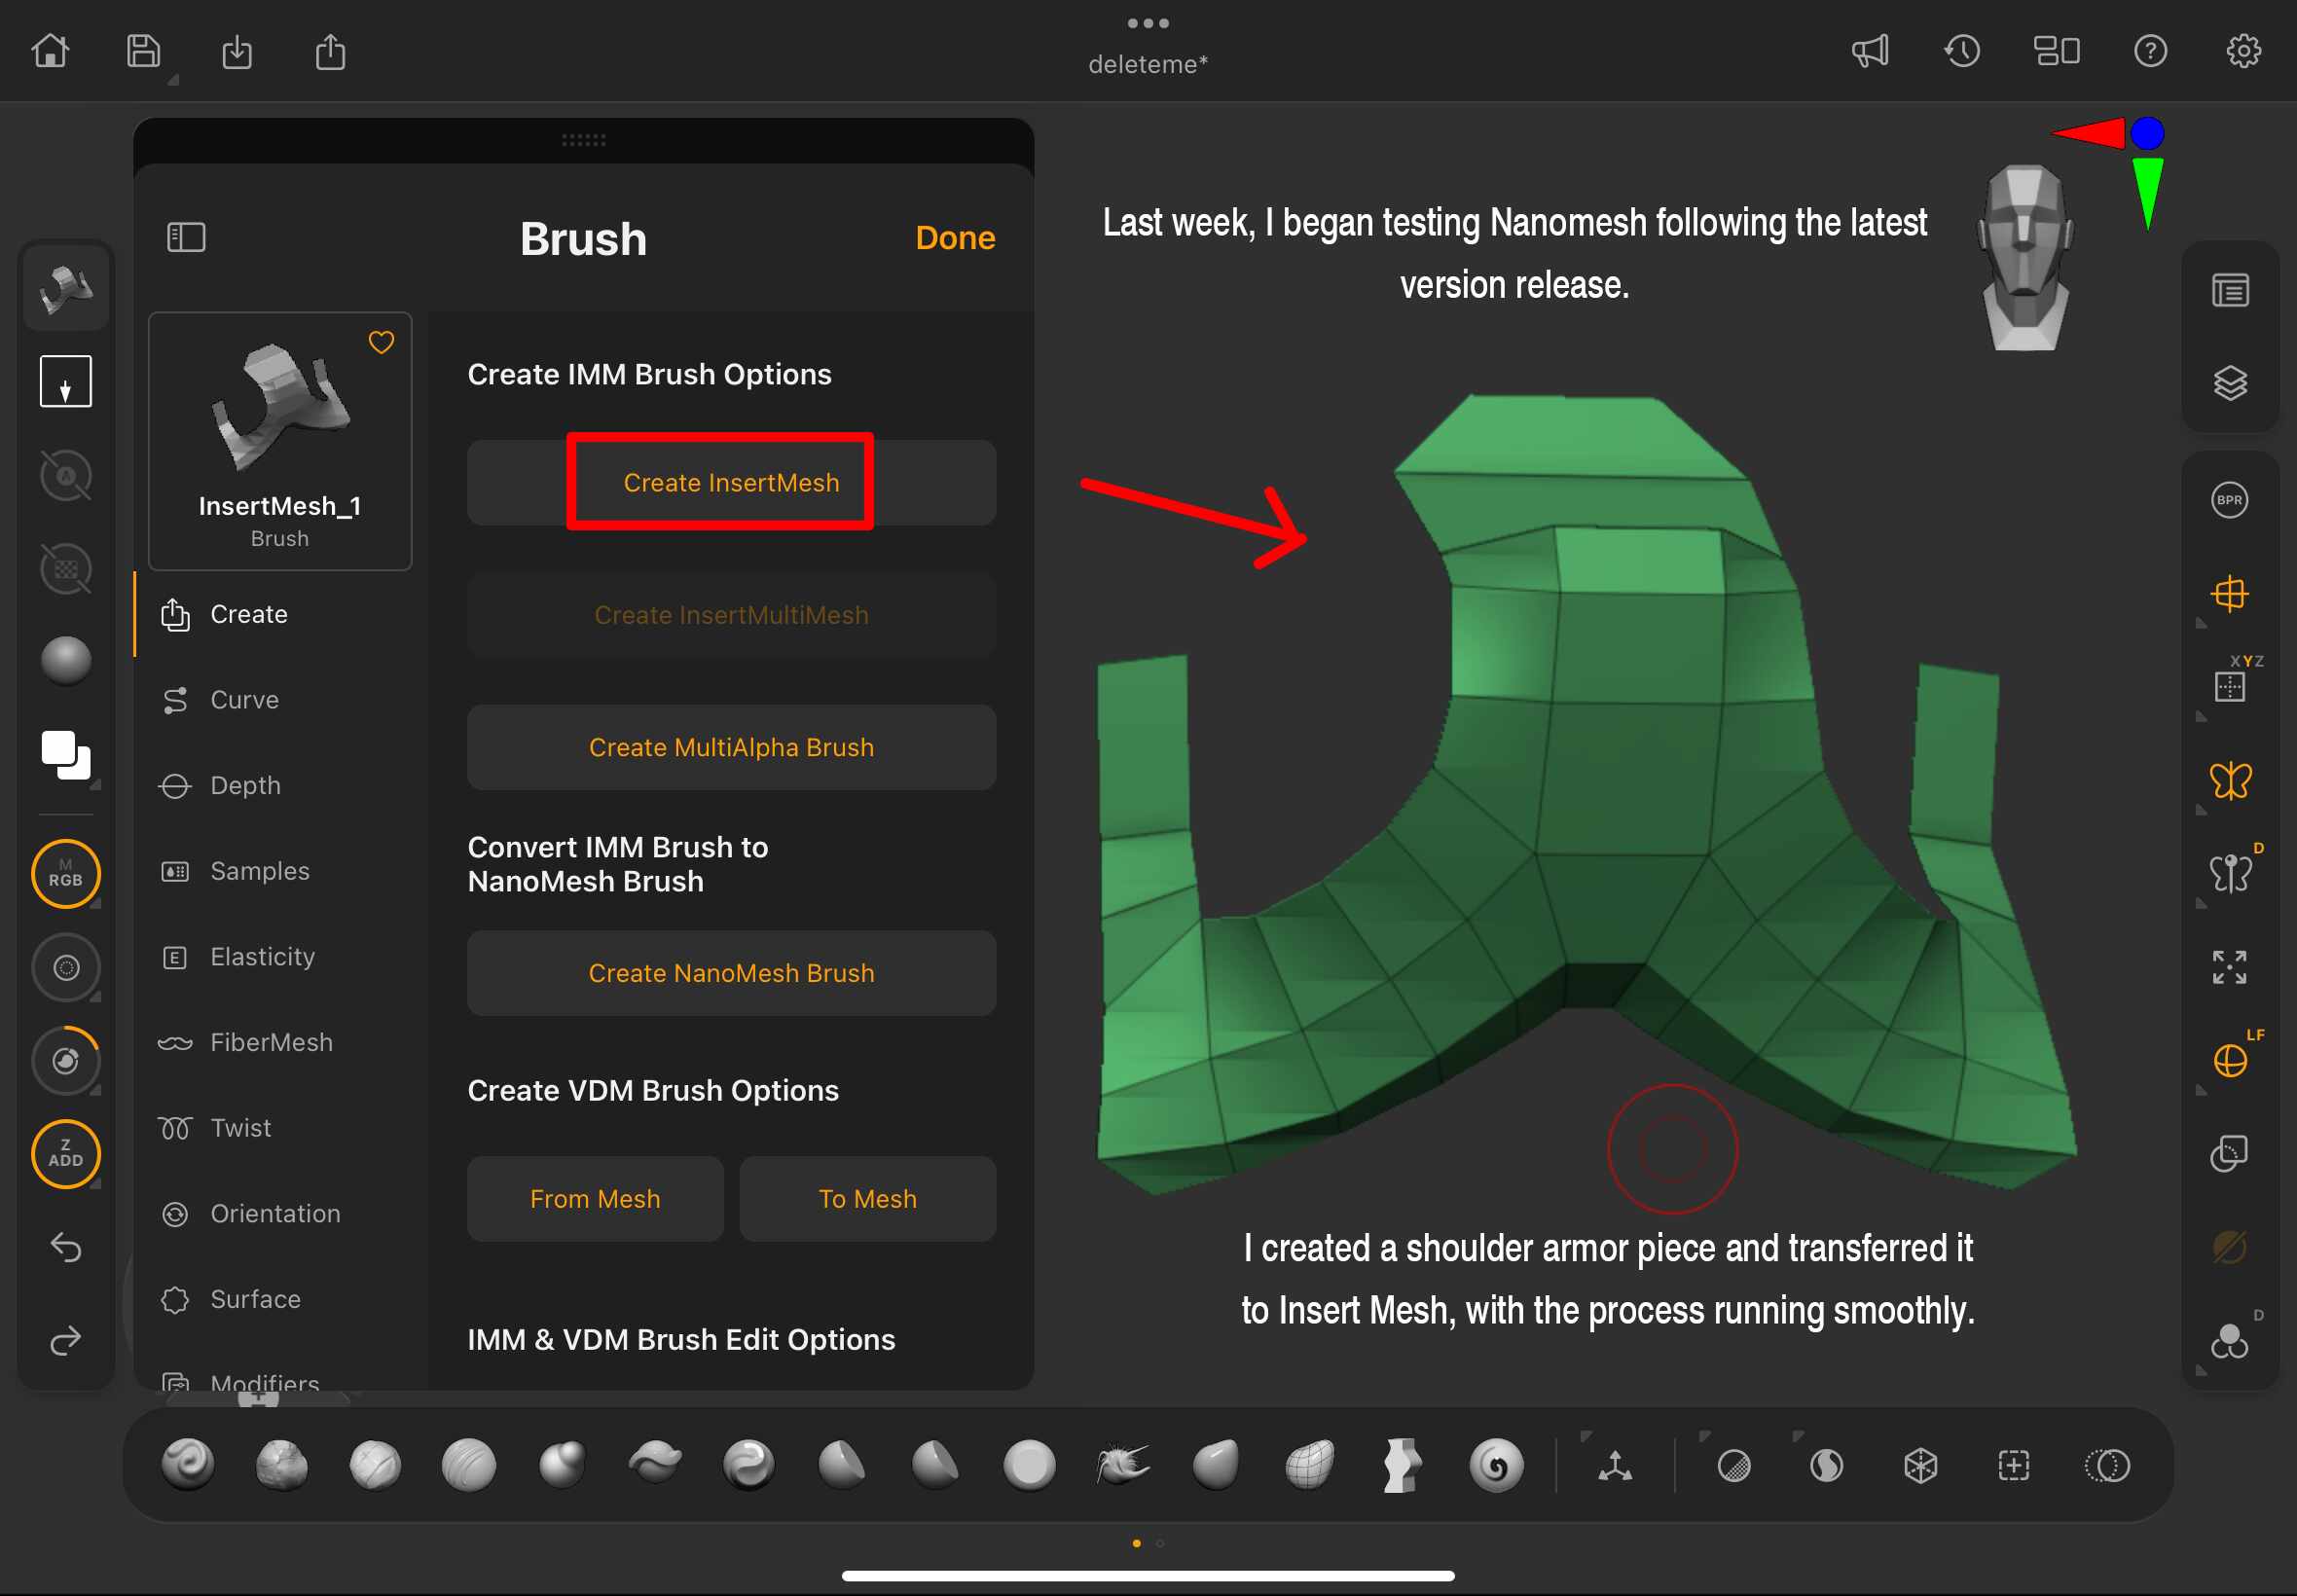
Just like in the desktop version, the topology needs to be close to a perfect square for NanoMesh to work properly. If not, gaps can appear between the meshes.

I also explored various techniques that I typically use in the desktop version, allowing me to become more familiar with the iPad workflow by the end of the modeling process.
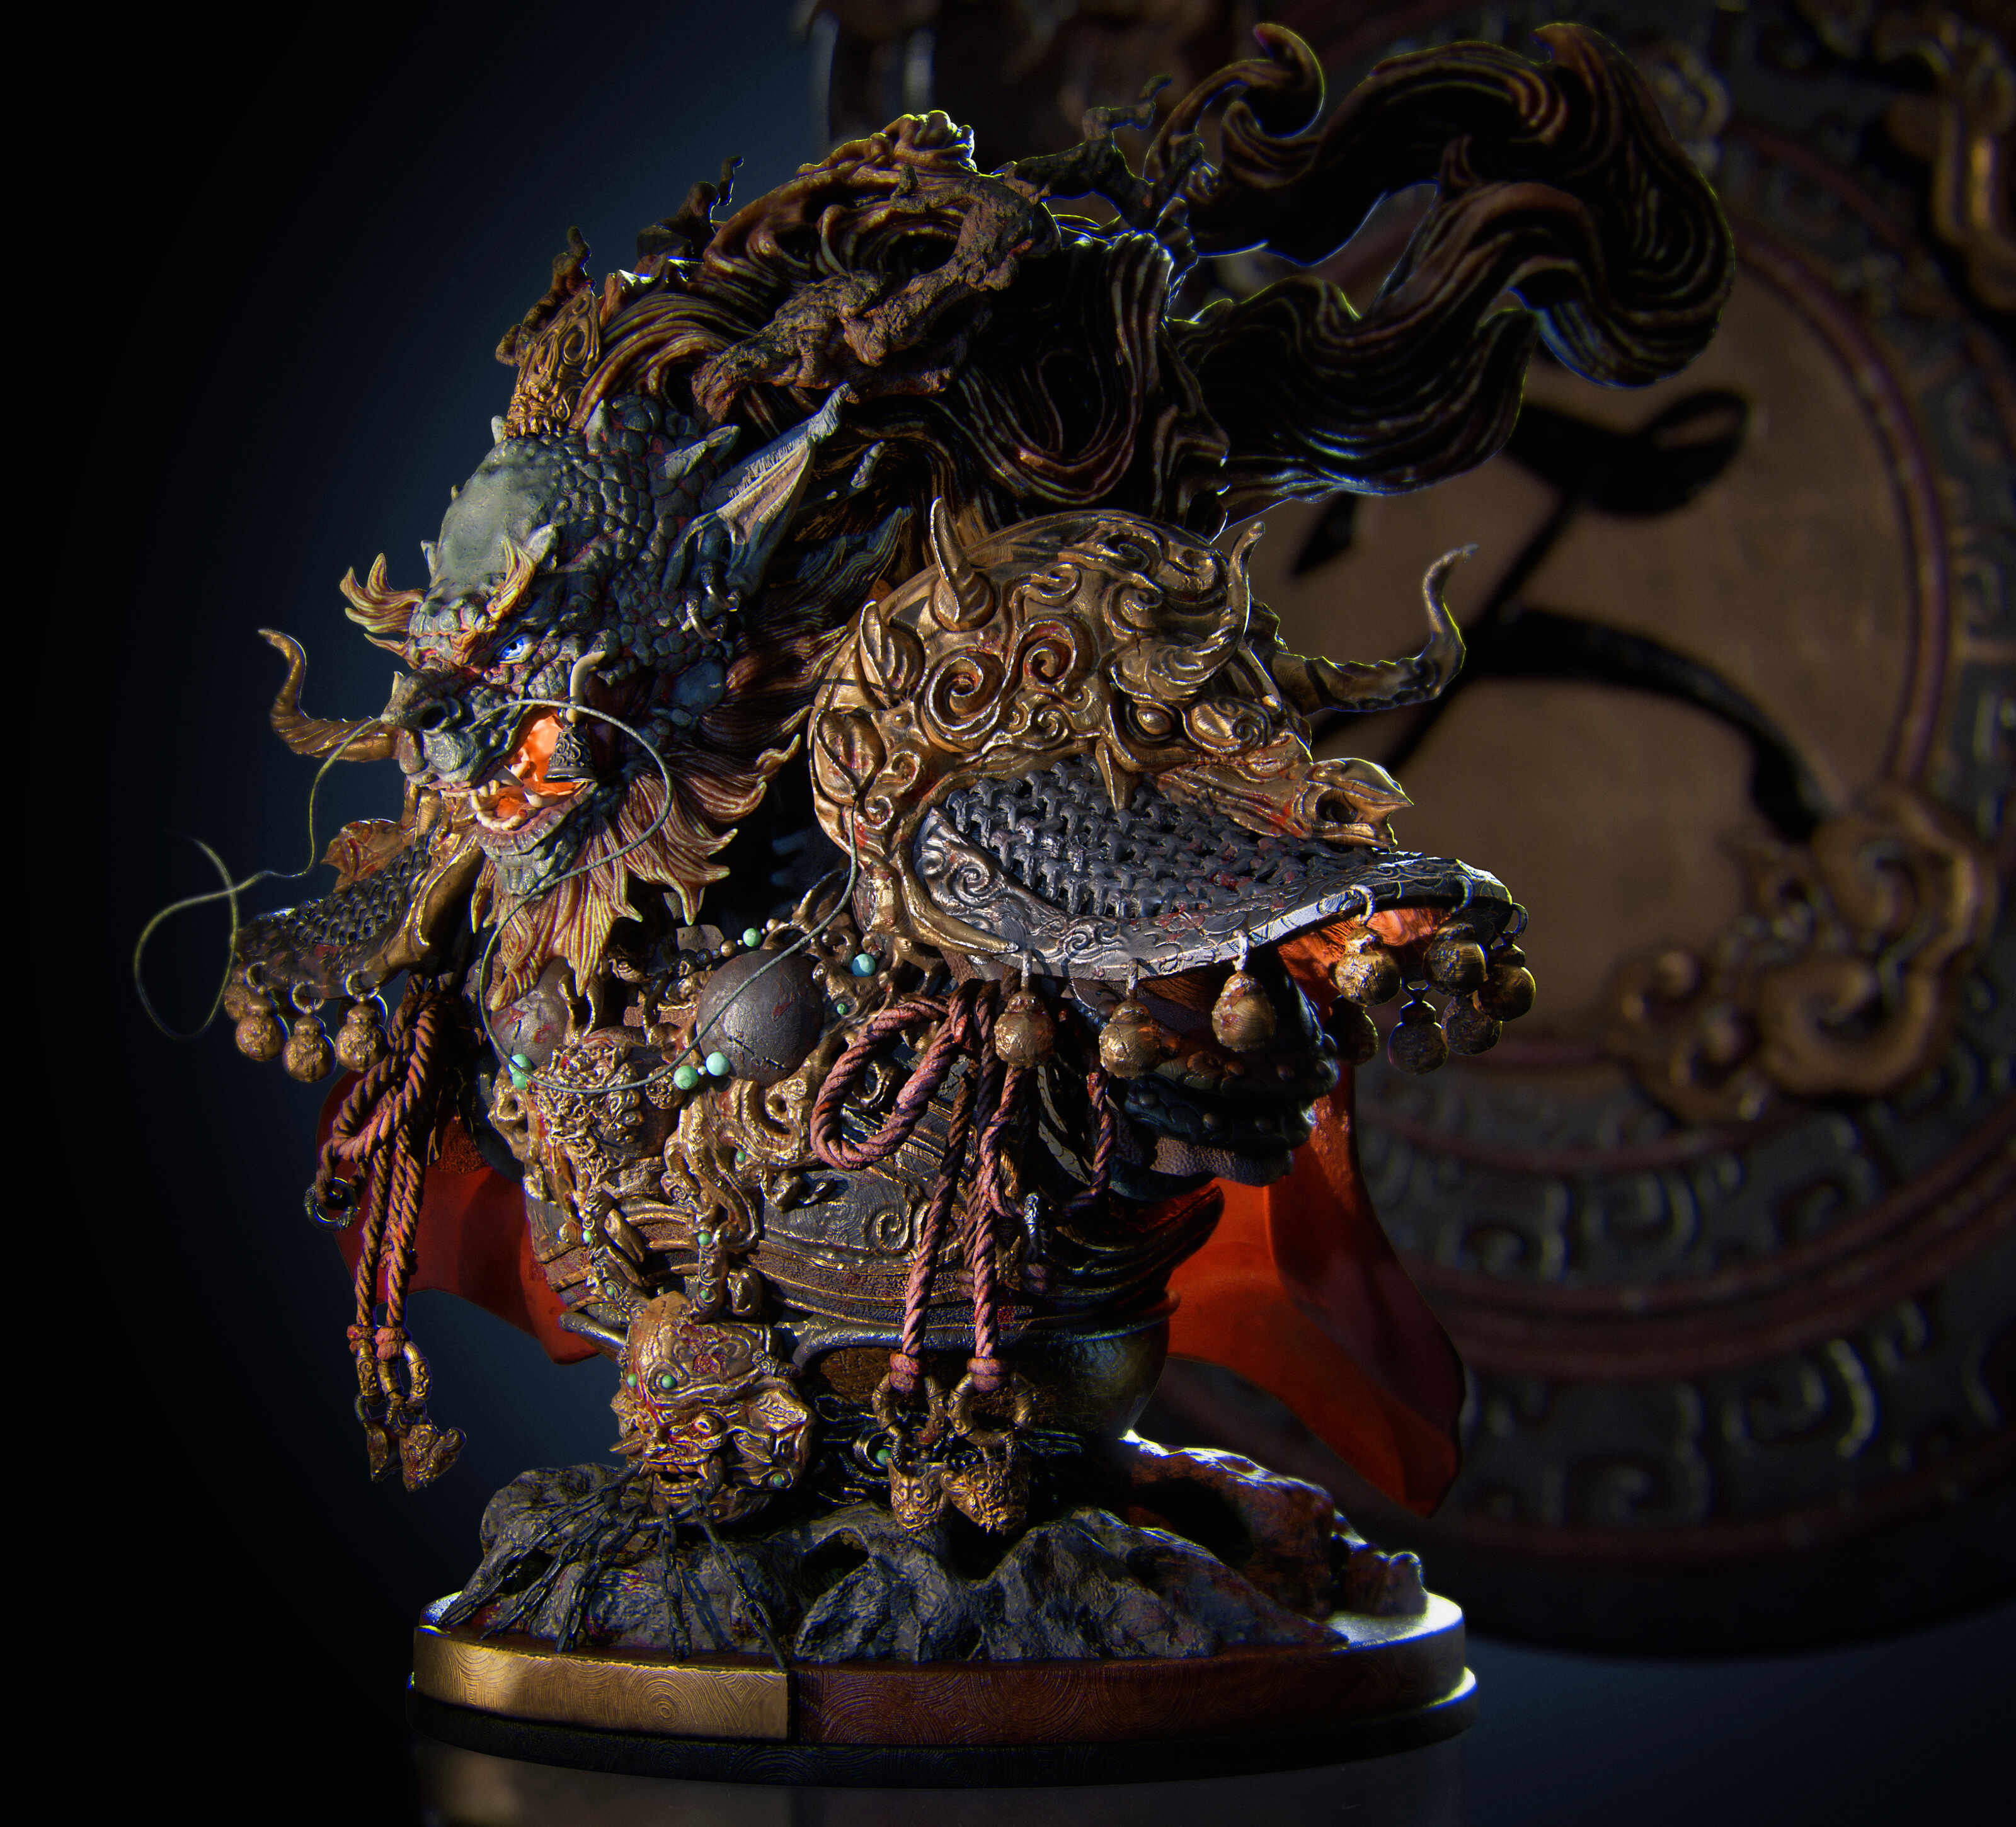
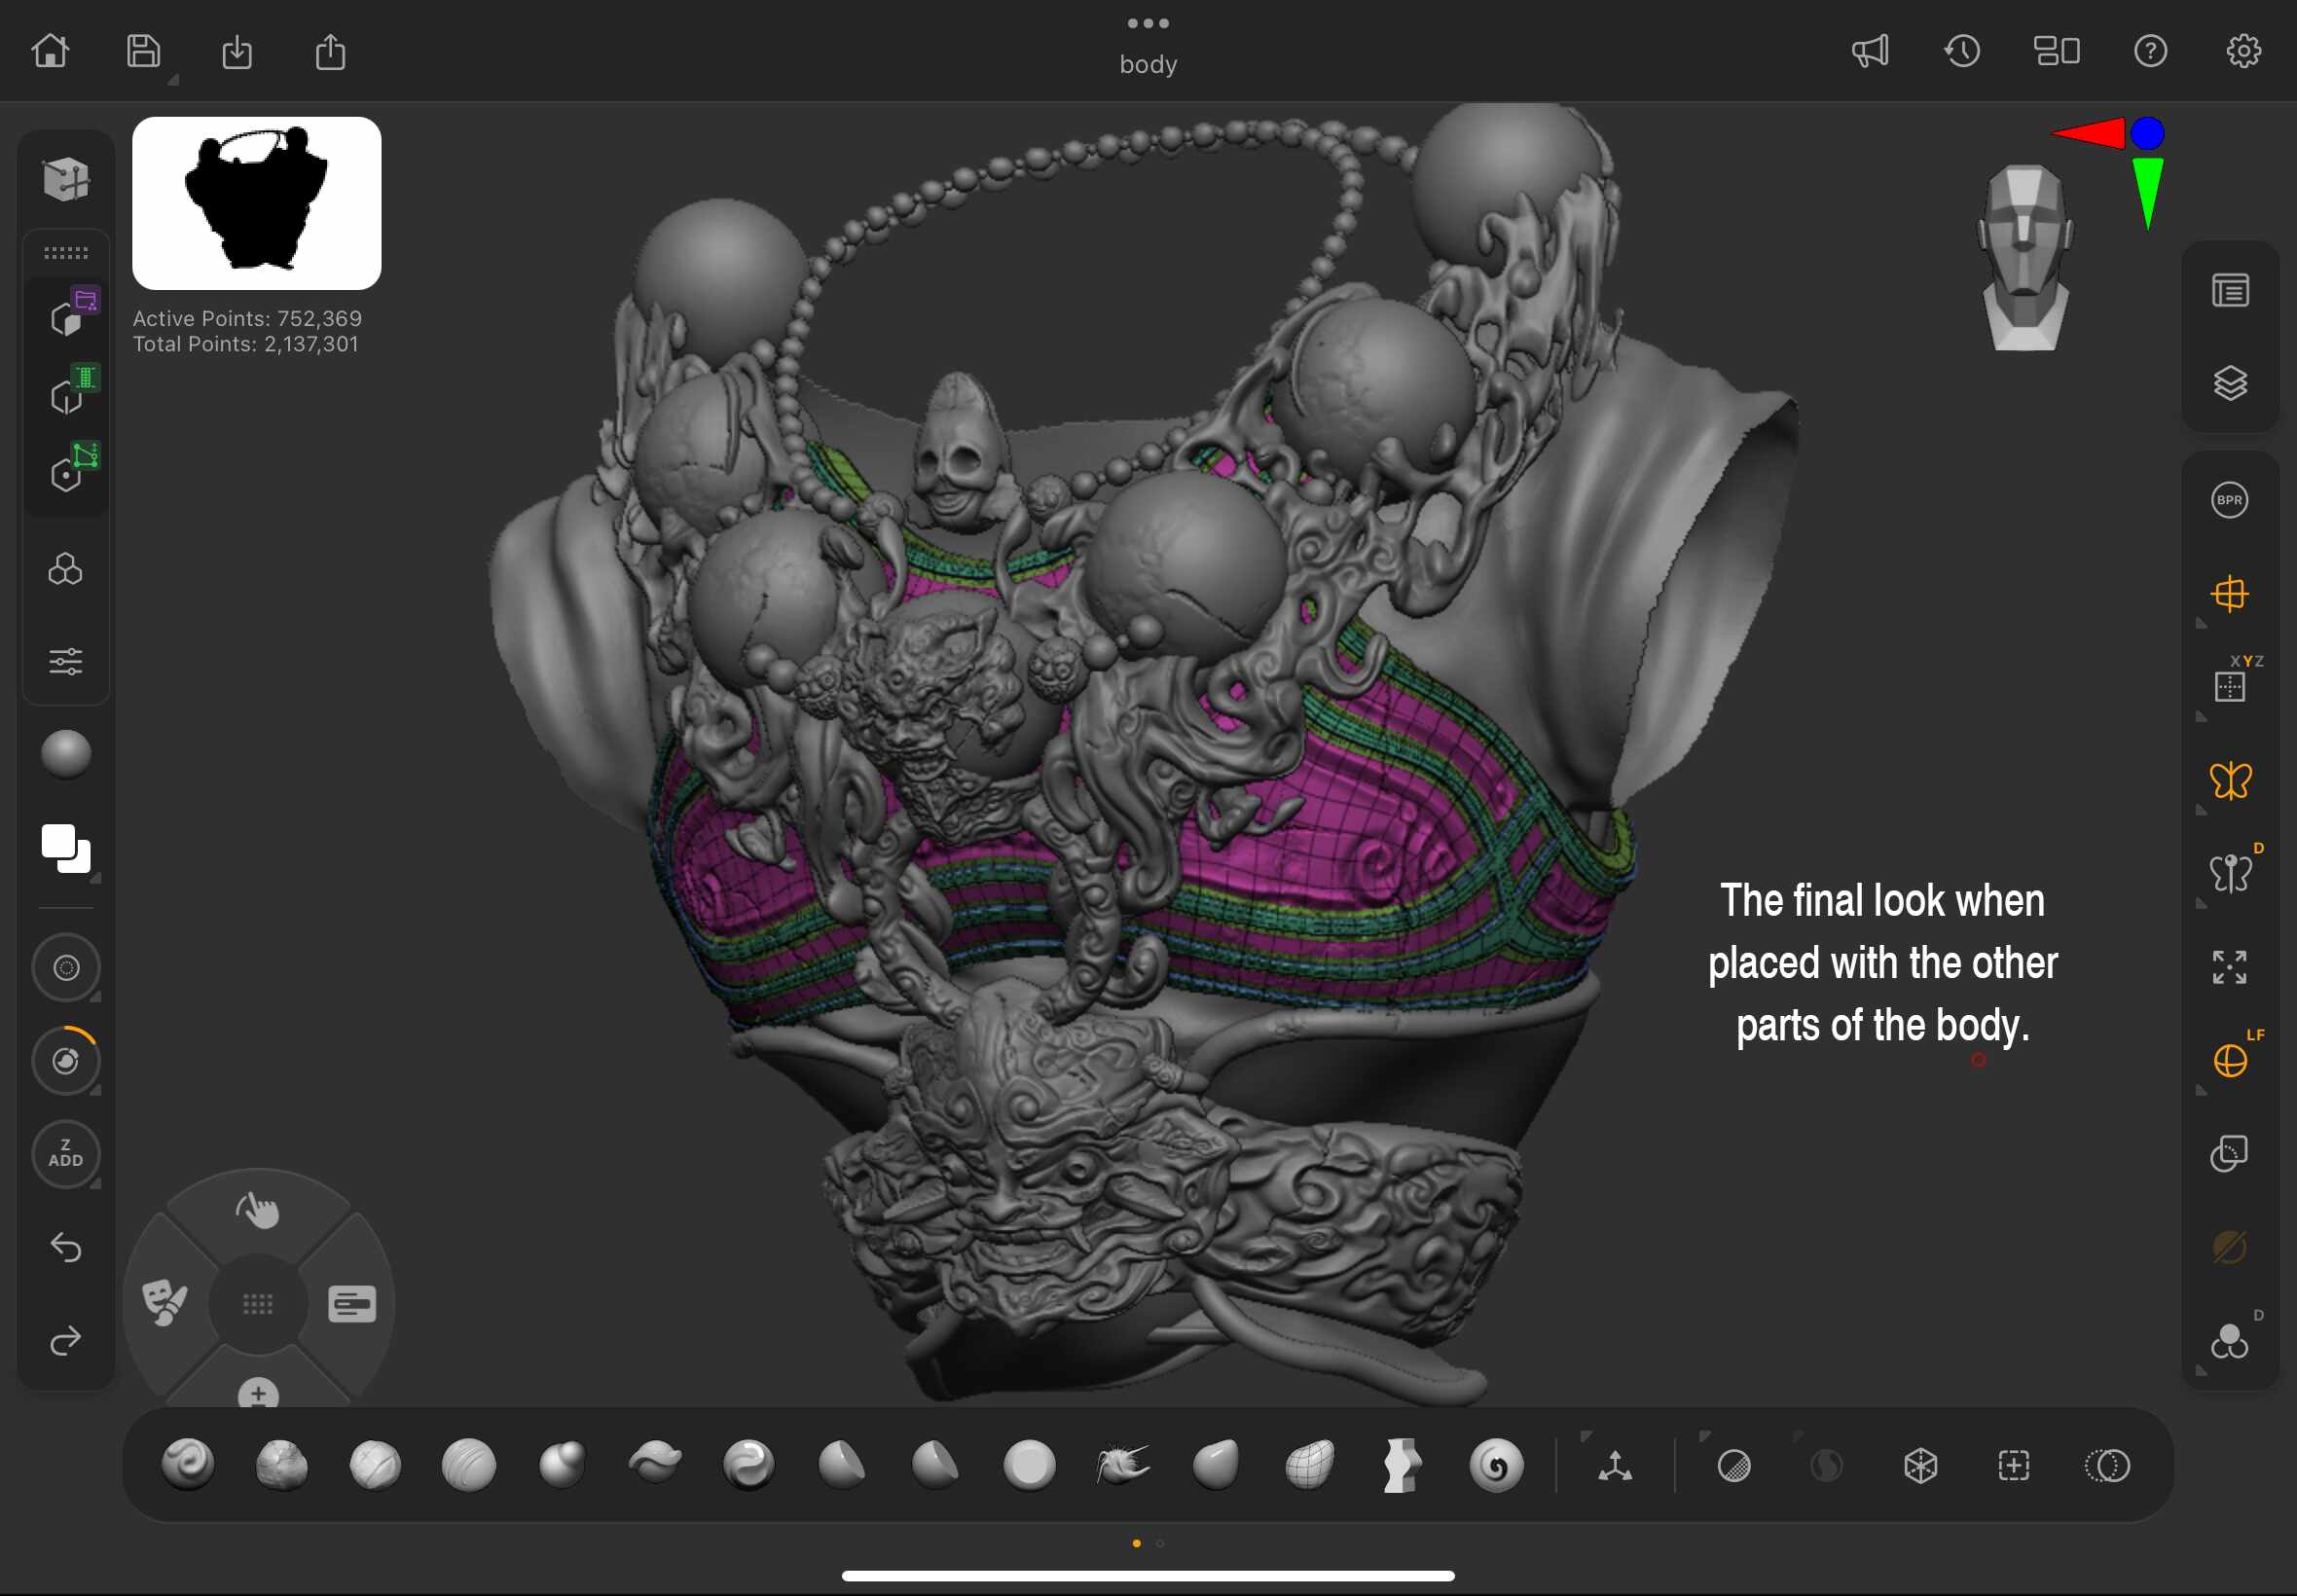
With all of the meshes completed, it was time to bring them together into a final composition. Before doing so, I reviewed each piece to evaluate whether any adjustments were needed—particularly in terms of silhouette and overall proportions.
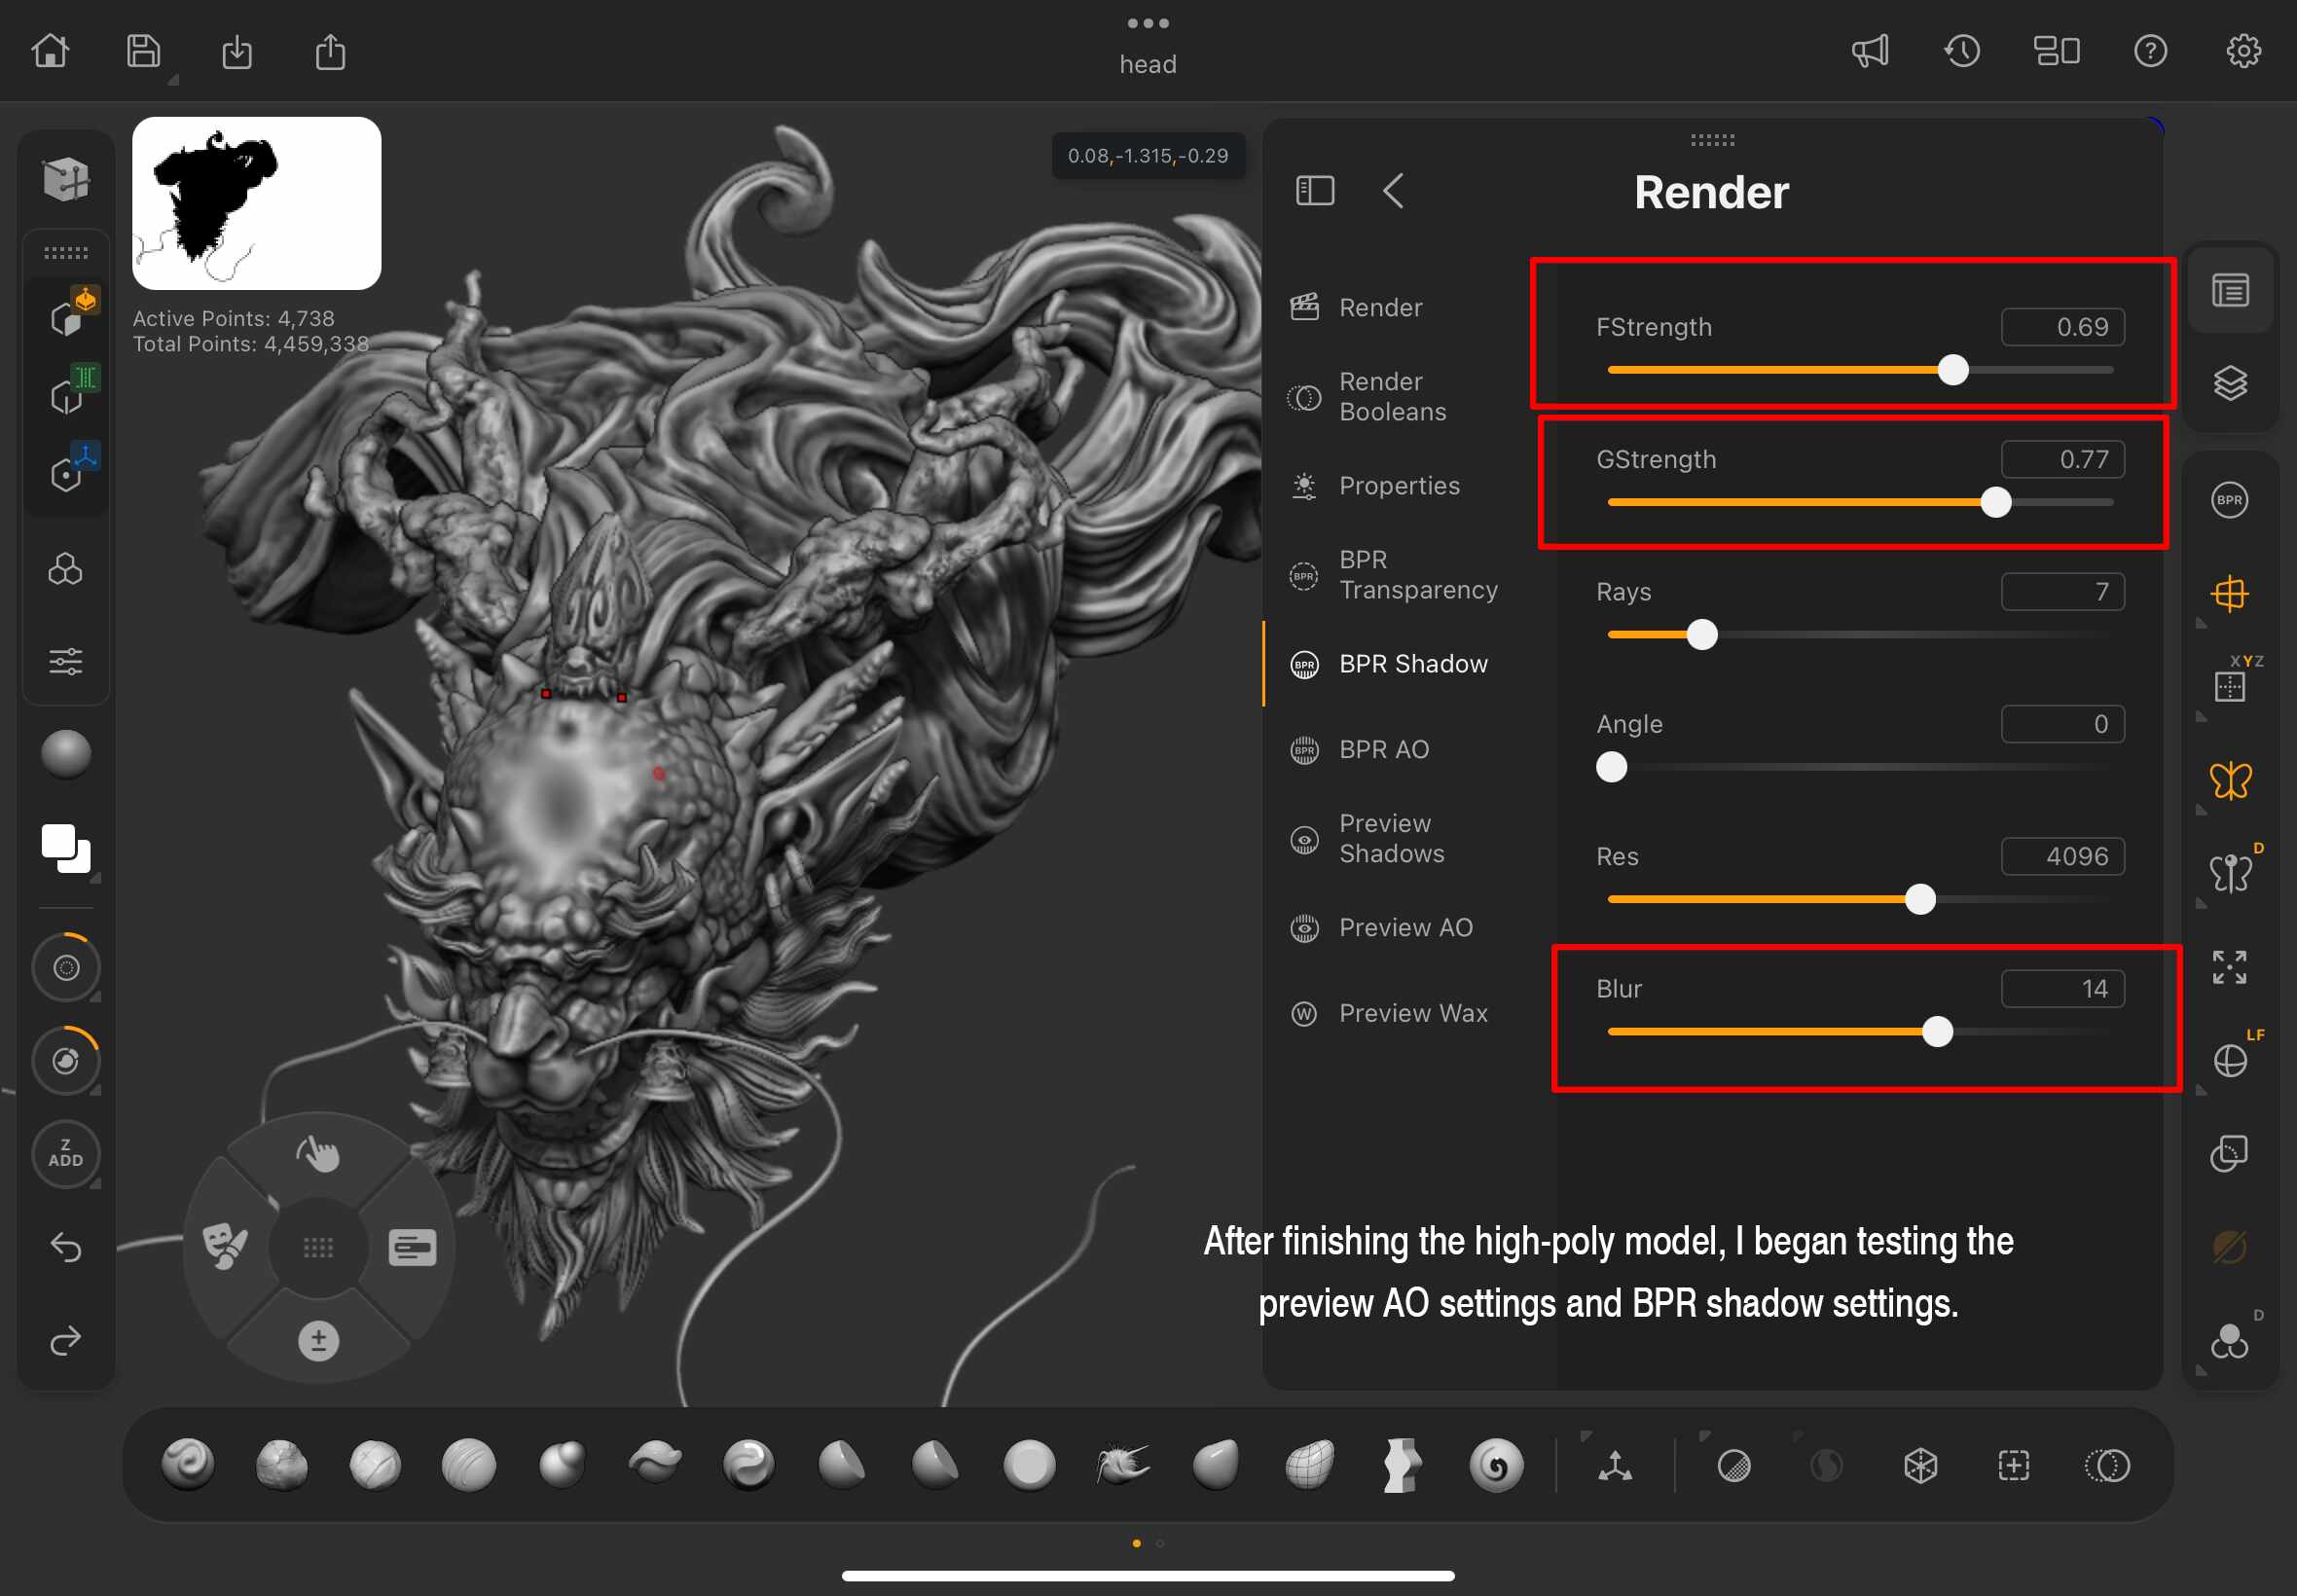
I enabled BPR shadow and previewed AO to assist with thoroughly reviewing the model. I appreciate how the render helps the details stand out, making it easier to spot areas that need refinement.
Highly recommend using these settings, especially after spending extended periods focused on the model.
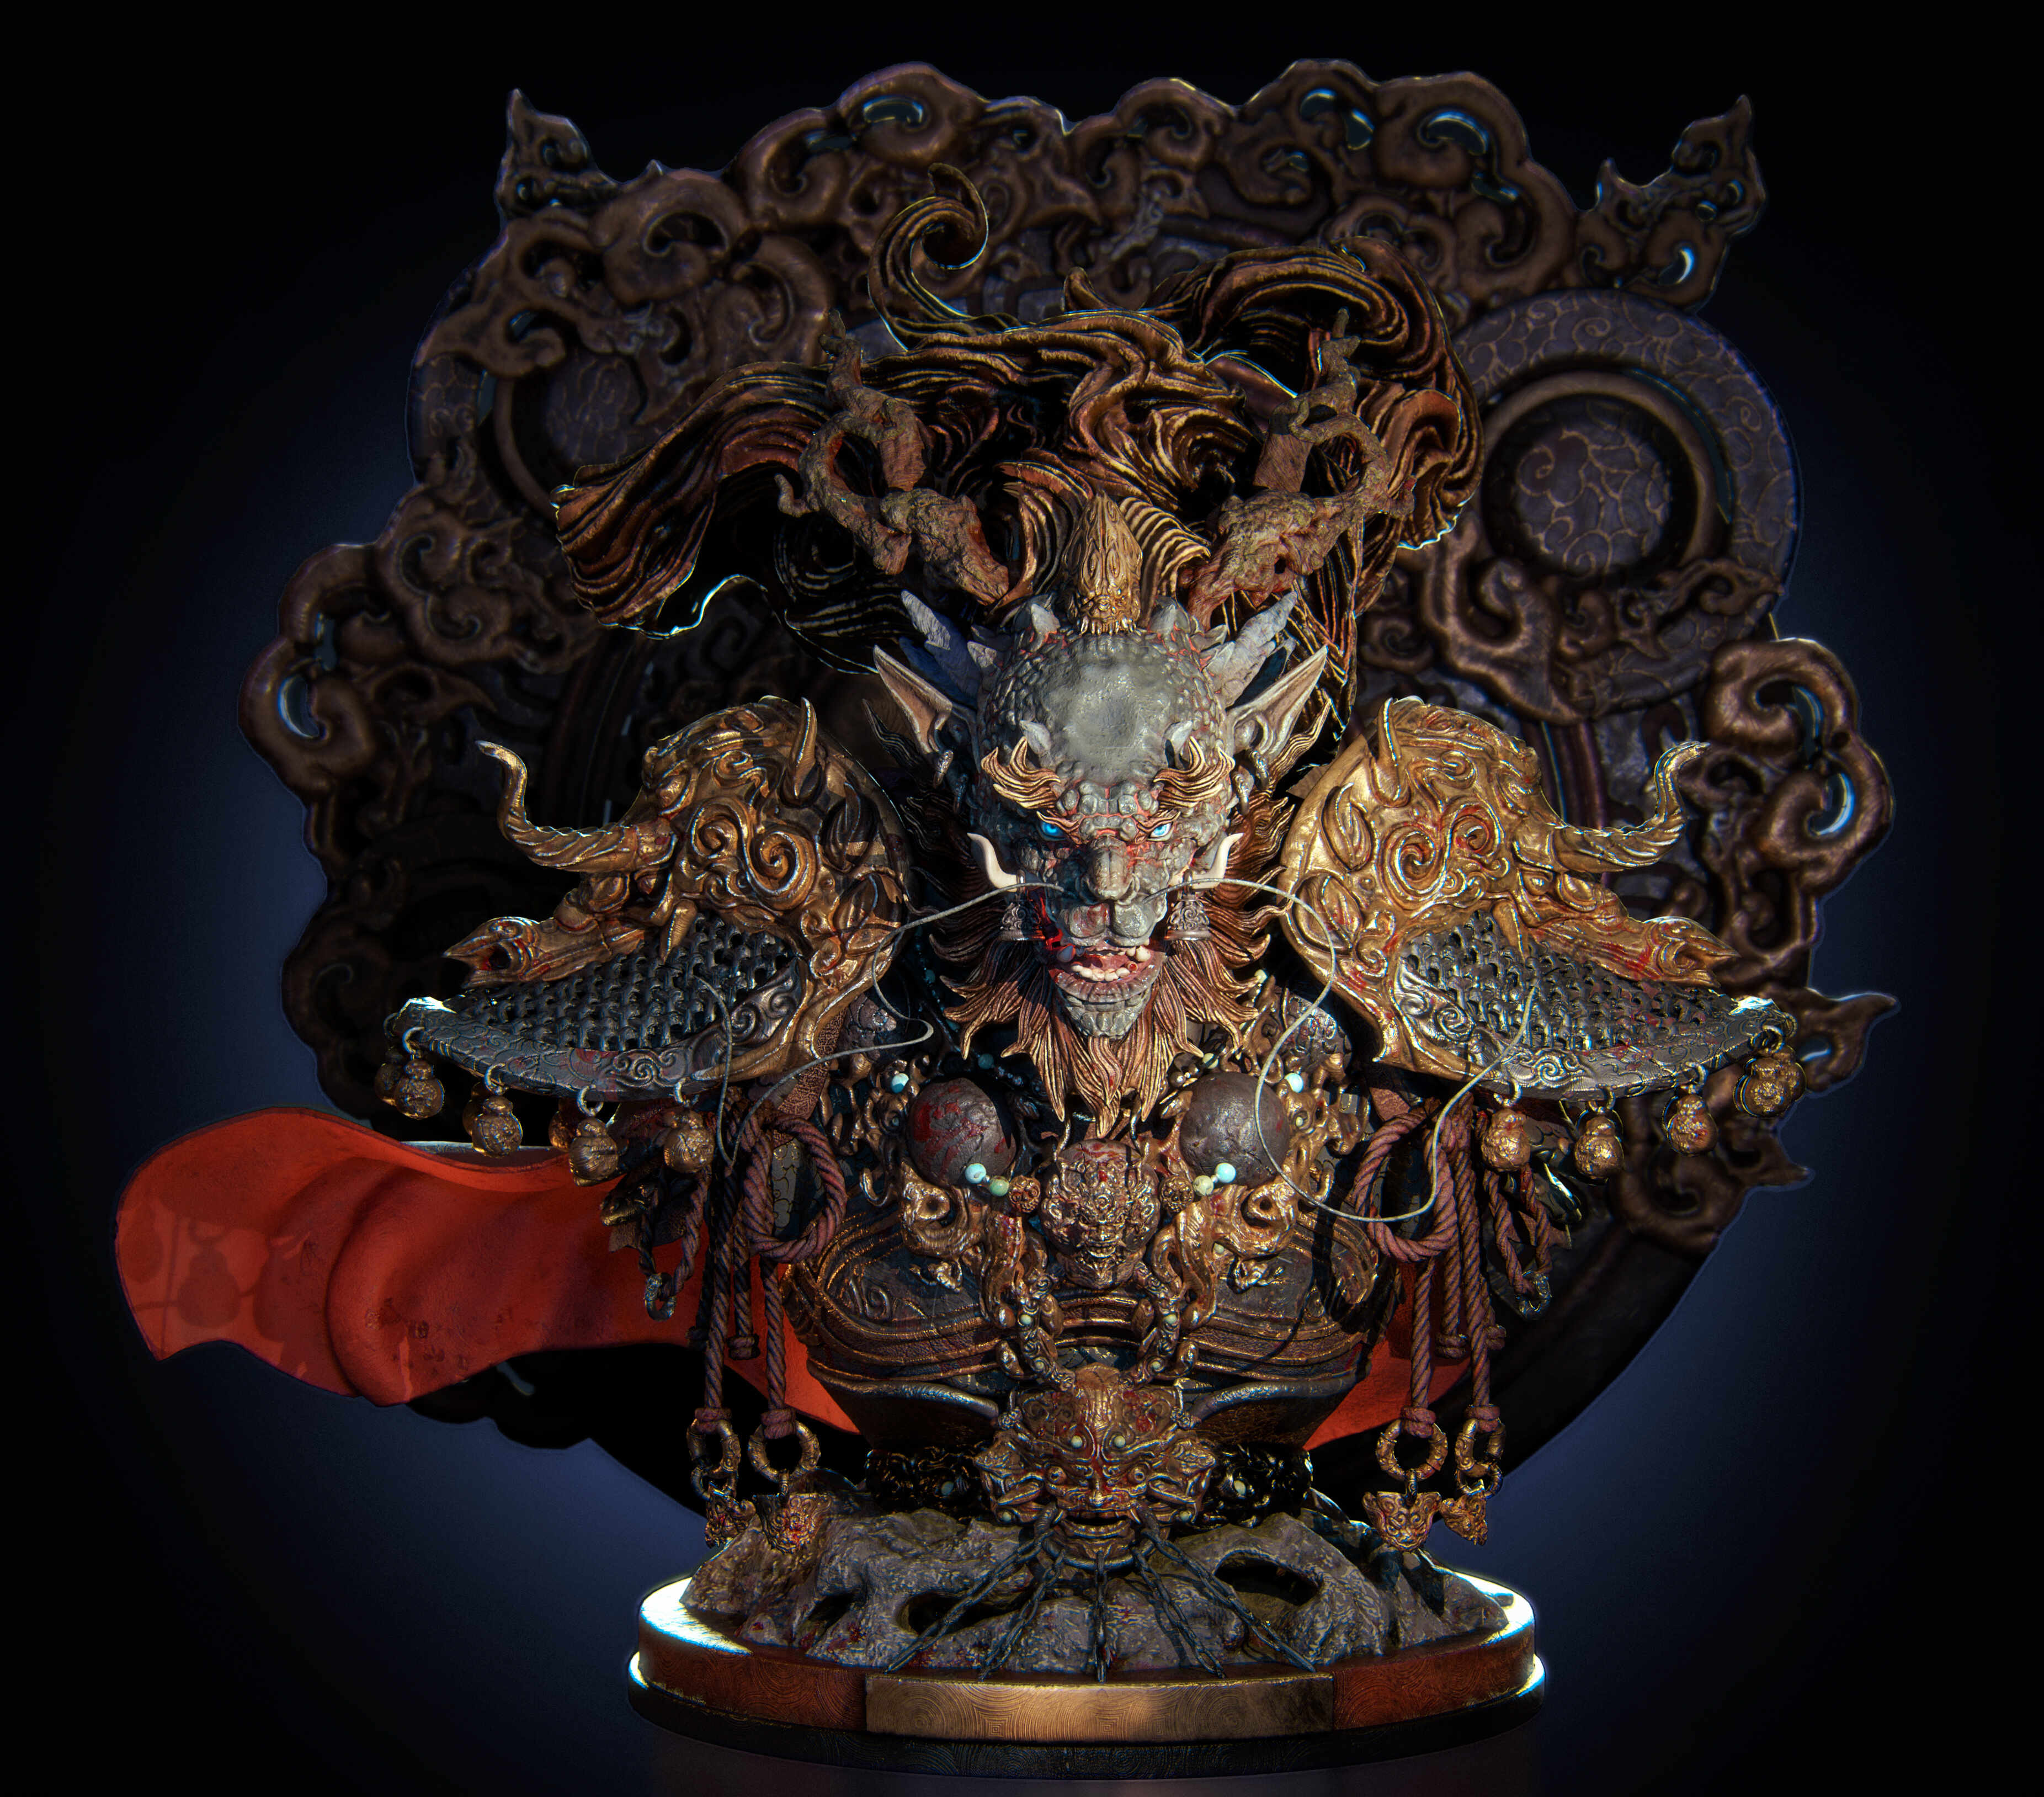
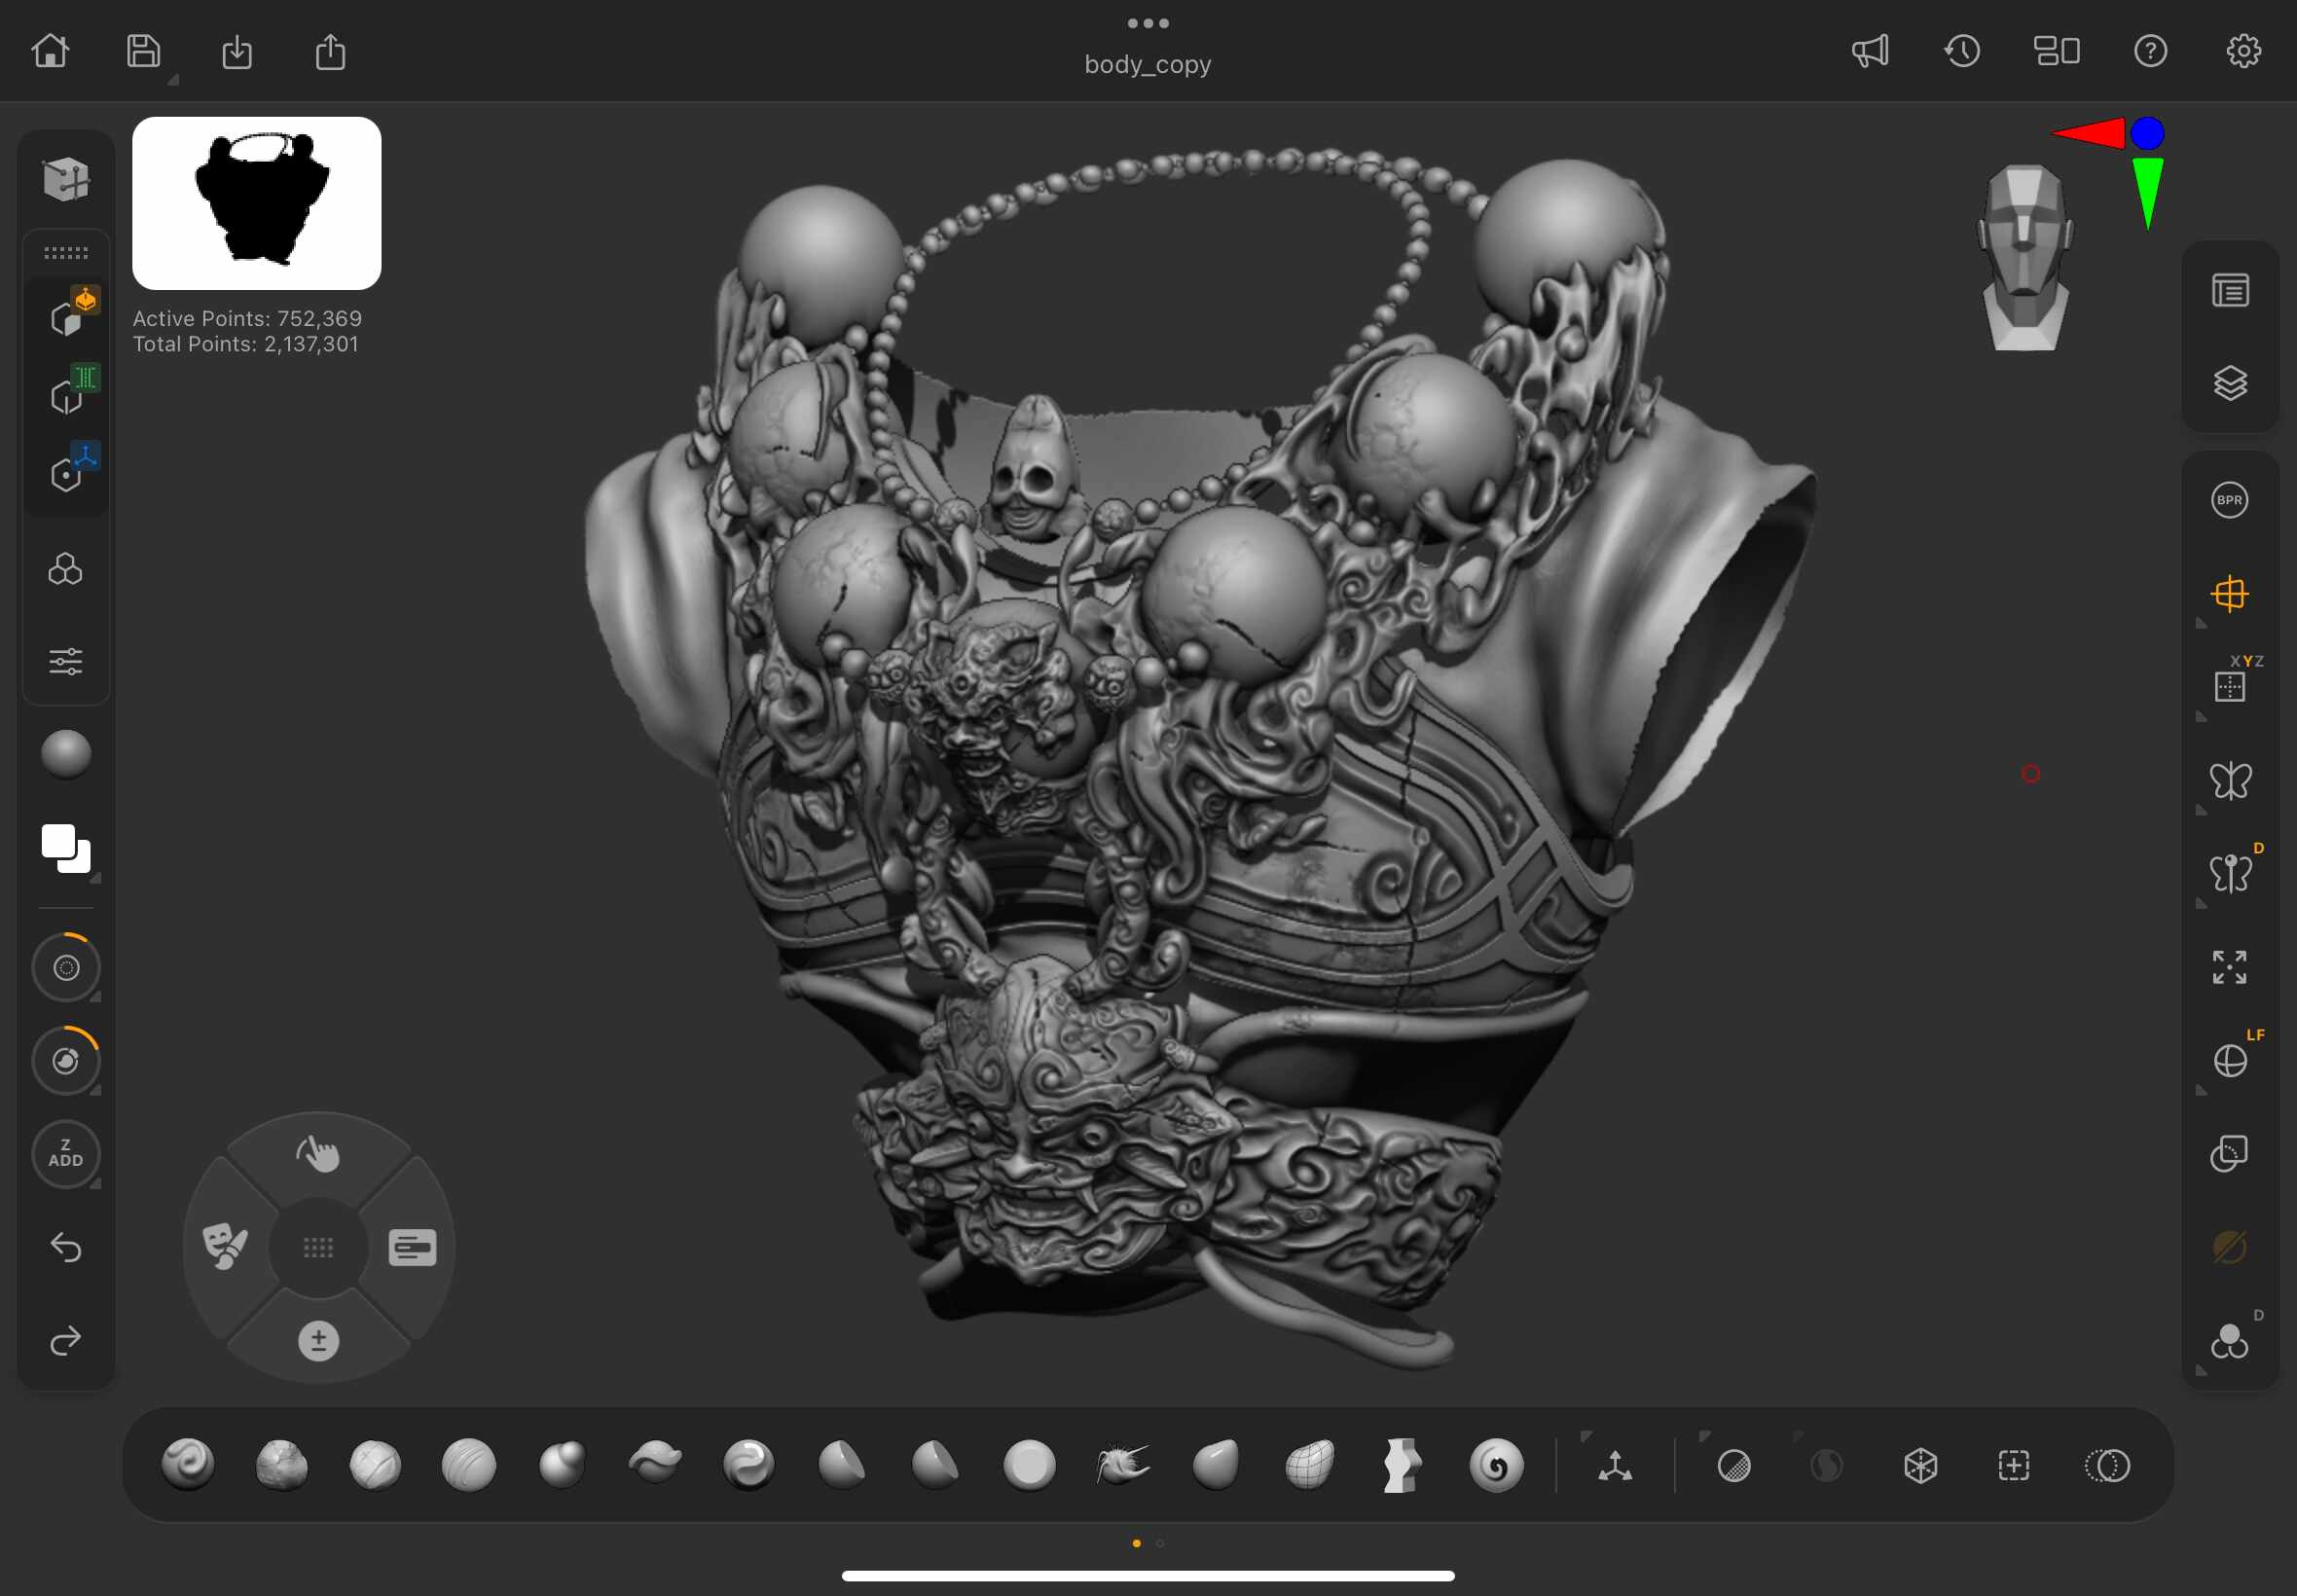
Here is the appearance of each pieces with BPR shadow enabled:


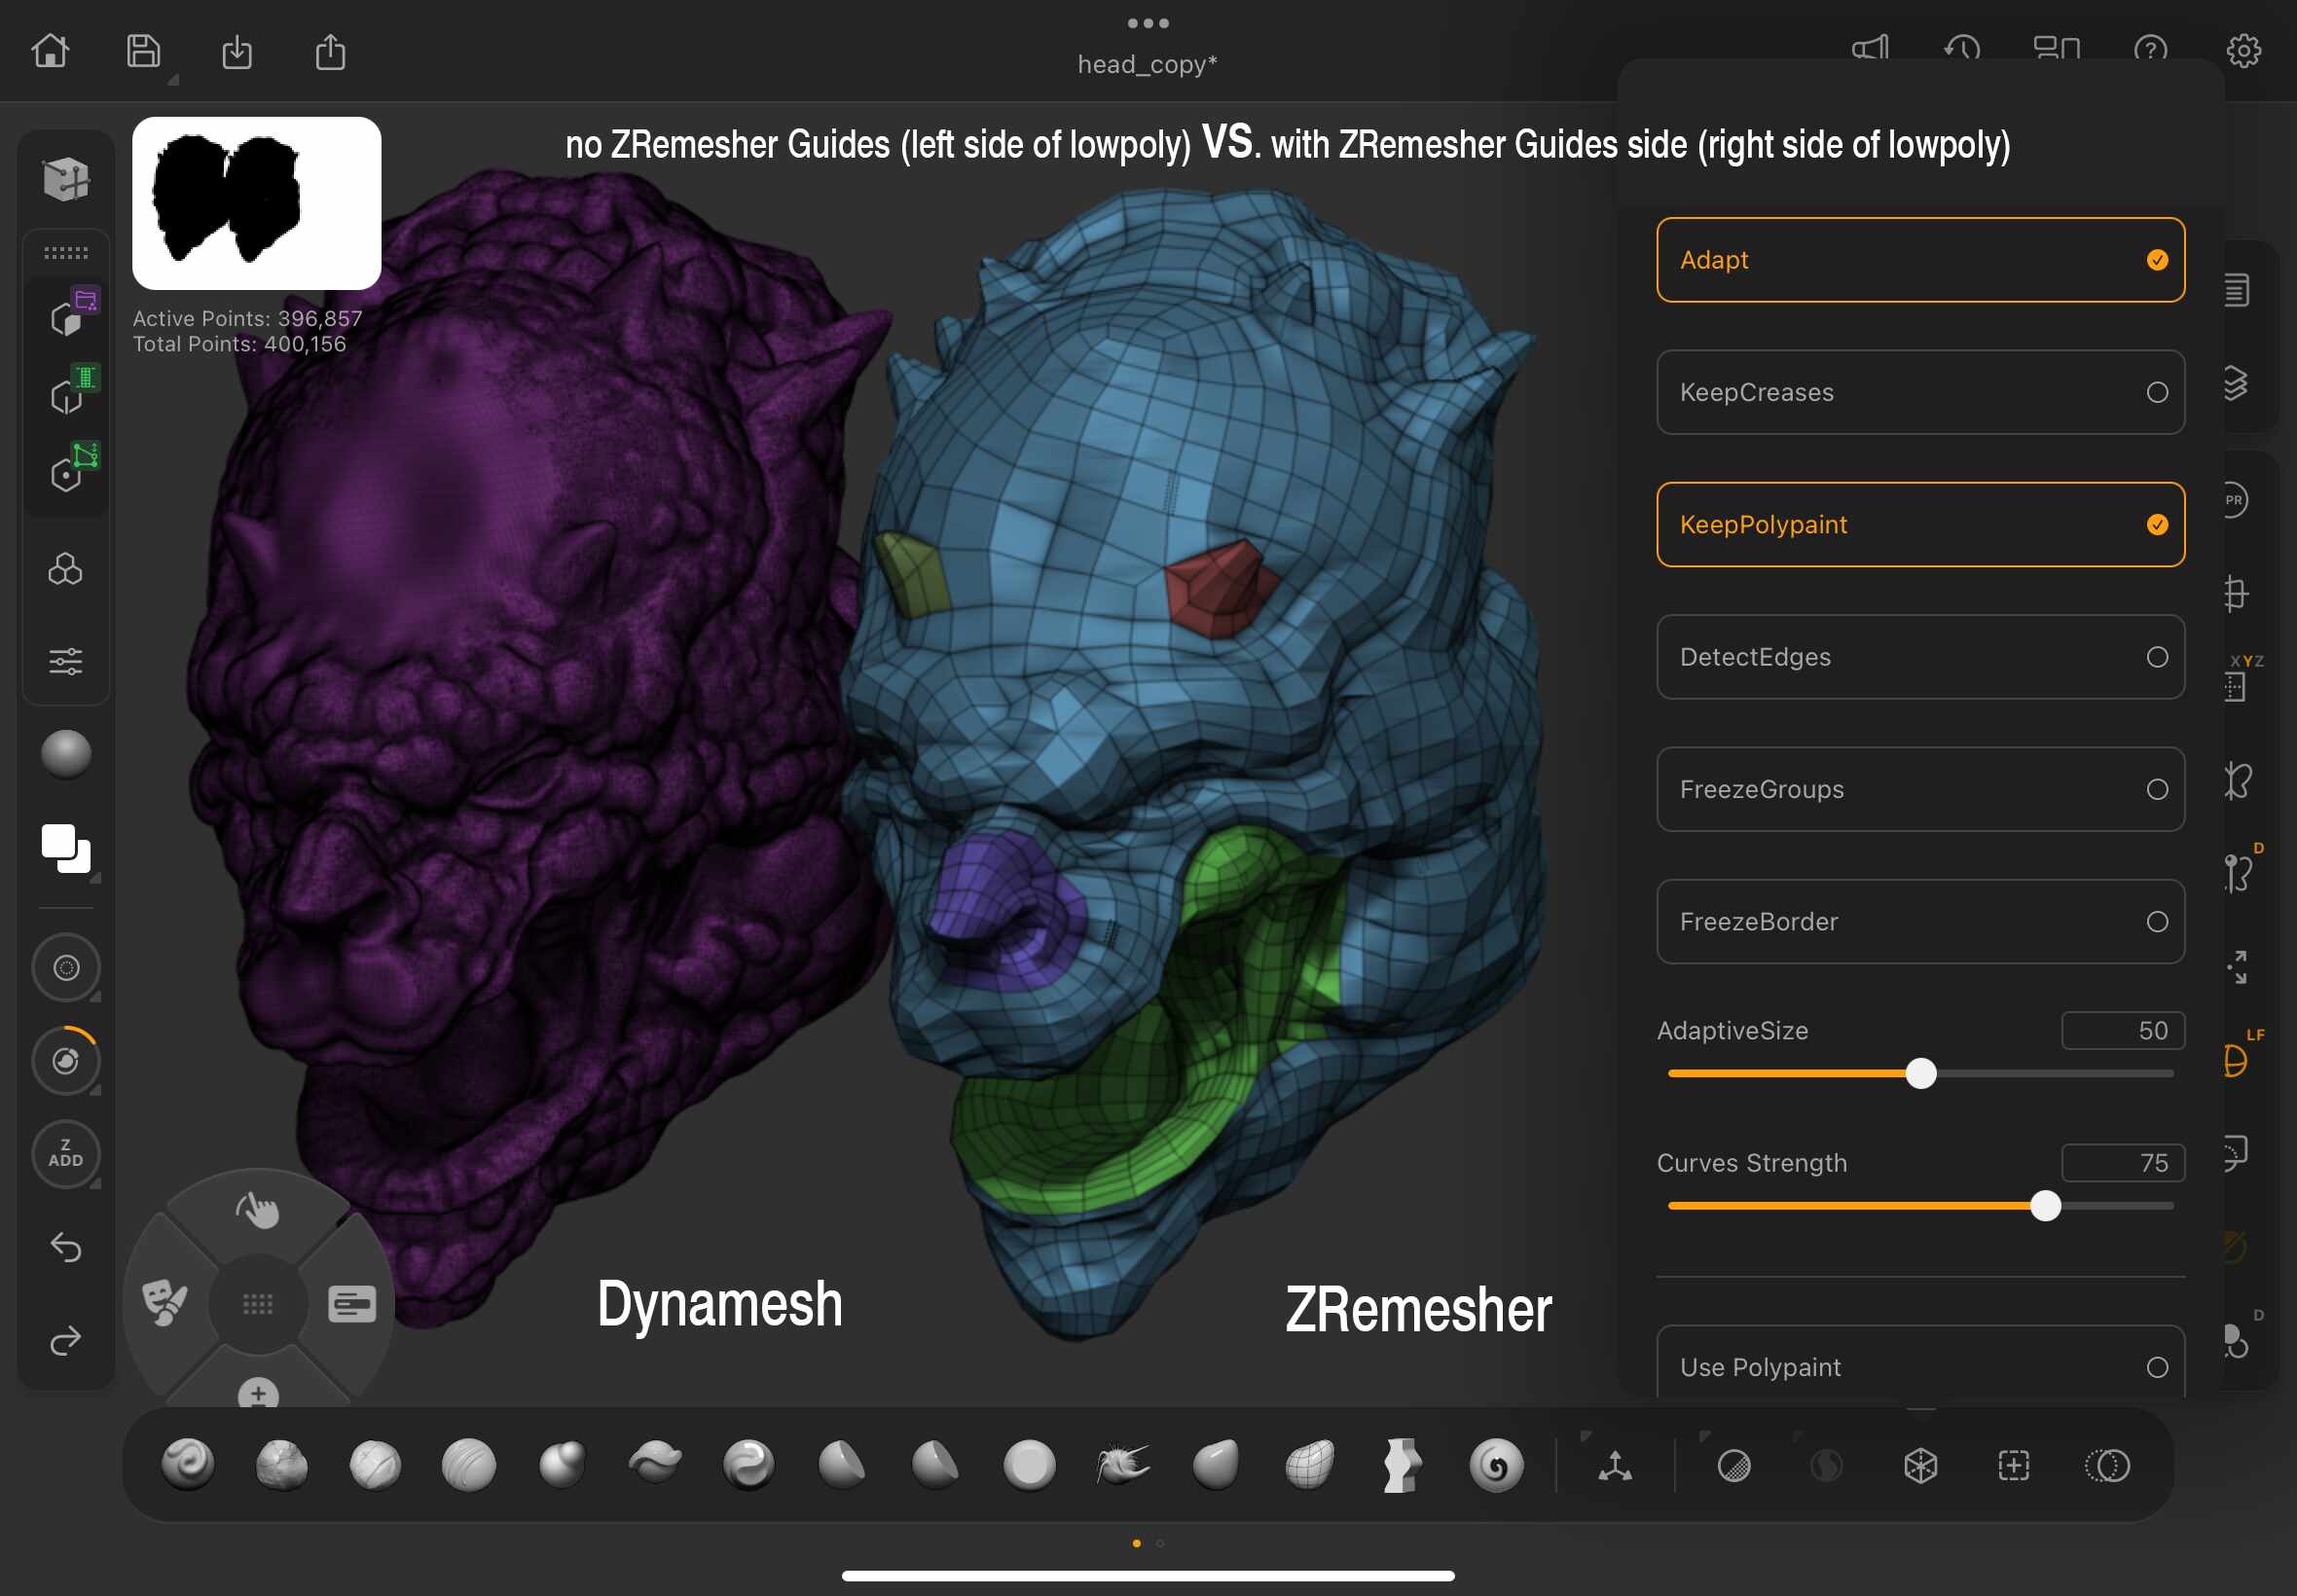
After combining all the meshes, the next step is to refine the low-poly version for improved performance and prepare it for additional texturing later if needed.
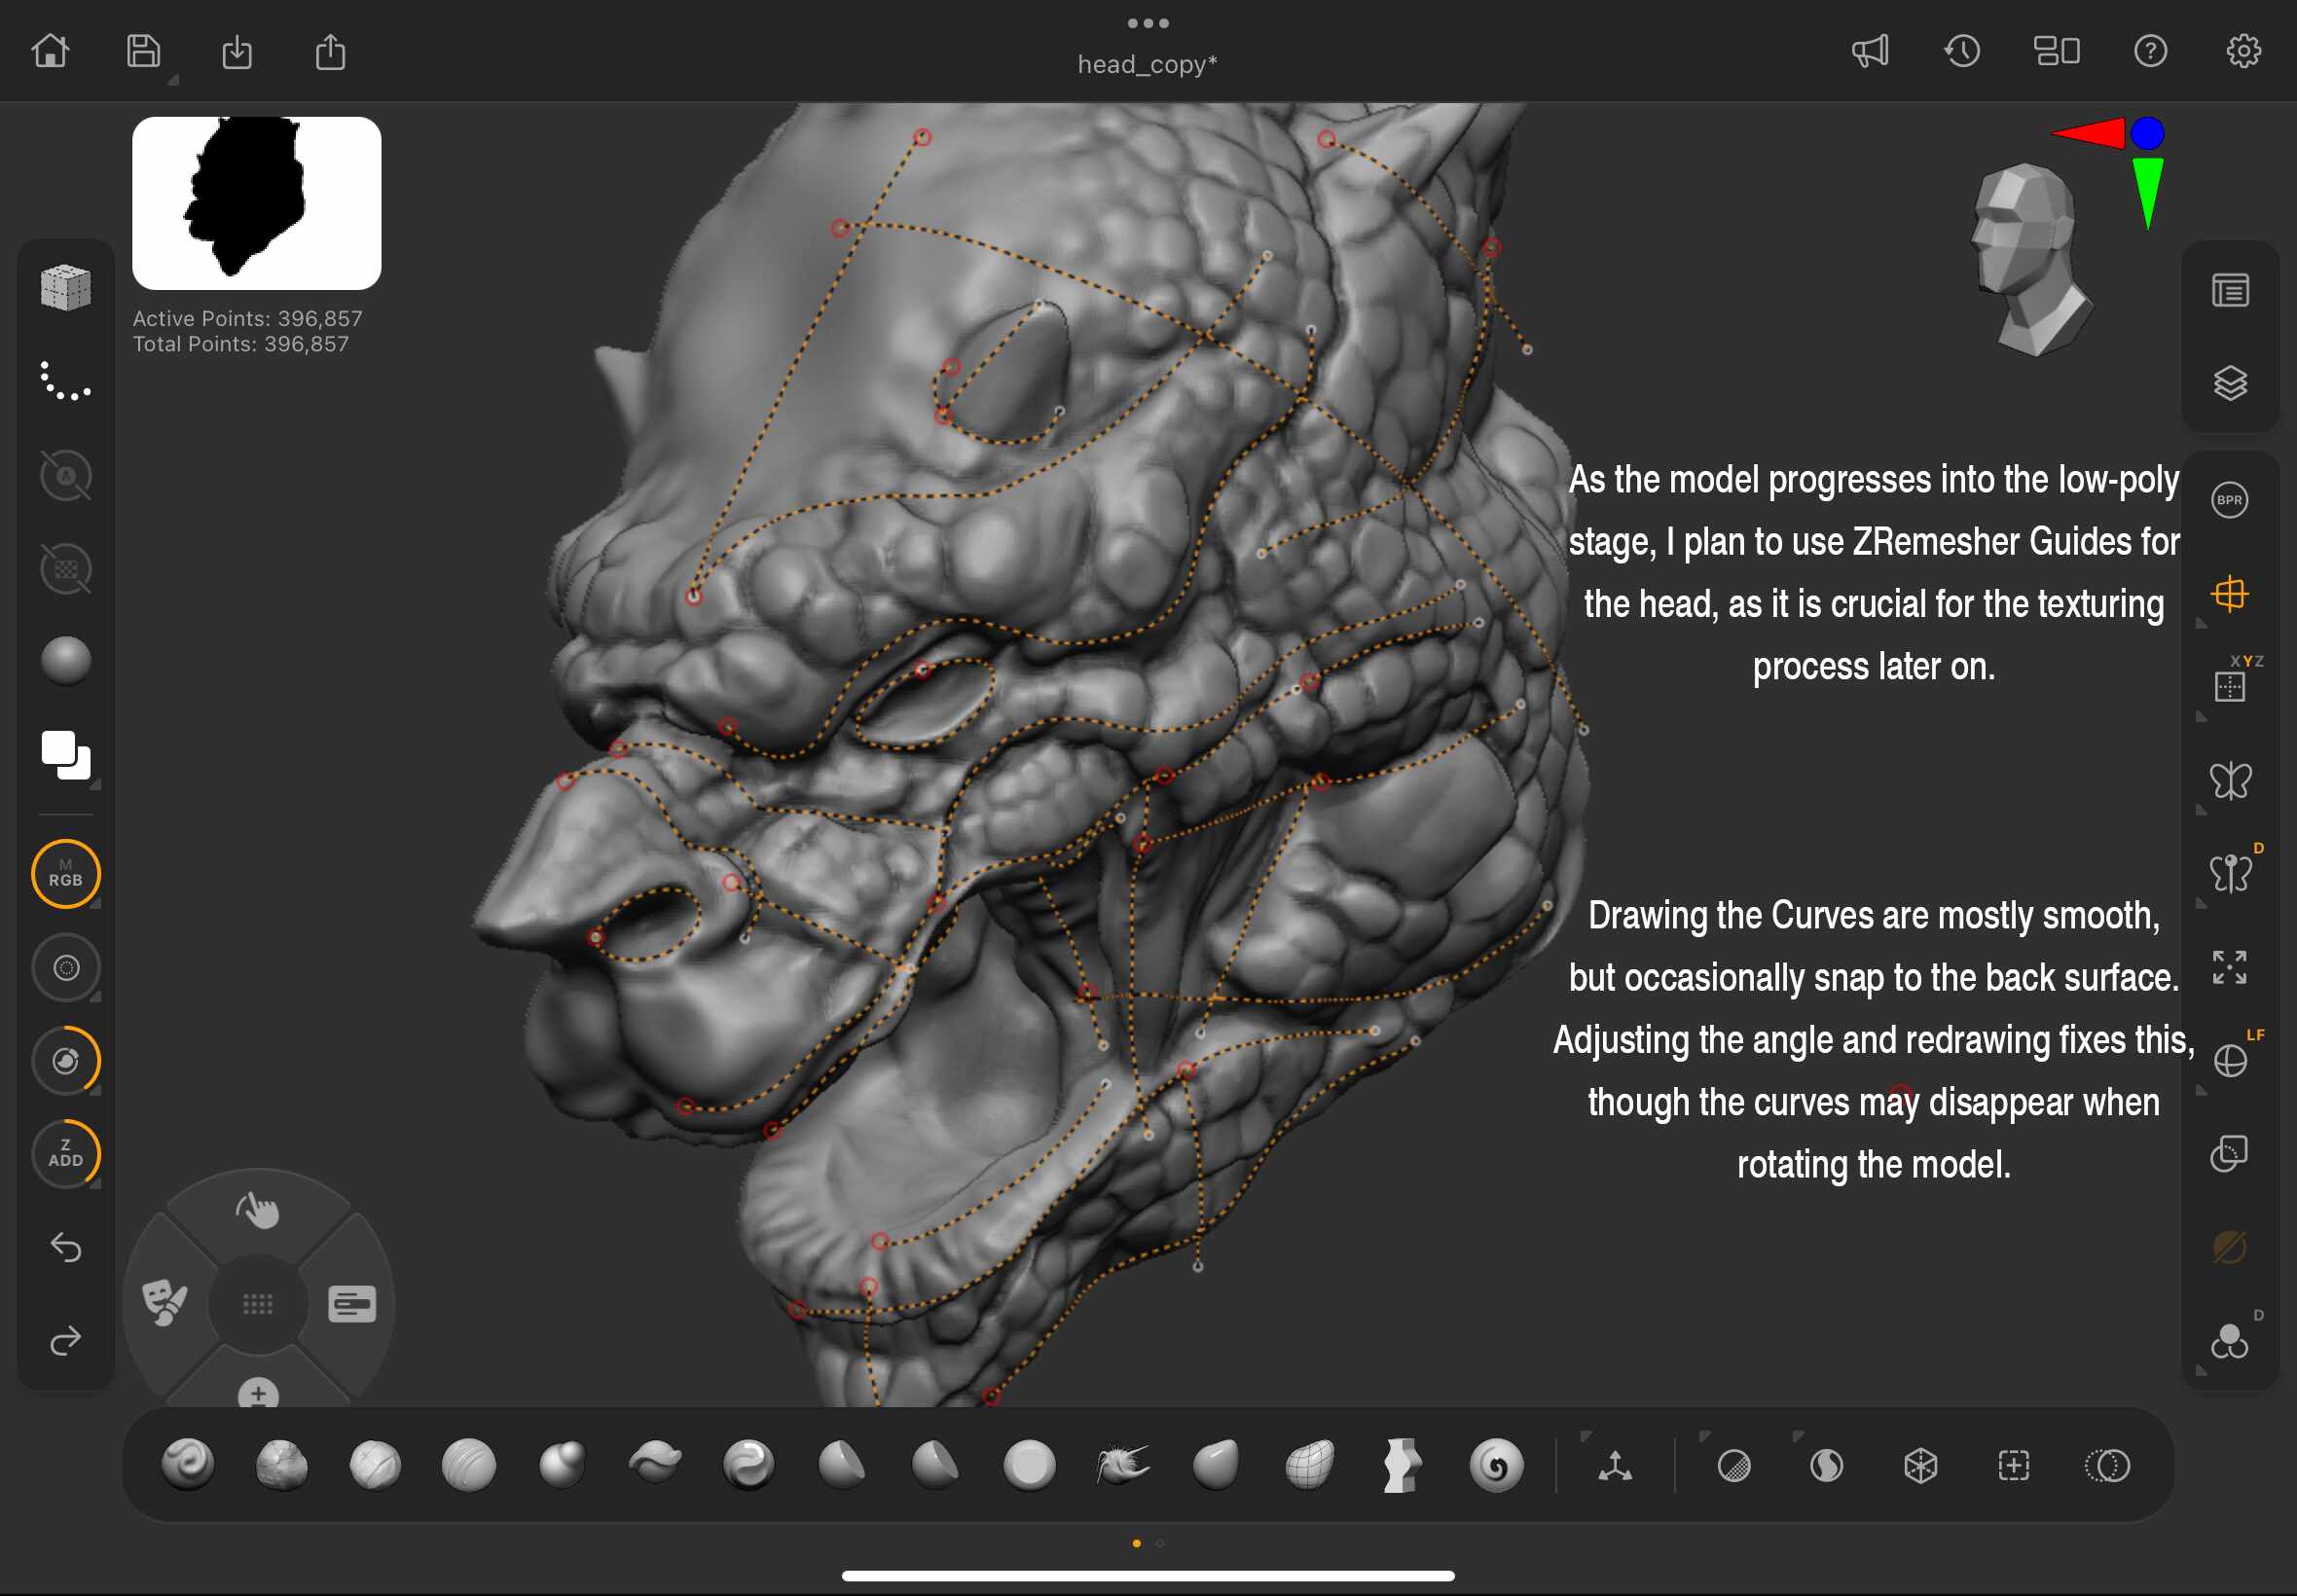
The angle at which draw a curve is important, as it can sometimes register as being outside the model. I found the snapping to surface particularly helpful when working with curves.
It’s impressive that this functionality is fully supported in the iPad version—it adds a lot of power and precision to the workflow.

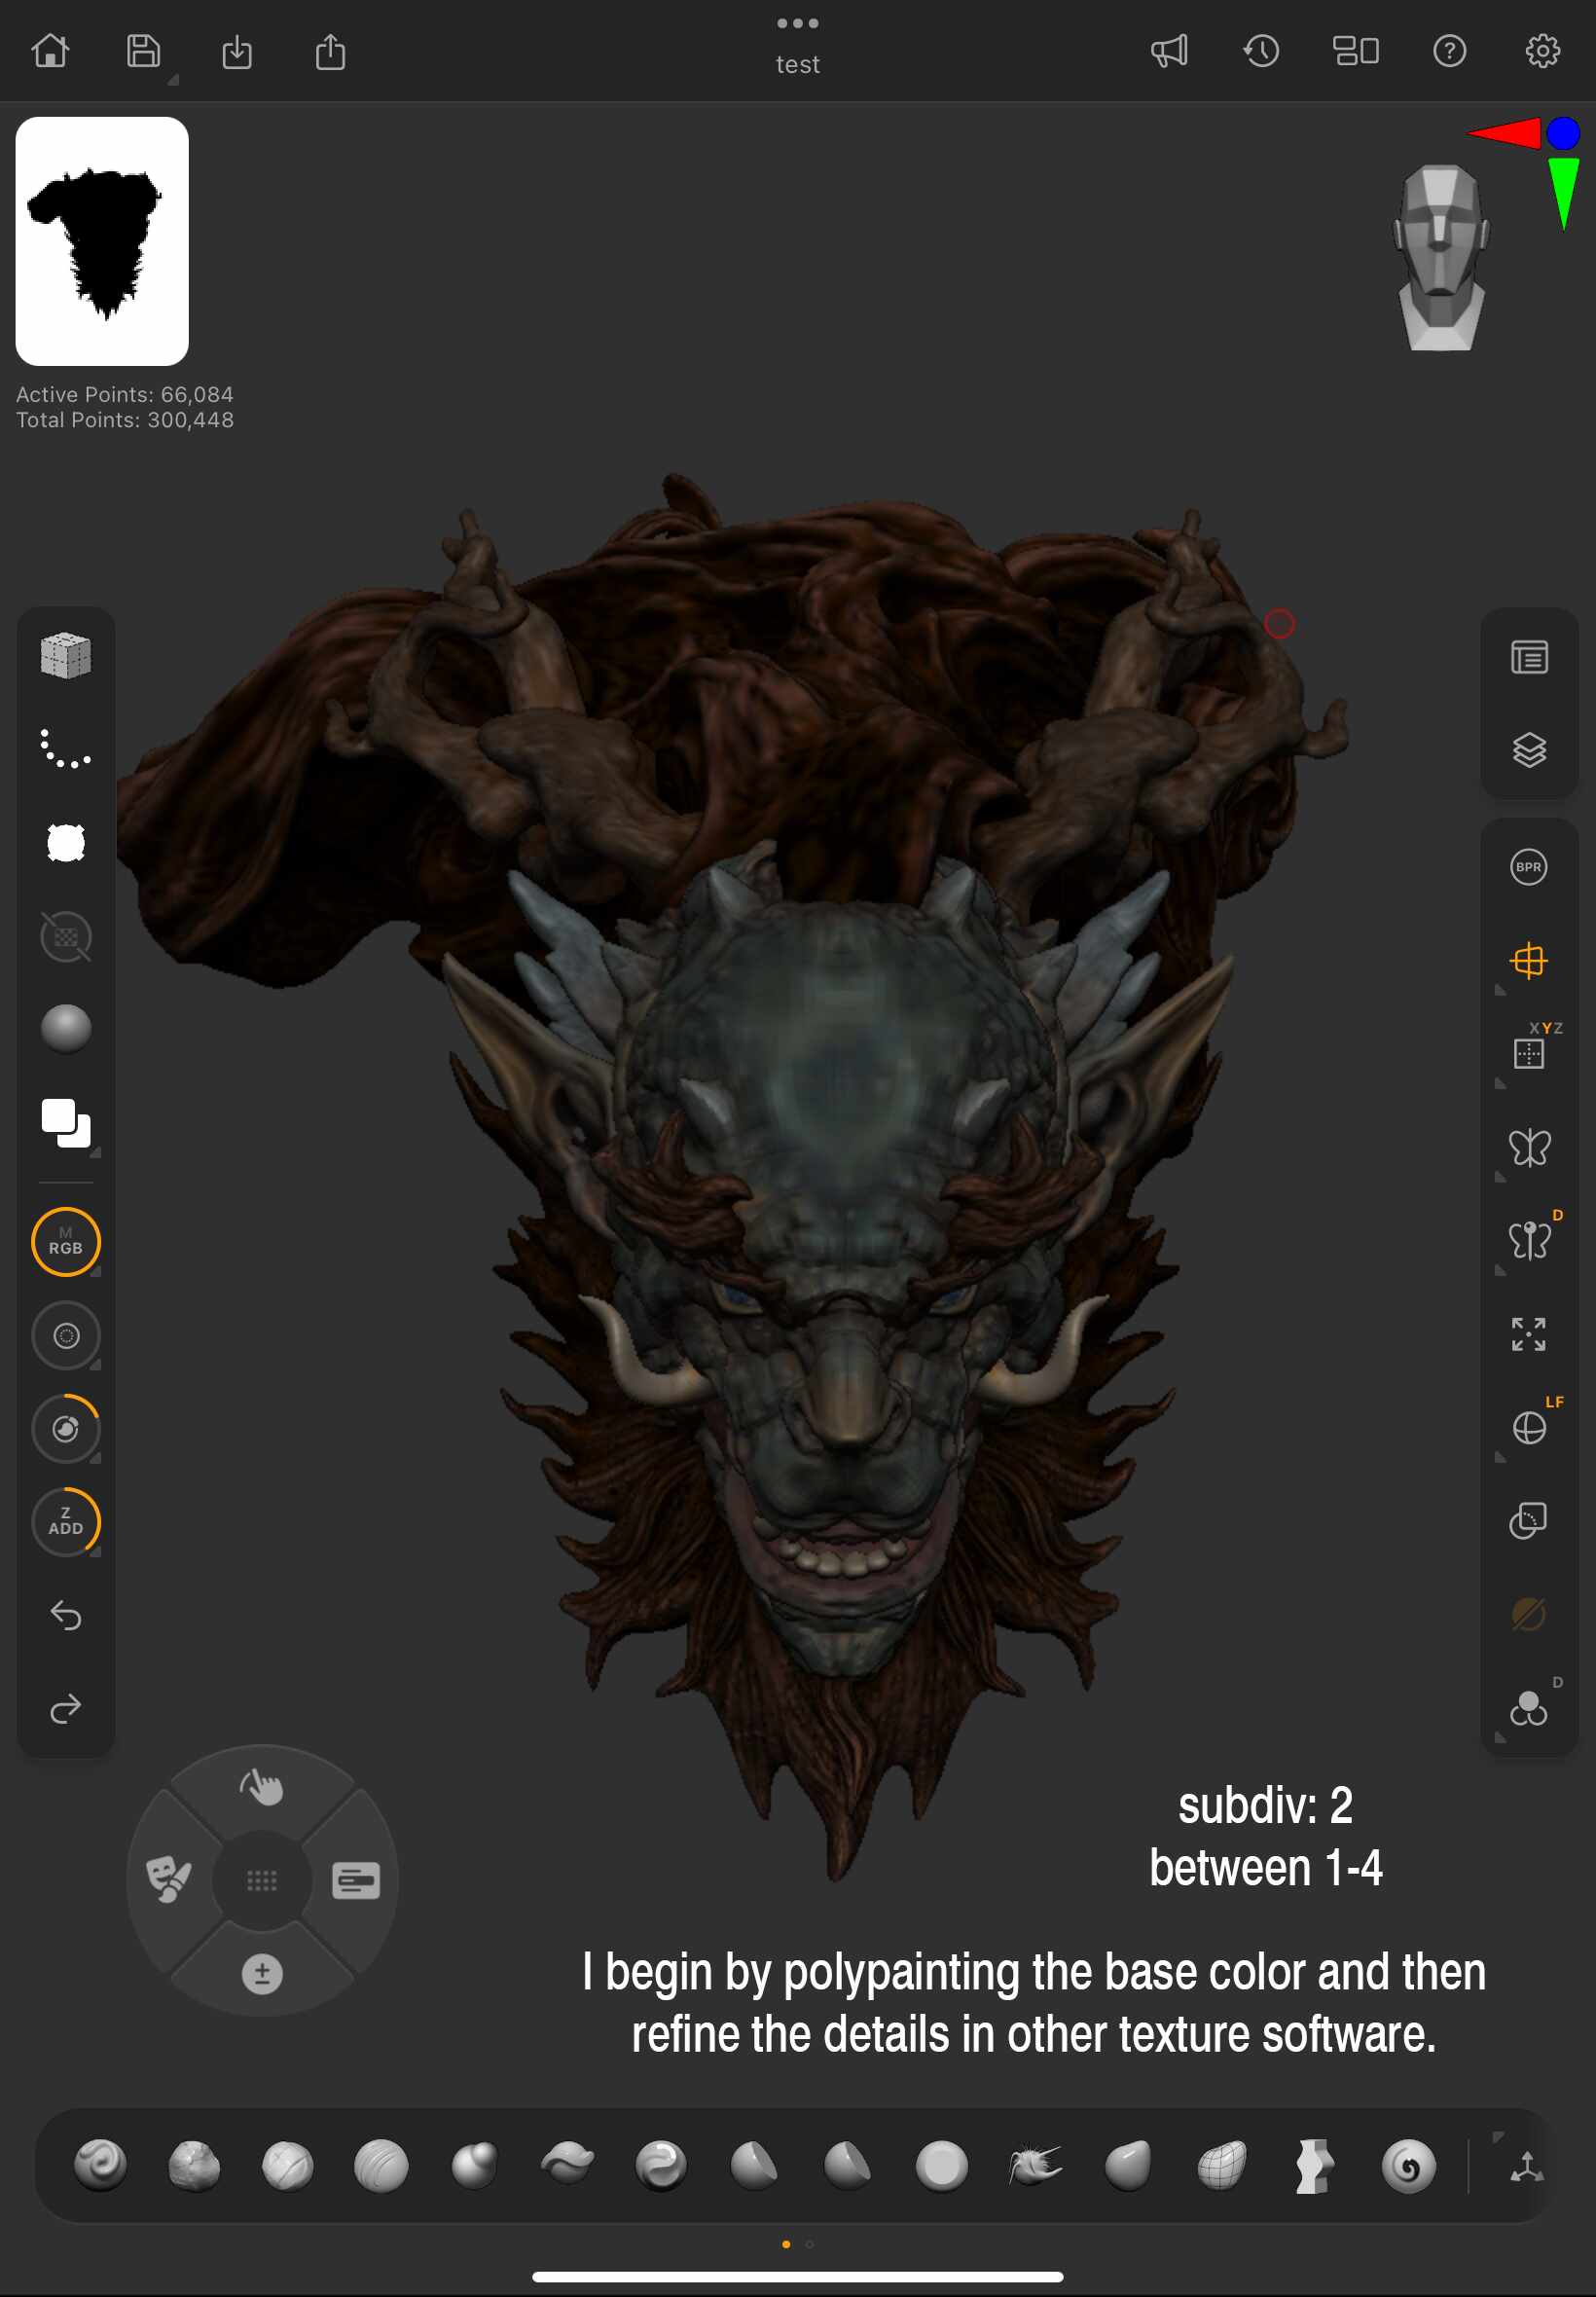
It’s always beneficial to start with basic color blocking in ZBrush before moving on to other software. This provides an immediate visual impression of the model.
If you plan to import textures from other software, it’s a good idea to bake them directly onto the mesh.
ZBrush thoughtfully includes this functionality, which helps improve performance and reduces file size, as the software no longer needs to continuously read external texture data.

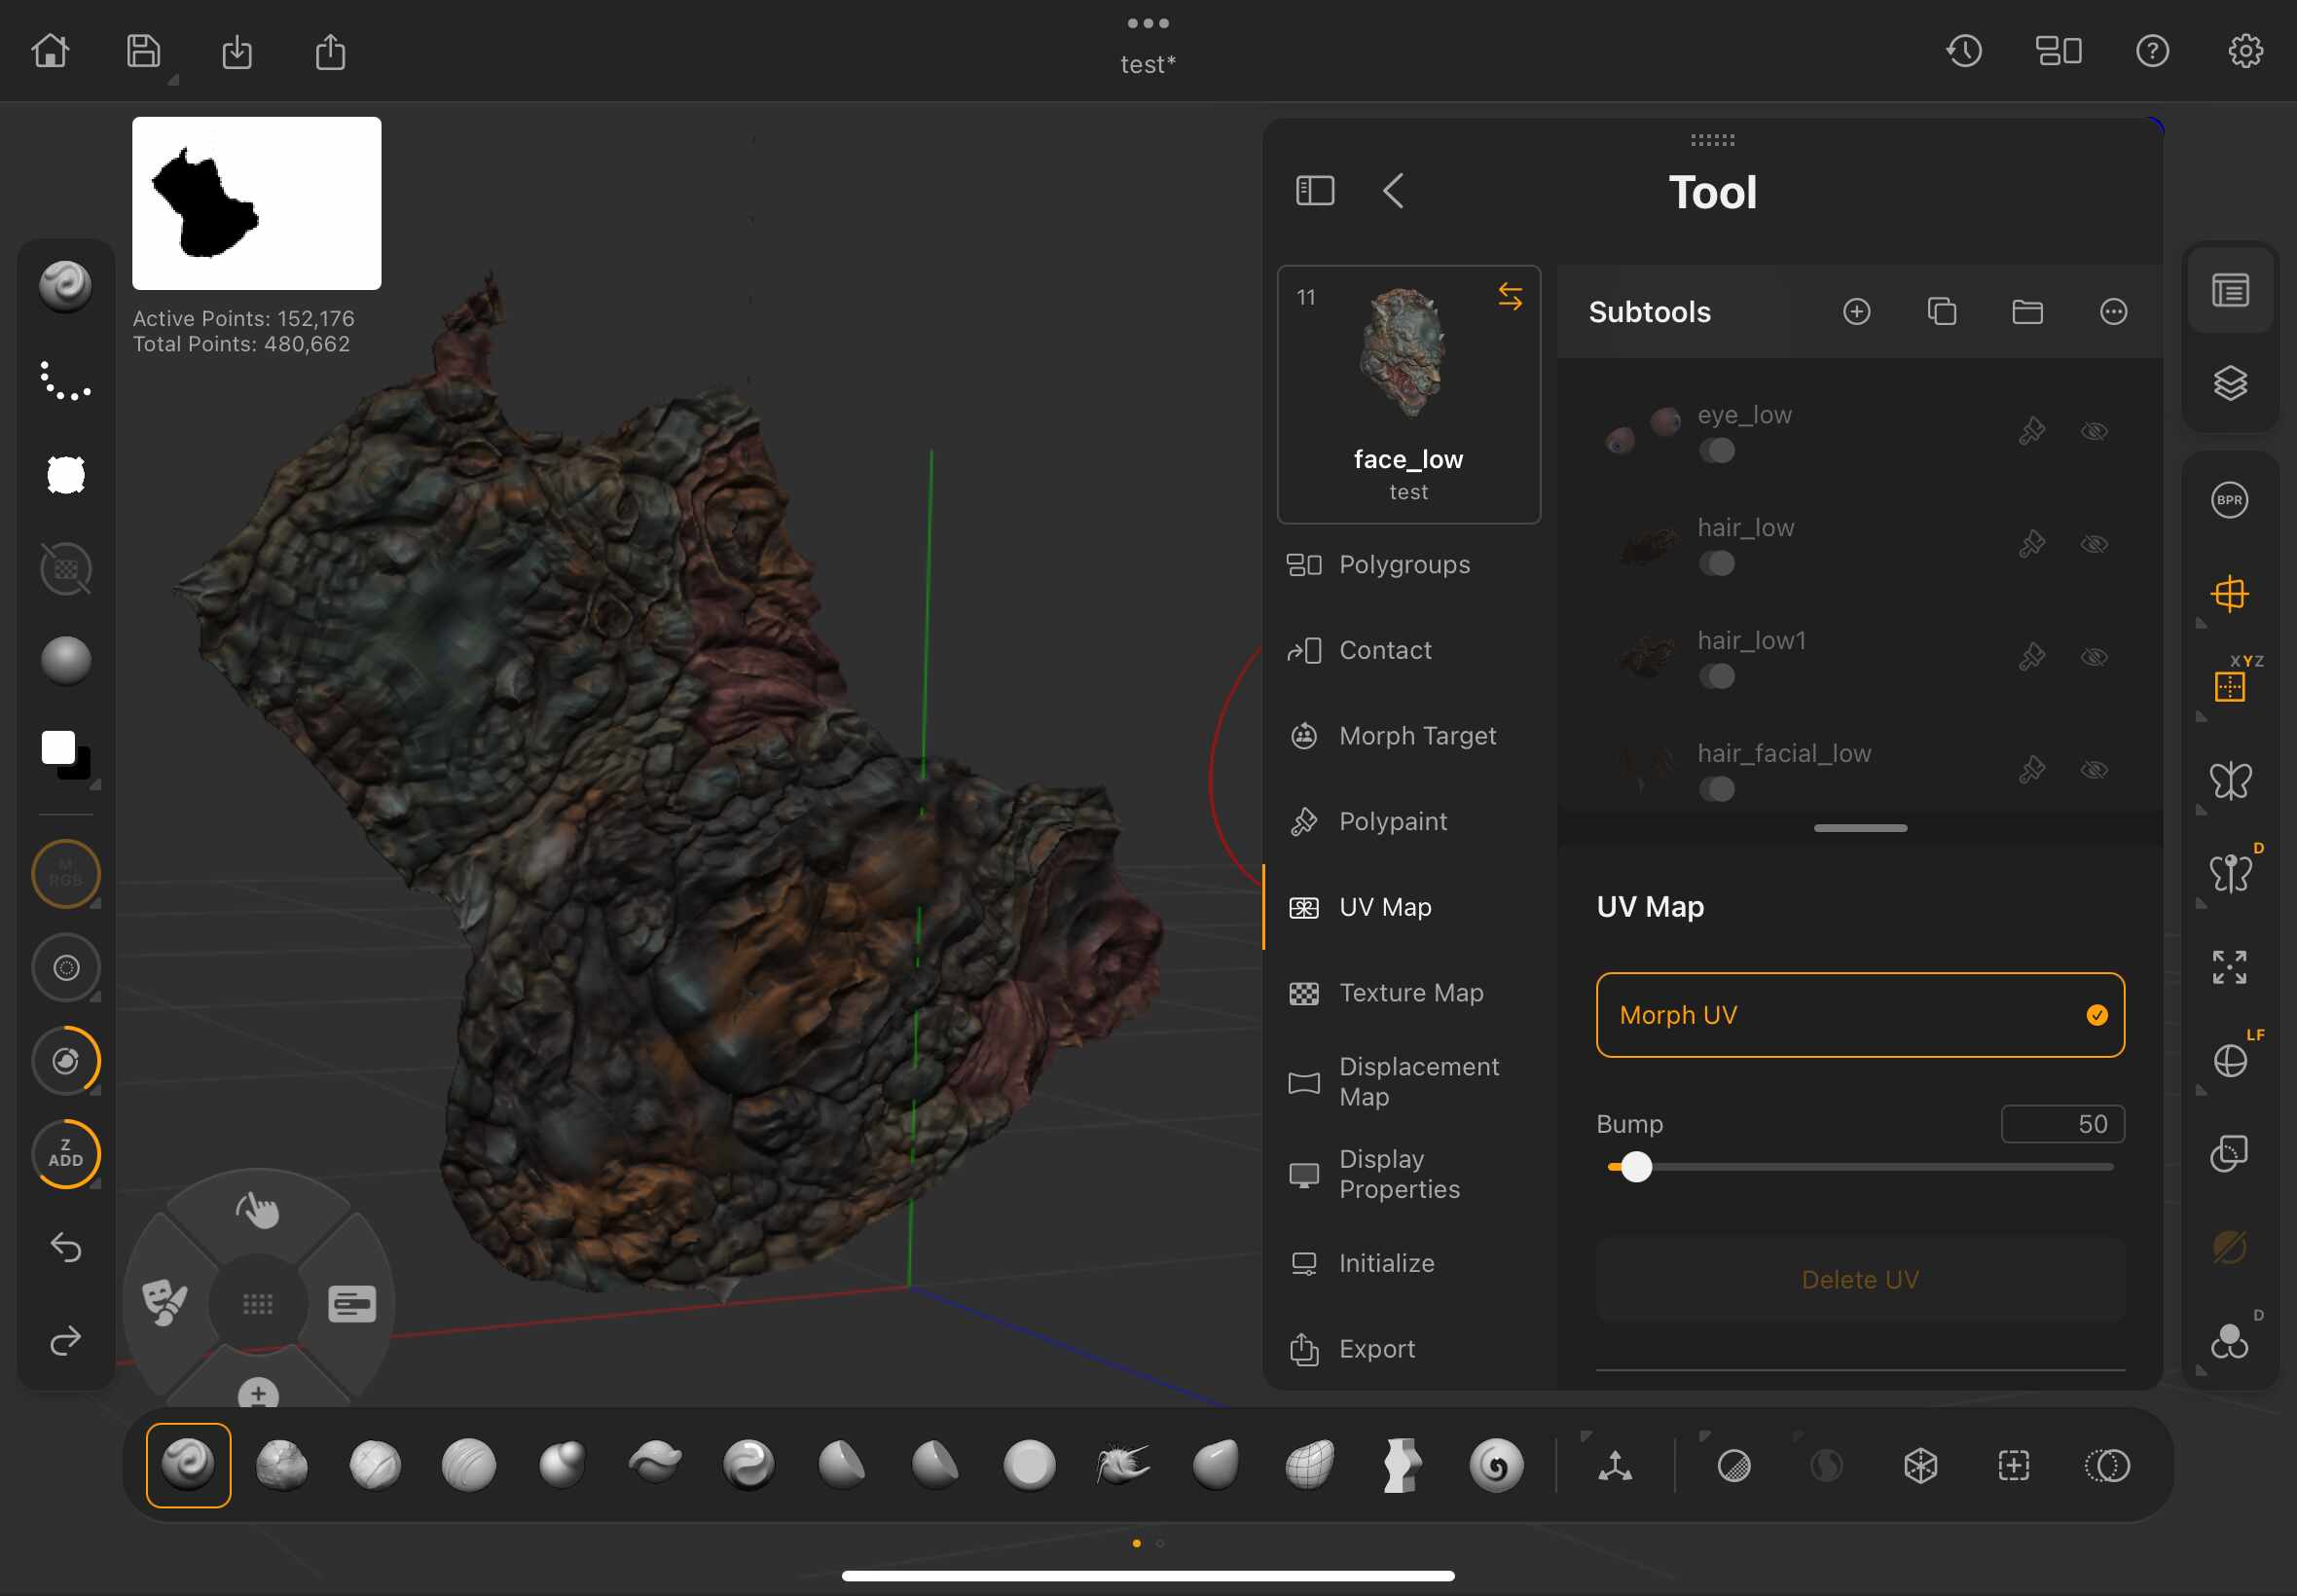
One great feature I discovered during the beta test is the ability to paint directly on the UV layout once it’s generated.
I was pleasantly surprised to find this supported on the iPad version—it proved incredibly useful, and I only wish I had noticed it earlier in the process.
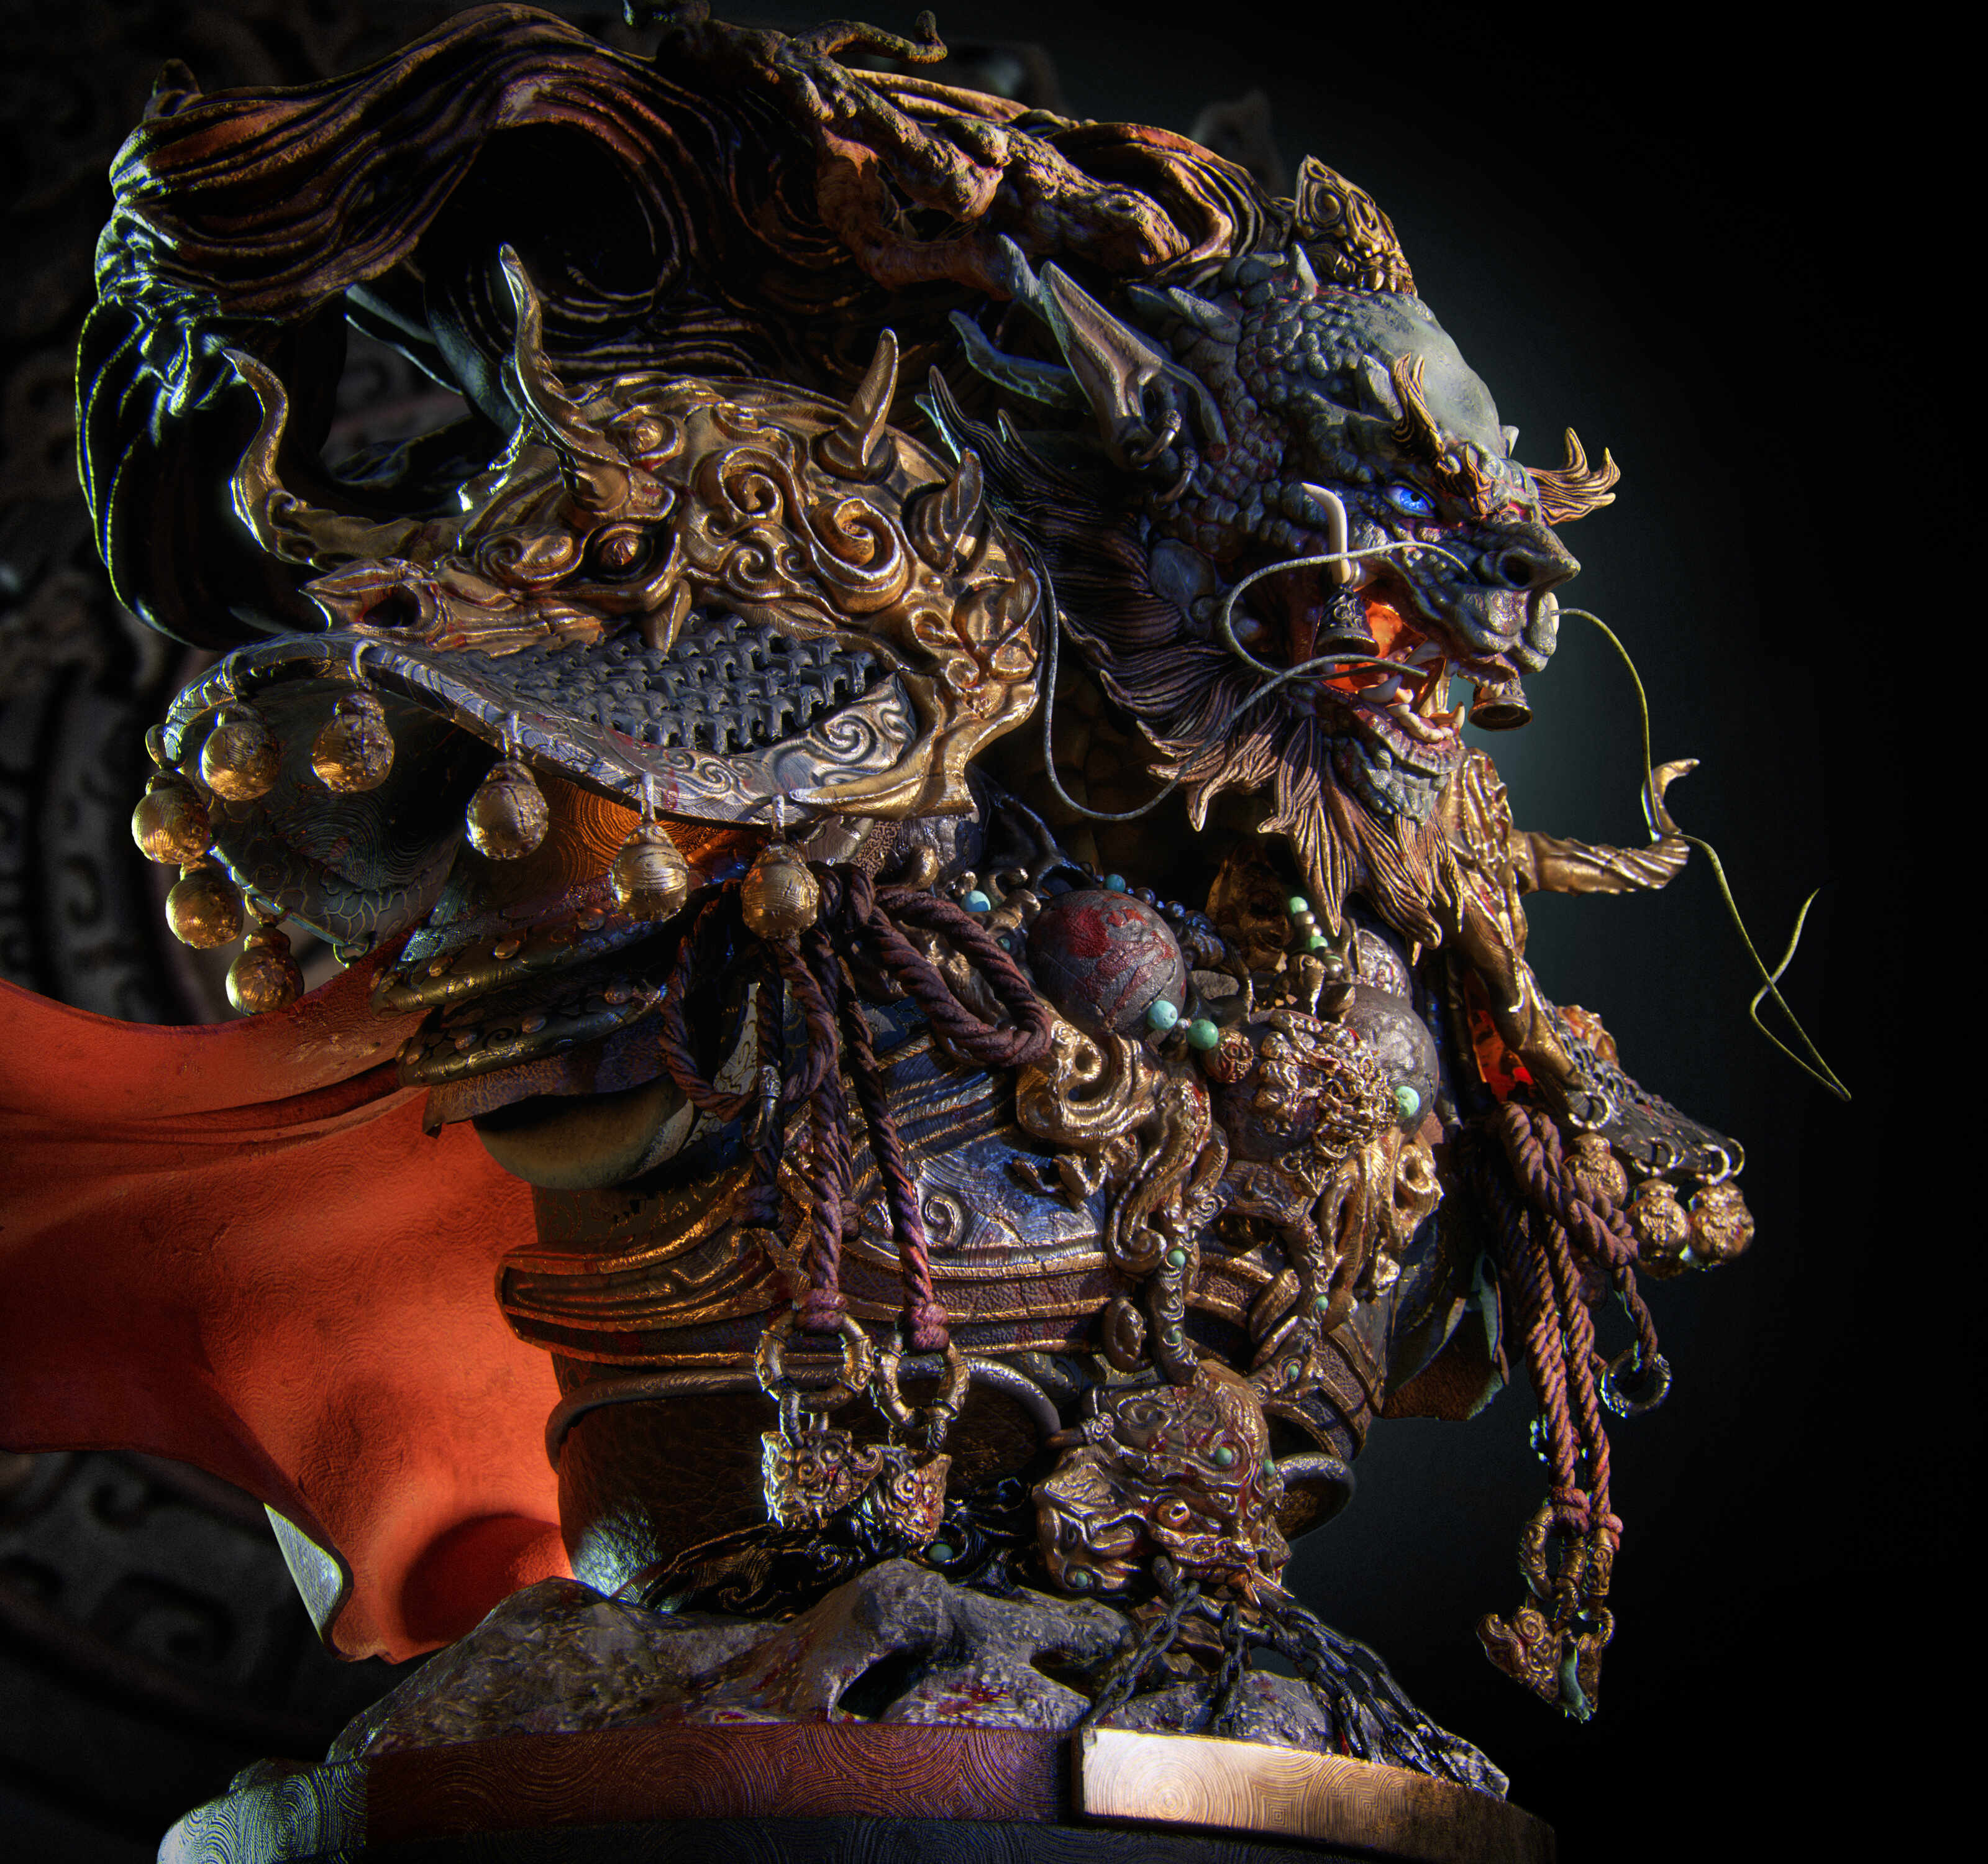
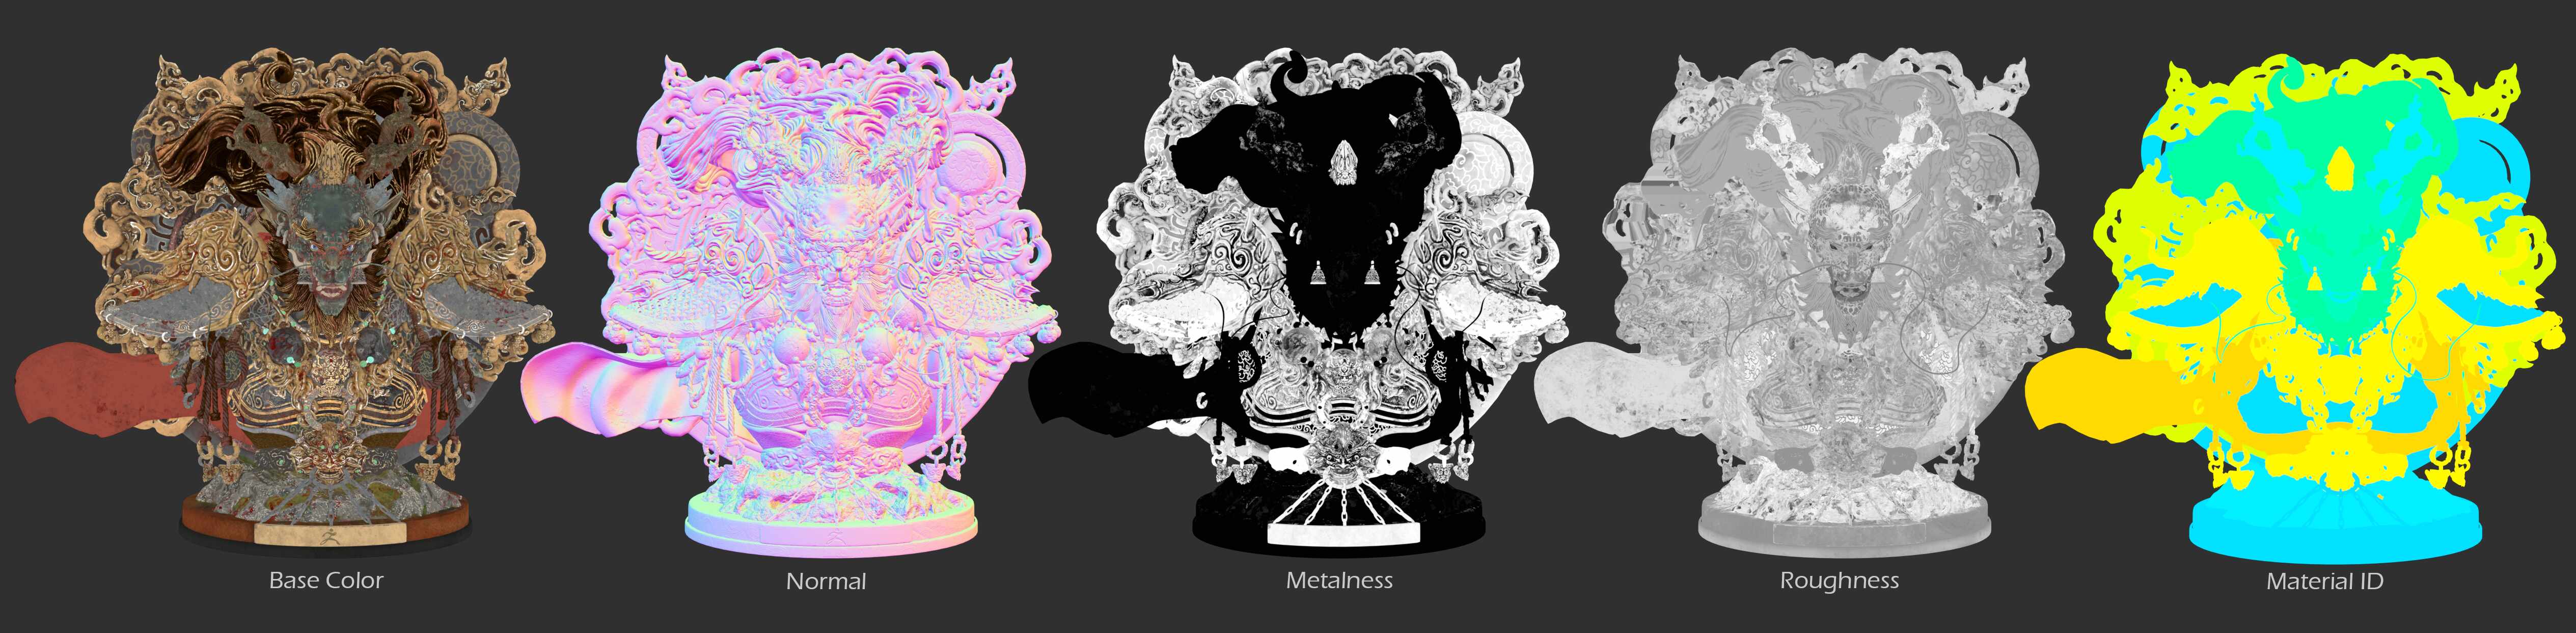
Here is a rendered image showcasing the different texture maps.
Huge thanks to the team at Maxon ZBrush for the opportunity to be part of this beta. Looking forward to hearing your thoughts and feedback!
Thank you for watching!